
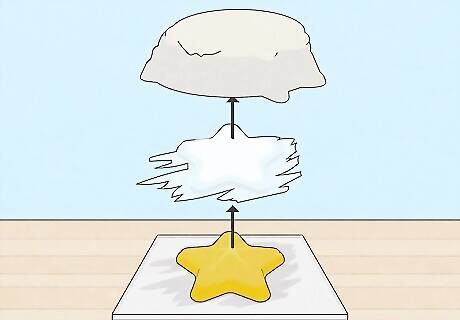
- Make a silicone mold using a 1:1 ratio of silicone rubber or a 2-part molding kit. Coat your item in the mixture and wait 24 hours for it to dry.
- Use liquid latex to create a resin mold by coating the original item in 20 thin layers. Create a mother mold to keep the latex’s shape with Plaster of Paris.
- Build a mold box with scrap wood or cardboard and place the item on a baseboard. Spray mold release and fill the box with liquid polyurethane rubber to create a mold.
Making a Silicone Mold

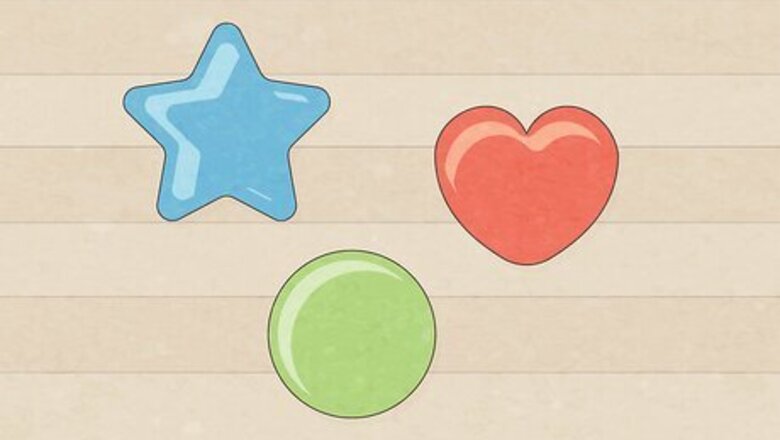
Choose the item for which you want to create a mold. Select an item for casting. It can be a piece of jewelry, a child’s toy, charms—anything! So long as you have a big enough mold box to place the item in, it can be recreated. Once you select your item, clean it thoroughly with warm, soapy water to limit any dirt affecting the mold’s quality.
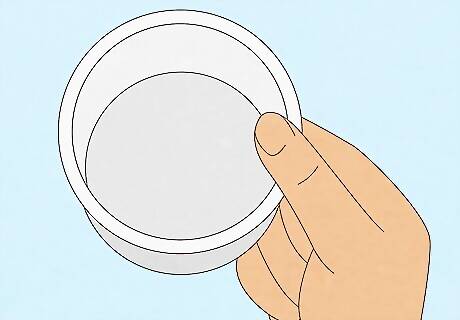
Grab a non-porous container to house the casting. This will be your mold box. You can use take-out plastic containers, Tupperware, or a cookie cutter. Ensure the mold is big enough for your item but not large enough that you’ll waste silicone rubber. Place a piece of parchment paper on a flat surface and tape or glue the mold box in place. This will help prevent the container from moving around as you fill the mold and avoid silicone from going beneath the item. Lightly spray mold release on the container before pouring in your silicone rubber to make it easier to remove the mold later. Allow the mold release to dry for about 10 minutes. A non-porous surface is important so the silicone doesn’t leak. This includes any plastic, glass, metal, ceramic, or vinyl surfaces.
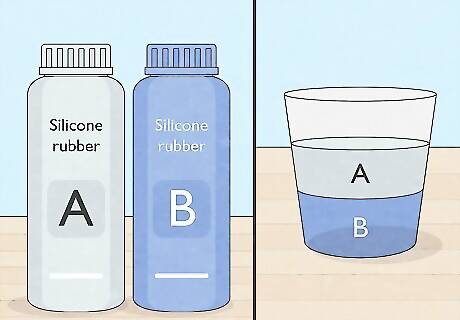
Mix a 1:1 ratio of silicone rubber to create the mold. When you purchase silicone rubber, it typically comes with a Part A and Part B solution. Follow the instructions on the packaging. However, many brands use a 1:1 ratio of Part A and B that sets clear in two hours. Ensure you’re mixing the silicone rubber in a well-ventilated area. Mix the solution in a non-porous container, like a bowl or a Tupperware.
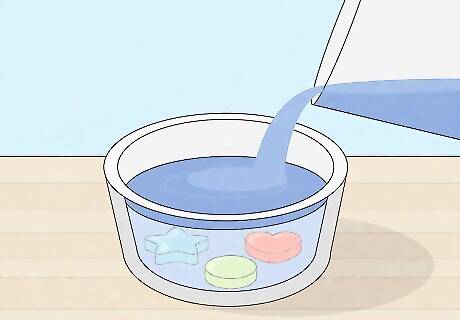
Pour the mixed silicone rubber into the mold box. Pour the mixture into the mold box using a wooden stick or a silicone spatula. Fill it up at least 1 centimeter. However, you can make it deeper. This will just leave you with a thicker mold. Keep a steady stream of silicone in one place to eliminate trapped bubbles. Use a toothpick to poke any bubbles that may appear or smooth it out with a silicone spatula.
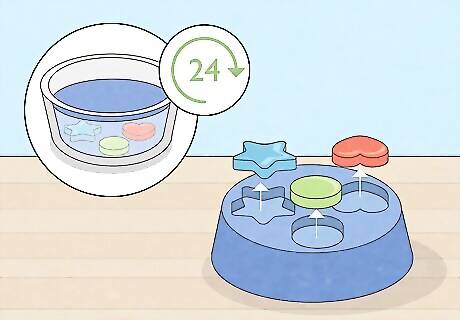
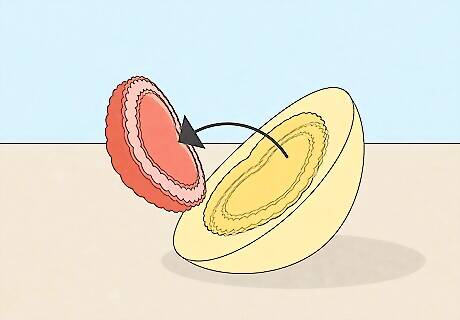
Allow the silicone rubber to cure for 24 hours before removing. Leave your mold on a flat surface in a dust-free environment to avoid any dust or debris from sticking to the mold. Once the mold has cured and dried, carefully remove the mold box and the item inside. Now you’re ready to cast! Silicone molds can be reused many times with the proper care. Wash it after using it with mild dish soap and store it in cool and dry places. Silicone molds are the most recommended material for resin-making since resin is a hard material and silicone offers plenty of flexibility for removal.
Using a 2-Part Silicone Casting Mold
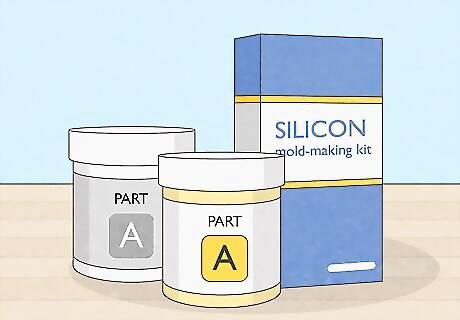
Purchase a silicone mold-making kit. A silicone mold-making kit will come with the tools and ingredients to make a successful mold within 30 minutes. Typically, these kits are pre-measured, so all you’ll need to do is combine Part A and Part B. This differs from silicone rubber, as this formula creates a clay or putty consistency rather than liquid. Putty-like molds may add texture to your finished piece. To avoid this, use a spray mold release to smooth the resin surface.
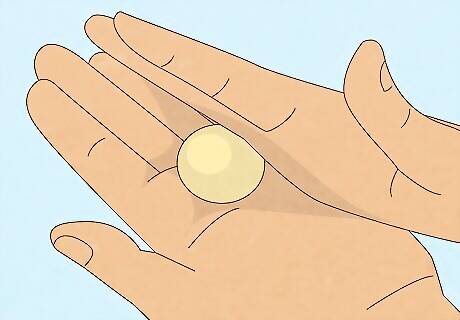
Knead the putty together with your hands. Mix both ingredients by kneading them with your hands until the mixture creates a uniform yellow color. Roll the putty into a ball to avoid creases or cracks in the material. It typically takes 1 minute to get the right consistency.
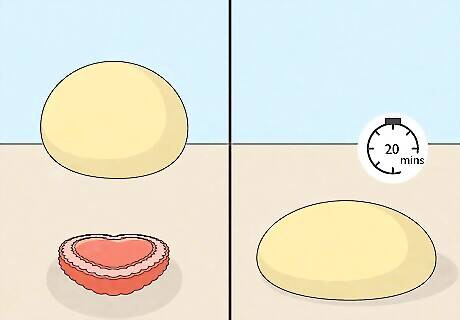
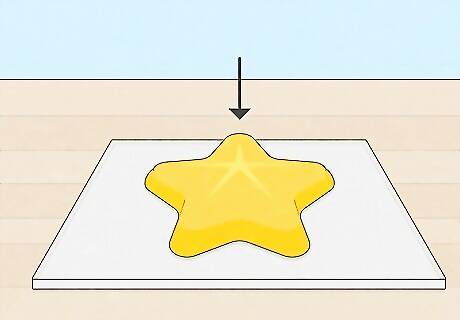
Cover an item with putty and let it cure for 20 minutes. Choose an item you want to make a mold out of. It can be a charm from a necklace or a knick-knack, whatever your heart desires! As long as you have enough mold, you can replicate it. Carefully cover the item evenly, letting it sit for 20 minutes until the putty hardens.
Remove the original piece from the mold. After 20 minutes, you can remove the item from the now flexible mold and get ready to fill it with resin! Silicone molds can be reused many times with the proper care. Wash it after using it with mild dish soap and store it in cool and dry places.
Creating a Liquid Latex Mold
Select your item and attach it to a non-porous base with hot glue. Use a non-porous base like a large piece of glass or a foam board wrapped in cling wrap for an easy, non-stick clean up. Attach the item’s flat surface to the base with a bead of hot glue. This will keep the item in place temporarily. Fill any gaps in the base with additional hot glue or clay. If the item you selected for your mold doesn’t have a flat base, use clay to create a flat slab beneath the item.
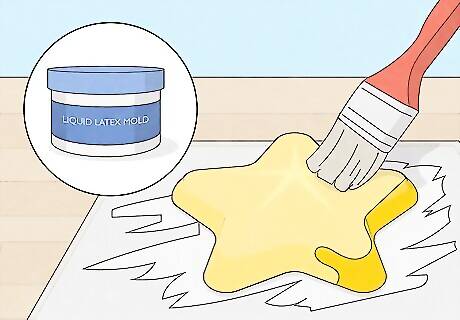
Apply thin layers of latex with a paintbrush. Dip a paintbrush directly into the container of liquid latex or pour latex into a bowl. Brush the latex in thin layers, ensuring no puddles or thick areas. Allow each layer to dry for 15 minutes to 2 hours before applying another coat. Latex is a thin material, so apply at least 20 layers to create a durable mold. However, each layer needs to be completely dry before applying another. You can speed up the drying process by using a hair dryer. If you notice any air bubbles in your mold, use a compressed air can to get rid of them. Each coat should be completed within 24 hours to ensure each layer sticks to each other.
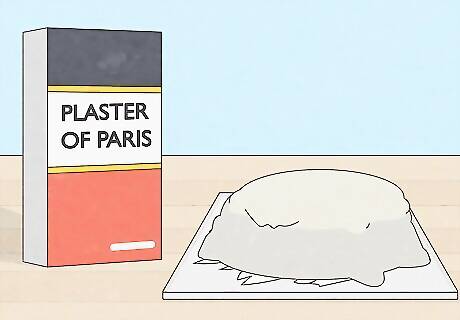
Create a mother mold to keep the shape of the latex. Latex can lose its shape if not properly cared for. To prevent this, mix Plaster of Paris with water, following the instructions on the box. Apply the plaster over the latex mold. Allow it to harden for an hour before removing. You’ll use the mother mold to hold the unused latex mold. You can also create a mother mold with fiberglass. However, spray mold release to the latex before mixing polyester resin and hardener to apply the fiberglass. Allow it to cure for 24 hours before peeling off the mother mold.
Peel the latex mold from the original item. Once the latex mold has hardened, carefully peel it off the original item. Place the mold inside the mother mold to maintain its shape, and use it when you’re ready to cast! Latex molds can last over 10 years with the proper care. Store in the mother mold and keep it in cool, dry locations.
Making a Polyurethane Rubber Mold
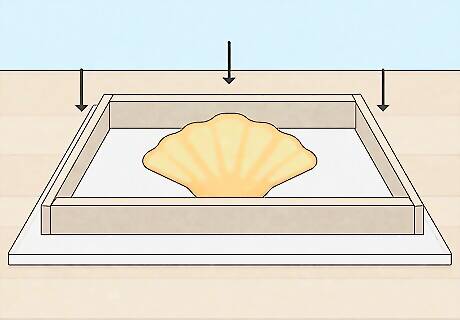
Build a mold box and seal the seams with hot glue. Select the item you want to cast and attach it to a baseboard with a bead of hot glue to keep it in place. Then, take a cardboard box or scrap pieces of wood and clamp them together to build a temporary mold box. Seal any gaps between the baseboard, item, and mold box with hot glue or modeling clay to avoid leakage.
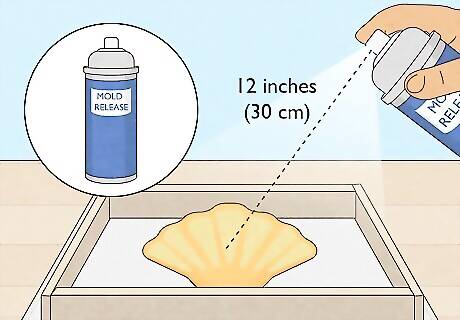
Spray a layer of mold release around the item, baseboard, and mold box walls. Spray mold release 12 inches (30 cm) away from the item to ensure an even coat. You can also use cooking spray if you don’t have access to mold release. This will prevent the polyurethane from sticking to the original item.
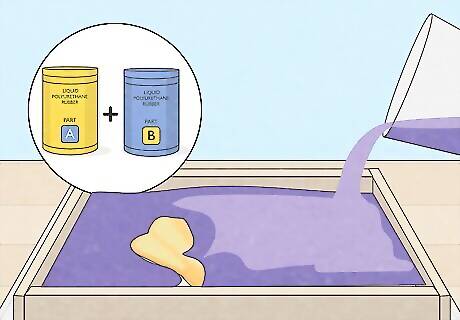
Pour equal parts of liquid polyurethane rubber. Mix Parts A and B of liquid polyurethane rubber in a non-porous bowl. Pour the solution into the mold box at the lowest point of the mold for an even distribution. Allow it to completely coat the item and reach the desired level without overflowing.
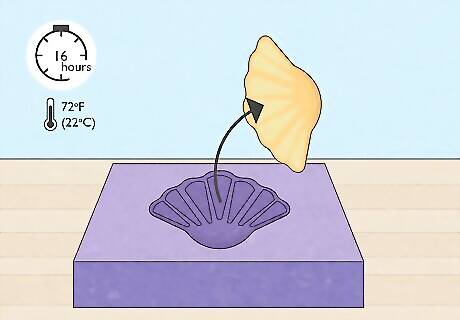
Allow the rubber to cure for 16 hours at 72°F (22°C). Place the item in a dust-free environment and allow it to cure at room temperature. Once the rubber has hardened, you can remove the mold box and peel the rubber off the original item. As long as you’re using quality materials, polyurethane rubber molds can be reused many times and last for years. Use a mix of dish soap, vinegar, and water to clean them and store them in a cool, dry place. This mold type offers limited flexibility compared to silicone. Use a spray mold release when casting resin.
Using Hot Glue
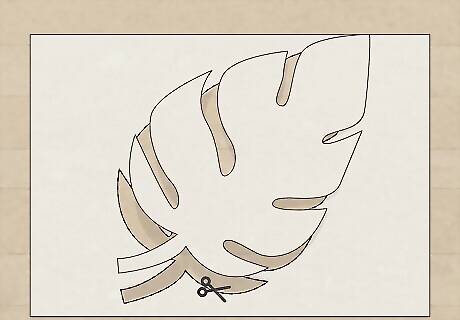
Draw your design on paper and transfer it to a foam board. Want to create a mold you don’t have an item for? Now you can. You only need a pencil, paper, and imagination (or a reference picture). Sketch your design onto a piece of paper, cut it out, and transfer it to a foam board. A foam board will give the hot glue the stability it needs and provide enough layers not to burn or melt through. You can purchase foam boards from dollar or craft stores for an affordable price.
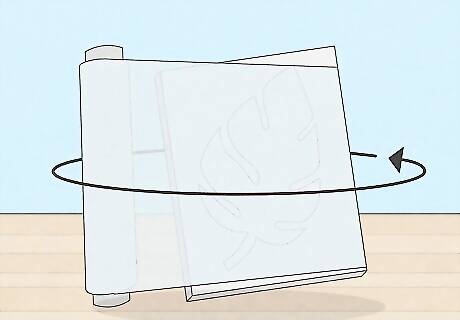
Wrap the foam board with two layers of cling wrap. As you wrap the foam board with cling wrap, ensure each layer is taut to avoid any unevenness in the custom mold. The cling wrap will let you peel the hot glue mold after it dries. You can use parchment or wax paper instead of cling wrap.
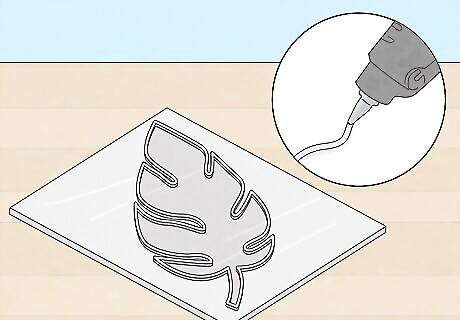
Trace the design with three rounds of hot glue. Be sure to have plenty of hot glue sticks before starting this project, as the amount you’ll need will depend solely on how large your design is. Trace the outline slowly with a hot glue gun, ensuring there are no possible openings for resin to slip out of. Let it harden before using. Repeat this process two or three times to create a “wall” for the resin inside. If there’s a leak in your mold, don’t panic! Add more hot glue to the outside of the mold to fill the gap. If you have a small item, like a charm or a small seashell, you can coat it with oil and pour hot glue. The oil will prevent the item from sticking to the glue. Wait for it to dry before removing it. Hot glue molds can be reused. However, they can be delicate and prone to breaking. Handle it carefully and clean it with mild dish soap and cold or warm water. This mold type is the best for free-hand molds since you don’t need to rely on an original item to make it. They’re inexpensive, reusable, and won’t stick to your project.


Comments
0 comment