
The process is not difficult—plus, it can be used for other purposes, like making casts of animal footprints.
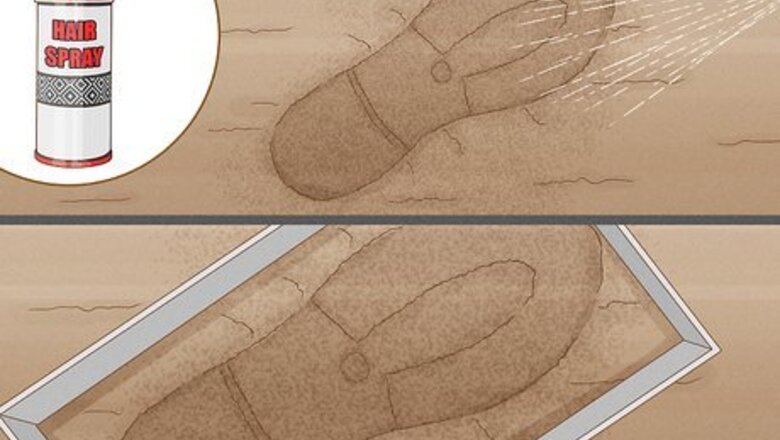
- Clear away any extra soil or pebbles from the area you're trying to cast. If the base material is loose, spritz over it with hairspray.
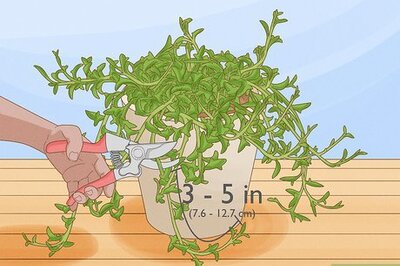
- Pour Plaster of Paris into one end of the impression and let it flow to the opposite end. Don't pour the mixture directly in the middle.
- Remove the cast from the impression and give it a night to dry before cleaning it off.
- Let the cast dry overnight again and transport it carefully.
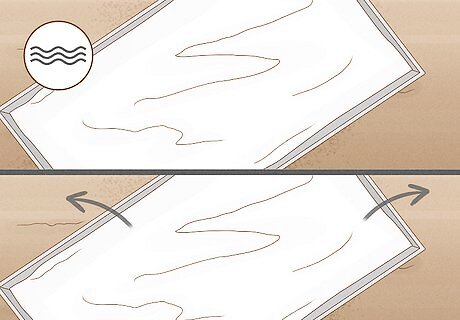
Prepare the area for casting.
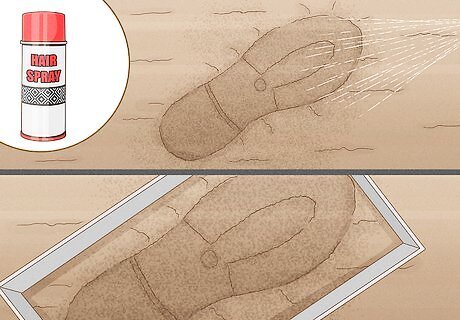
Carefully brush away any small stones or loose soil from around the edge of the area to be cast. You won't want any rocks getting into the impression once you start pouring the Plaster of Paris casting material. If the footwear mark is a loose material, spraying the footwear mark with hairspray will hold the particles of the soil or powder together, so that the casting material does not distort it. If the track or mark contains water, it can be carefully removed by using paper towels. Dip them into the impression and allow the water to be soaked up by the paper, taking care not to disturb the mark. There is no need to remove all the water; the Plaster of Paris will sink into the bottom of the impression and displace any water. To stop the Plaster of Paris from spreading out and overflowing, use stones or pieces of cardboard to make a barrier around the area. This is particularly important when the impression to be cast is on a shallow or sloping ground.
Mix the Plaster of Paris.
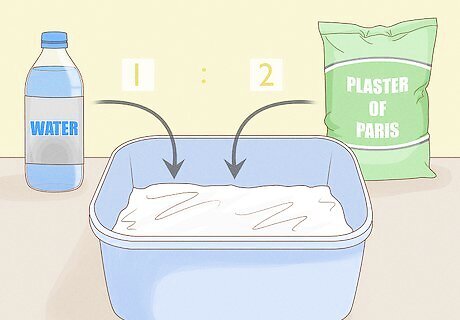
Pour two parts plaster mix to one part water into a plastic bag. The mixture can then be kneaded through the bag to remove any air bubbles and ensure a proper mix. Add more water (if required) to get a smooth, even consistency.
Pour the Plaster of Paris into the impression.

Once the Plaster of Paris is mixed, cut or pierce the bag in one corner. This allows the plaster of Paris to be poured out easily.
Pour the casting material from one end let it flow along the impression.
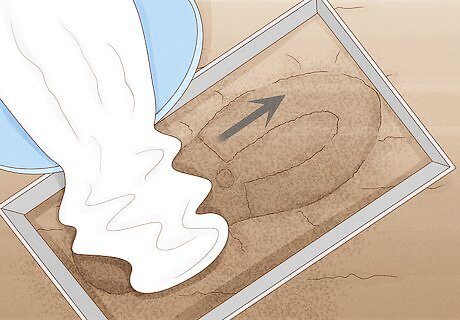
Try to avoid pouring it directly into the middle of the impression. This can distort the detail or wash away the mark. Once the impression is full, tapping the surface of the casting material (while it is still a liquid) with a stick (or a pen/ruler) will make any air bubbles within the casting material rise to the top, preventing air bubbles in the final cast. Small pieces of string or sticks can be pushed into the surface of the casting material to reinforce it, so it is less likely to break into pieces when handled after lifting. A paper exhibit label tied to a piece of string can be attached by pressing the string into the casting material before it sets.
Lift the cast out.
Allow to fully dry before lifting. Do not attempt to remove the cast from the ground until it is completely dry and hard or it may crumble or lose detail. Use a spade or trowel to lift the cast from the ground. Dig into the ground a few inches away from the cast, using the soil as a cushion between the cast and space during removal. Avoid hitting the cast with the spade to prevent breakages.
Let the cast dry and then clean it.
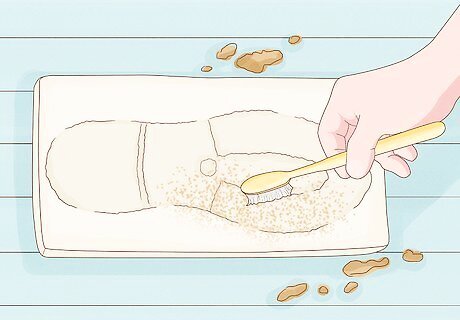
Allow the removed cast to dry overnight. Wait until the next day before attempting to remove any soil adhering to the bottom of the cast. Large, loose pieces of soil can be picked off straight away, but leave a thin layer on the cast until it has hardened sufficiently. This will protect the cast during transportation. Carefully remove the soil, or you may damage the fine detail in the cast; a toothbrush or paintbrush used lightly will work best. Once the majority of soil has been removed, put the cast under a running tap and, using the paint brush, gently brush the cast to remove any remaining soil.
Allow it to dry overnight again.
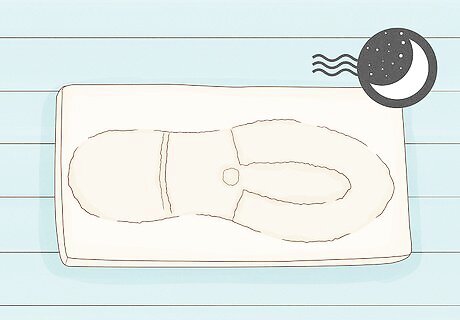
Let it dry again once the cast has been cleaned. Then, spray with hairspray (or lacquer) to strengthen the cast and prevent it from crumbling during handling.
Store and transport the cast.
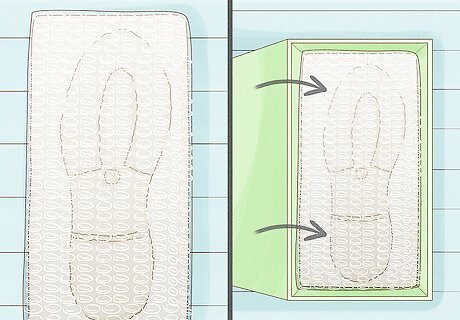
Wrap the cast in a newspaper or some bubble wrap to prevent it being damaged. You may also place the cast in a shoe/pizza box to stop it being bumped around and damaged.


Comments
0 comment