views
- Water your aloe 2 to 3 times a month during spring and summer, and once a month during fall and winter.
- Plant your aloe in a pot with a drain hole in well-draining soil made for succulents or cacti.
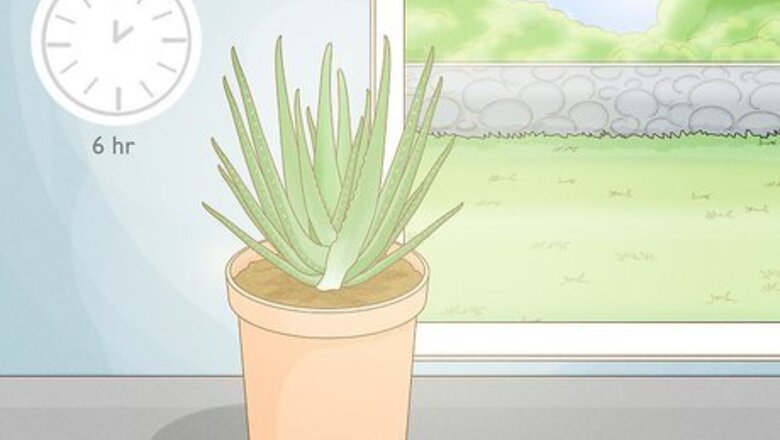
- Place your aloe plant in a warm, sunny spot, such as on a windowsill.
- Propagate your plant by cutting off new growth at the base of your aloe.
Growing Aloe
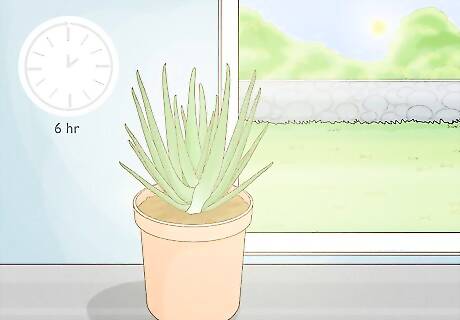
Place the plant in bright sunlight. If your aloe doesn’t get enough sunlight, its stems will reach out toward the window and become weak. Choose a sunny windowsill or a bright spot that gets indirect sun. Ideally, make sure your plant gets a minimum of 6 hours of sunlight a day. During the summer months, you can move your aloe outdoors so it gets more sun. Slowly increase how much time your plant spends outside, though, because its leaves can get sunburnt in full sun.
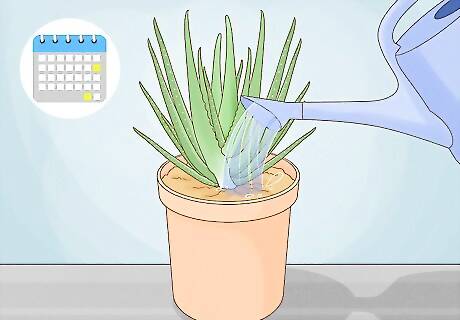
Water your plant every 2-3 weeks during the growing season. Aloe plants are pretty low-maintenance, since they don't require much water. Wait until the soil is dry at least two inches below the surface, then water slowly and deeply until you see water coming through the drainage holes. Don’t water the aloe again until the soil is dry at least two inches below the surface once more. When in doubt, water less, not more. When aloe is overwatered, the roots begin to rot, and the plant eventually dies. It's better to wait a few extra days if you're not sure whether it's time to water. If your plant is outside, only water it during a drought. Otherwise, rely on rainfall for regular waterings.
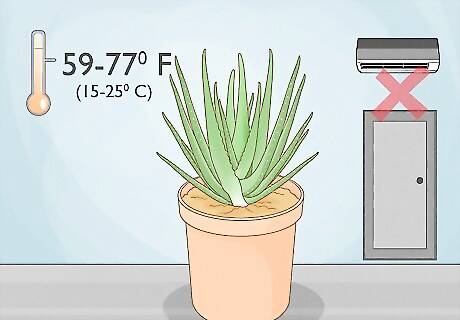
Keep the plant in a spot that’s 15 to 25 °C (59 to 77 °F). Aloe plants like to be warm because they’re used to growing in a hot climate. Your plant will thrive in a warm spot so keep it out of the direct path of air conditioners or fans. Keep in mind that sunlight will add a little extra warmth to your plant. Freezing temperatures are deadly to aloe plants. They can freeze the water inside the leaves, killing them. If the soil ices over, the entire plant will die.
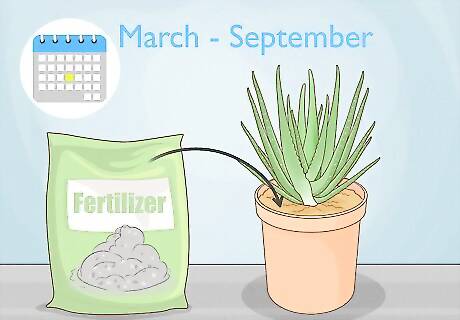
Fertilize your aloe as often as once a month from March to September. While you don’t have to fertilize aloe, feeding your plant will help it grow faster. Pick a fertilizer that’s formulated for houseplants, then mix 1 part fertilizer with 1 part water. Sprinkle the fertilizer along the base of your plant. Keep in mind that aloe is used to growing in harsh conditions, so it’ll still be able to thrive without fertilizer.
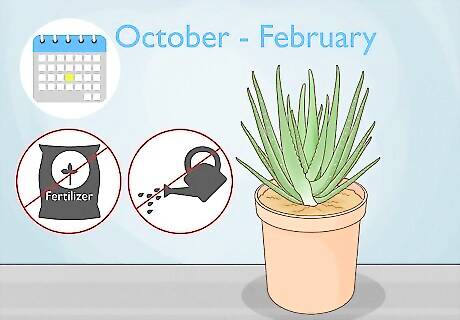
Let your aloe go dormant from October through February. Aloe plants need to rest during the winter to thrive. During these months, reduce your waterings and avoid fertilizing it. You'll likely only need to water your plant once a month. Just make sure the soil is totally dry before you water your plant. Your plant won’t wilt during the winter, but it won’t grow, either.
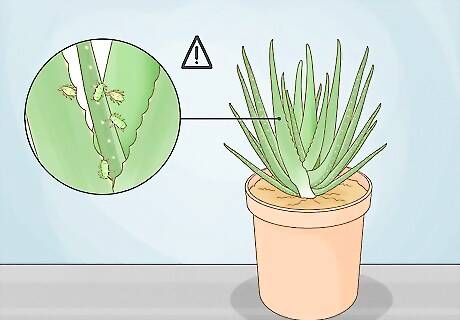
Watch for pests. Aloe is susceptible to both aphids and mealybugs, which can damage your plant. Mealy bugs are oval and waxy, and aphids are tiny flying insects. Both of these pests enjoy sucking the sap from your aloe. To kill them, spray your aloe with insecticidal soap. You can also get rid of mealybugs by rinsing your aloe with a strong stream of water or by applying neem oil to your plant.
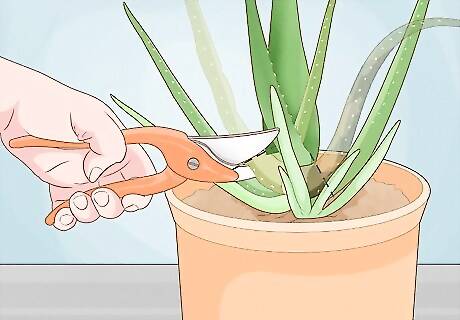
Prune shriveled leaves from the base of your aloe. You only need to prune an aloe plant when it has dry, dead leaves. Always cut the leaves at the bottom of your plant to help trigger new growth. Additionally, slice the leaves at an angle because it’s helpful for regrowing new leaves. Aloe is great about regrowing leaves that you’ve cut. Your plant will fill back in once the shriveled bits are gone.
Potting/Repotting Aloe
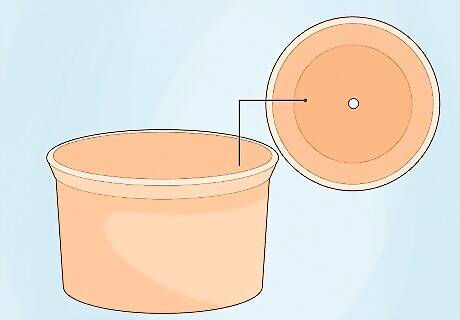
Choose a well-draining container that’s as wide as it is tall. Look for a pot that’s no larger than 2 sizes bigger than the current pot, and make sure that it has a drainage hole at the bottom. Opt for a clay pot if you can because they drain faster. A pot that’s too large will hold extra water and may cause root rot. Aloe is a tropical plant, so you can grow it outdoors if you live in USDA Zone 10 or above. When growing it outdoors, plant aloe in a well-draining bed.
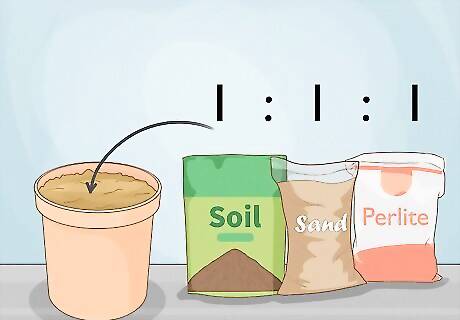
Fill the container with well-draining soil. Like other succulents, aloe plants store water, so they like to have dry roots. They thrive in dry soil rather than moist potting soil. Pick a potting soil labeled for succulents or cacti, or make your own potting mix. For aloe, combine 1 part soil,1 part sand, and 1 part perlite. You can substitute lava rock or bark for the sand or perlite.
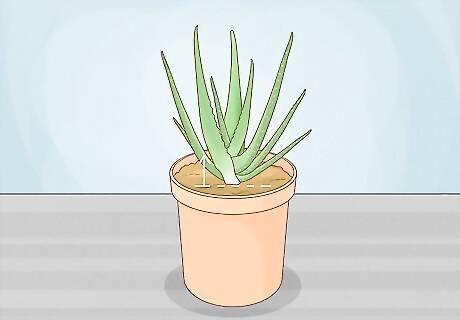
Pot the aloe so that the leaves stand above the soil. Fill the pot partially with soil, then set the aloe's root ball right in the middle. Place more soil around the root ball, all the way up to the base of the leaves. Don’t cover the leaves because they’ll rot. Pat it lightly with your hands to keep the aloe plant in place. Keep in mind that the soil should only cover the root ball.
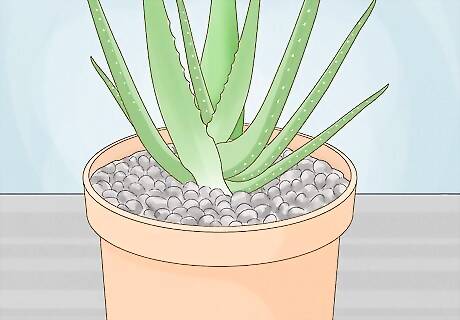
Spread pebbles or shells over the exposed dirt. Covering the topsoil helps your aloe hold in moisture, like they do in their natural environment. Any kind of small rock will work, so pick one that you like. After you spread them over the soil, press the pebbles lightly into the dirt around the base of your plant.
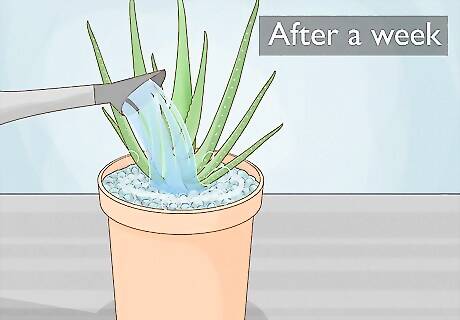
Wait about a week to water your aloe. Aloe isn’t a typical house plant. Since it likes dry conditions, it’ll take to its pot better if you don’t water it right away. Give it a few days to a week for the roots to settle, then start watering it. Remember that aloe stores water in its leaves, so it takes a while for it to totally dry out. Your plant isn’t going to die if you wait to water it.
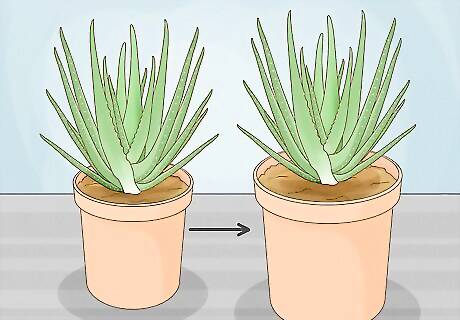
Repot the aloe when it’s crowded. Aloe plants actually like to be rootbound, which means they prefer to be in a tight pot. Your plant won’t grow as well if the roots have too much space to fill because your aloe will use its energy to grow its roots, not its leaves. Wait to repot your plant until the pot is overflowing with aloe or crowded with baby aloe around the base of your plant. With aloe, you have a lot of leeway when it comes to repotting. Your plant will keep growing for quite a while even after it’s outgrown its pot.
Propagating Aloe
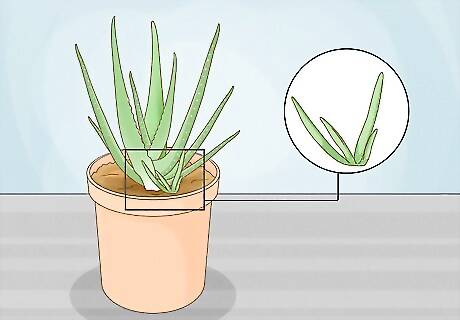
Look for an aloe pup at the base of the plant. Aloe plants are easy to propagate because they grow new baby plants around their base. These tiny new plants are called pups. If you separate a pup from the mother plant, it’ll grow into a whole new plant. Check the bottom of your plant for pups to see if it’s time to propagate your aloe. You don’t have to propagate the pups if you’d rather let your aloe fill out its container.
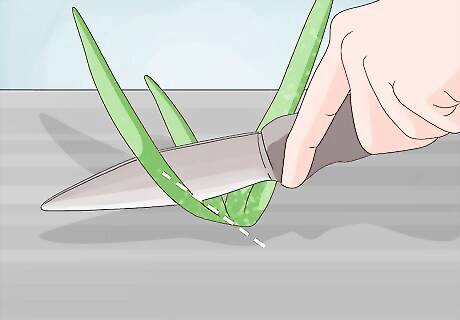
Slice the pup off with a sharp knife. Place your knife at the base of the pup and gently cut it free. Try to keep some of the roots intact if you can, but don’t worry if you have to sever them. Aloe pups will regrow roots after you plant them in soil.
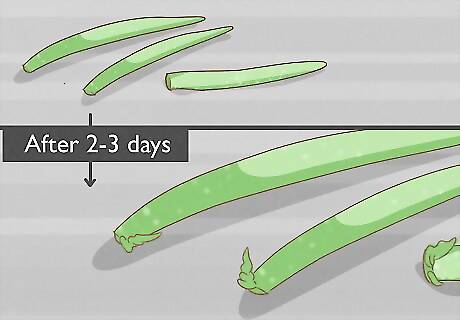
Let the pup sit for a few days so it forms a callous. If you plant it right away, the base of the aloe pup will probably rot. To prevent this, dry out the base before planting your baby aloe. Set the pup on a clean, dry surface to let it callous over for 2 to 3 days. “Callous” just means that the end of your plant has dried out.
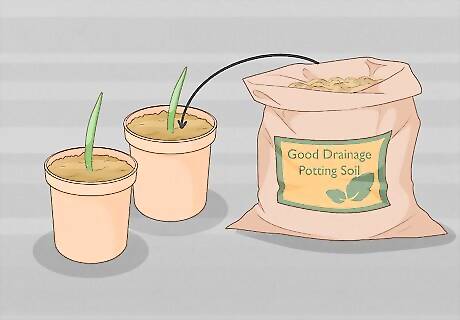
Plant the pup in well-draining soil. Use succulent or potting soil to pot your aloe pup. If you make your own, mix equal parts soil, sand, and perlite to get the perfect blend. Fill your planter with potting mix, then cover the base of your pup. Don’t cover the leaves of your aloe because they’ll get too wet and rot.
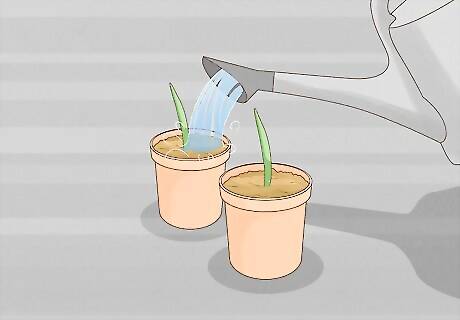
Water the pup after you plant it. Watering your plant will help settle it in its pot. Pour the water around the base of your aloe pup, avoiding the leaves. Your aloe pup is ready for its new home!
Harvesting Aloe Vera Gel
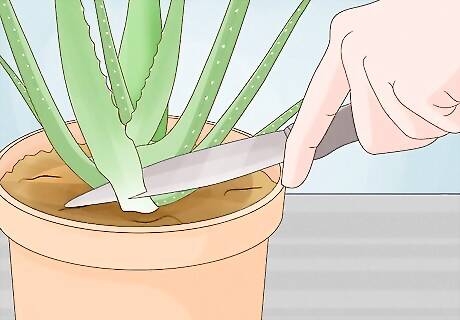
Slice off an older, outer leaf. Always harvest the oldest leaves from your plant to keep your plant thriving. These leaves are usually lower on the plant and along the outer edge. Just make sure the leaf you choose is healthy because shriveled leaves don’t have good sap. Older leaves generally have more sap than newer leaves, as long as they aren’t dried out.
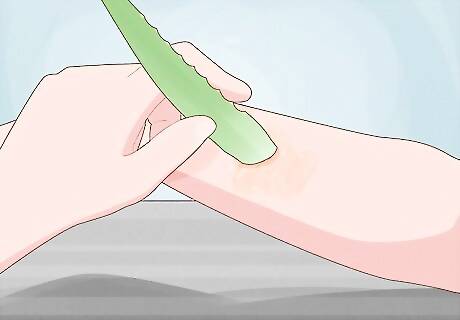
Rub the end of the leaf directly onto your skin. If you’re treating a minor burn or sunburn, it’s okay to just apply the end of the aloe leaf to your burned skin. Gently swipe the gel onto your skin to help relieve pain and irritation. You may need to use more than one leaf to get enough sap to treat your skin.
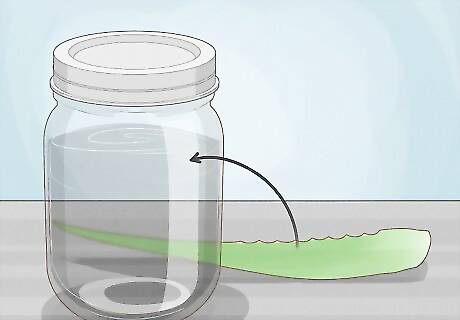
Drain the gel into a jar to use later. If you want to collect some aloe vera gel, wash the leaves to remove any dirt and debris. Then, cut the ends of the leaves into a V to make it easier to harvest the gel. Place the leaves standing straight up in a jar with the cut end pointing down. Allow the aloe leaves to drain for 24 hours, then remove the empty leaves and discard them. Store your aloe gel in an air-tight container.


Comments
0 comment