views
- Combine 1 part phosphorescent powder with 5 parts acrylic paint. Then, let this paint charge in the sun for about half an hour to see it glow.
- You can also make paint by removing the felt from a highlighter. Peel the highlight off the felt by pouring water over it. Then, mix this liquid with equal parts corn starch.
- Use your glow-in-the-dark paint to illuminate toys, posters, and other art projects. You may need to apply multiple coats, but it can last for up to 10 years!
Using Phosphorescent Powder
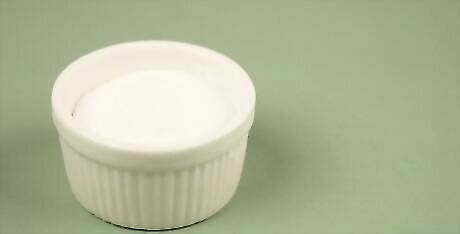
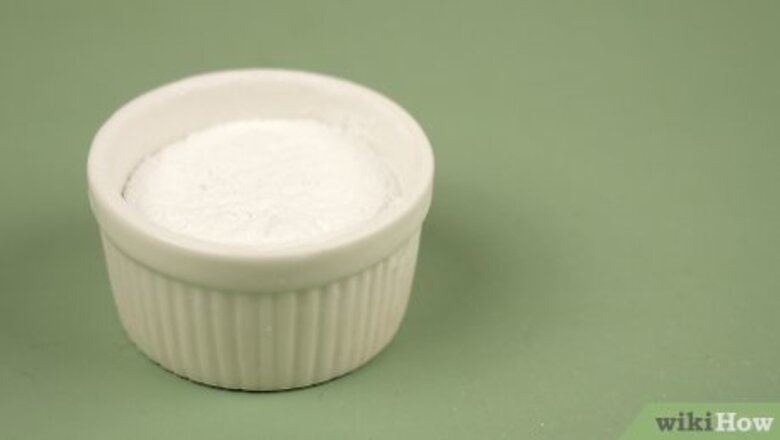
Use a phosphorescent powder as the base to make your paint glow. Phosphorescent powders contain phosphors, which are little, naturally-fluorescent particles. When something is fluorescent, it illuminates when exposed to the right lights. You can find phosphorescent powders online, or at some craft and art supply stores. These powders come in a variety of colors and particle sizes. Larger particles are brighter, but also make a rougher paint, which can create a speckled look. Smaller particles create a smoother paint, but don't glow as brightly.
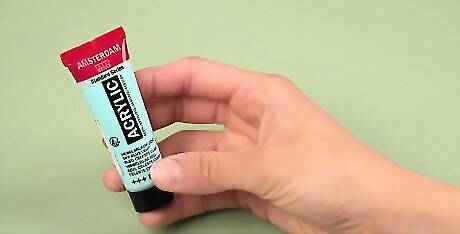
Find a paint medium that will mix well with phosphorescent powder. If you want your paint to be invisible in light (and only seen when it glows), opt for a clear option, like an acrylic gel. If you want to see the paint in the light, choose an acrylic or tempera paint in a color you like. It may require some trial and error to figure out if your paint works with phosphorescent powder. While phosphors help most types of paint glow (acrylic, wax paint, caulking, ceramic glaze, plastics, glue, epoxy), some paints may require additional powders and chemicals. For example, if you’re planning to use a water-based medium, then you will need "coated glow powder" (or "coated phosphorescent pigment"). For solvent or oil-based mediums, you can use a standard (uncoated) glow powder.
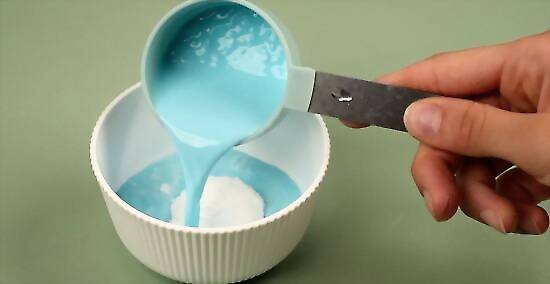
Mix your paint and phosphorescent powder in a bowl. Place about 0.25 cups (59 mL) of phosphorescent powder into your bowl. Then, gradually pour about 1.25 cups (300 mL) of paint in, a little at a time, carefully stirring the mixture with a paint stirrer after each pour. You can adjust your amount, depending on how much paint you want to use, but always keep your ratio 1 part powder to 5 parts paint. The powder will not fully dissolve in the paint, so just stir until the mixture is combined and no lumps remain.
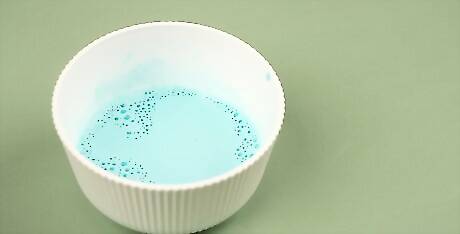
Charge your paint by exposing it to sunlight. The luminescence in your phosphor-based paint is triggered when it makes contact with UV (ultraviolet) rays. The sun emits plenty of UV rays, so leave your paint by a sunlit window for about a half hour to ensure it glows vividly for as long as possible. Black lights, incandescent, and fluorescent light bulbs also emit UV rays. Placing your paint under these lit bulbs may also help charge it. Keep your paint at room temperature. While leaving it outside will expose it to more light, it can also cause the paint to dry out or harden.
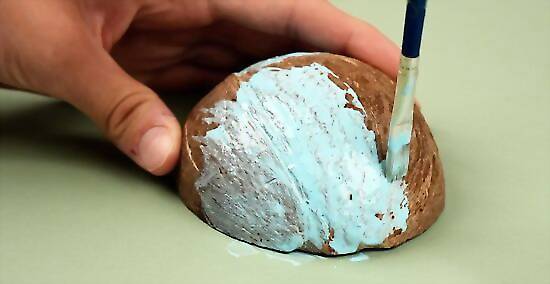
Paint your favorite objects to make them glow. Unsealed glow-in-the-dark paint likely won’t have much of a shelf life, so use it immediately after charging (and don’t charge it for more than an hour). Cover all kinds of objects (art projects, outfits, toys, wooden items) in glowing paint by using a paint brush, spraying the paint on, splatter painting, or using another method of your choice. Then, turn off the lights to see how brightly each item shines! If you do want to store your paint, pour it into a sealable container and stir it well before using it again. Glowing paint can last for about 10 years, or even longer if you apply it to indoor surfaces as opposed to outdoor ones.
Using a Highlighter and Water
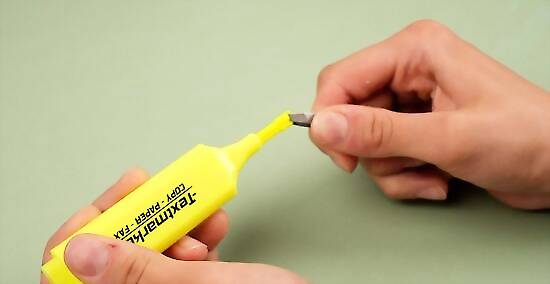
Open a highlighter and remove the felt. Using a pair of pliers, break open the end of a non-toxic highlighter. (The color is entirely your choice.) Remove the felt strip from the center and discard the plastic highlighter casing. Double check that your highlighter glows before removing its felt. Test this by writing something on a piece of paper using your highlighter. Then, turn off the lights and hold a black light over it (which you'll need to make highlighter paint glow). If your marker glows, you’ll be able to see your test scribbles. Some highlighter felt may be encased in a plastic sleeve. Remove this sleeve to make the glow of your paint more vivid.
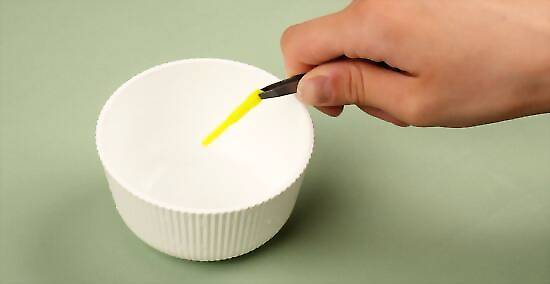
Peel the color off your highlighter felt by running water over it. Place the removed highlighter felt in a cup or jar in your sink. Then, turn on the tap and slowly run water through the felt strip so that the highlighter liquid runs into your cup. Turn off the water once all the color has peeled off and the felt looks white. You may need to do this for several highlighters in order to create enough highlighter water. Use gloves when touching the highlighter if you don’t want to stain your fingers.
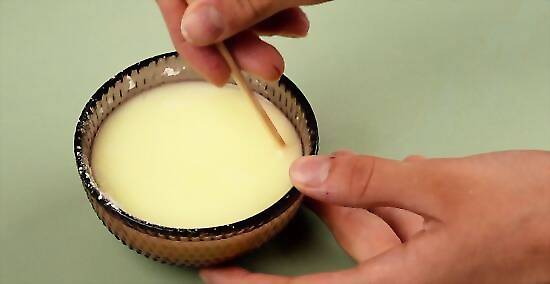
Mix your highlighter water with a ½ cup of cornstarch. In a separate bowl, pour in a ⁄2 c (120 mL) of cornstarch. This will be the basis for your homemade glow-in-the-dark paint. Then, add a ⁄2 c (120 mL) of your highlighter water and stir until the cornstarch completely dissolves. You can adjust the amount of liquid you decide to use, but the ratio should be equal parts cornstarch and highlighter water.
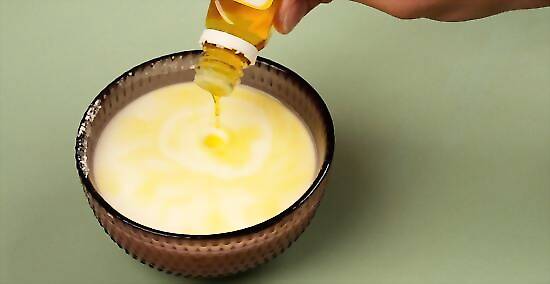
Add a few drops of food coloring. If you don’t like your highlighter color and/or you just want to change the color of your paint, add some food coloring and stir. Use as many drops of food coloring as you need to achieve your desired color. Consider pouring your paint into a few smaller containers. That way, you can create different colors using different food colorings.

Use your paint and watch it glow under a blacklight. Apply your highlighter paint to any object of your choosing: posters, paper, clothes, glasses, metal, the choice is yours! Then, turn off all the lights and close any blinds or shades. Turn on your UV-A blacklight and watch how it brightens the room. You can even throw a glow-in-the-dark paint party with your friends! This paint is pretty runny, so you may need to apply a few coats. However, once you do, the paint will glow brighter and your objects will be illuminated for up to 10 years.




Comments
0 comment