
Create a Resource Account in Microsoft Outlook 97
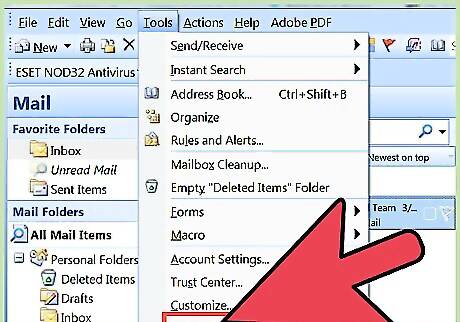
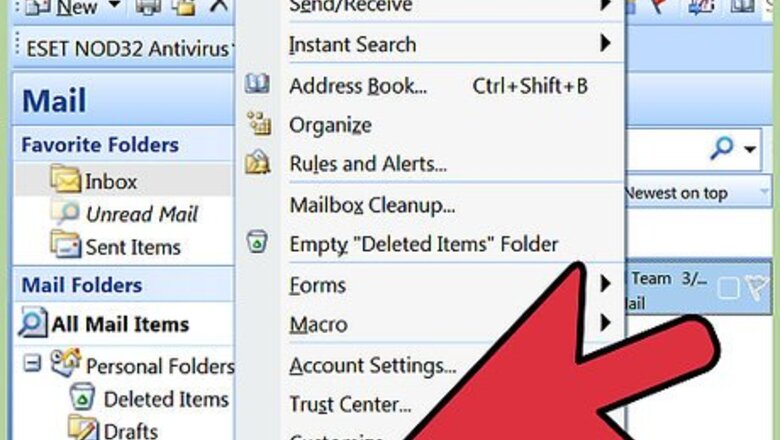
From the "Tools" menu, click on "Options."
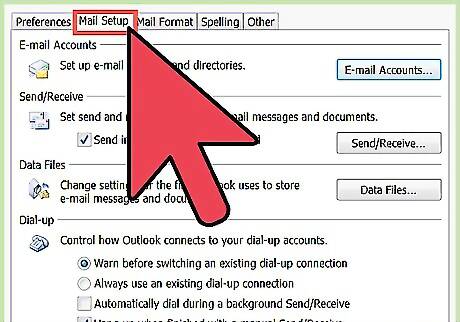
Click on the "Email" tab. Under "Settings for automatic processing of mail," select "Process requests and responses on arrival," then click "OK."
Click on "Advanced Scheduling" on the "Calendar" tab. Select your desired options in the section called "Processing of meeting requests." Click "OK" the close the dialog box.
Click on the "Delegates" tab. Click "Add" and type in the name of the delegate account. In the "Delegate Permission" box, click "Editor in the Calendar list" and select "Delegate receives copies of meeting-related messages sent to me," then click "OK." Click "Send meeting requests and responses only to my delegate, not to me" then click "OK."
Create a Resource Account in Microsoft Outlook 98 and 2010.

Go to the "Tools" menu. Click on "Options."
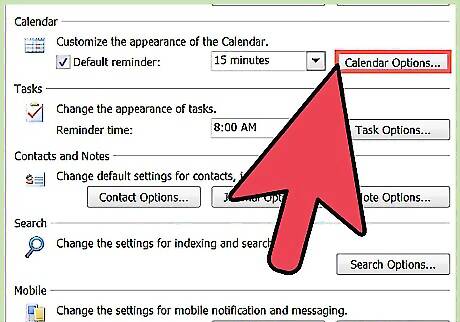
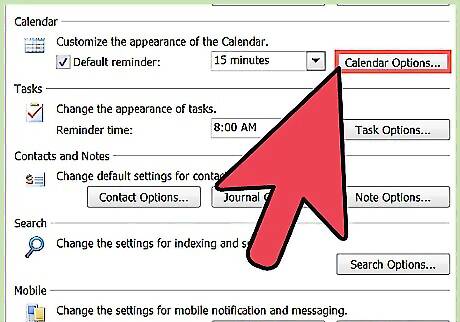
Click on "Calendar Options," then click on "Resource Scheduling." Select your desired options in the section for "Processing of meeting requests," then click "OK." Remove the check-mark next to "Default Reminder" at the beginning of the Calendar section.
Go to the "Delegates" tab. Click "Add" and type in the name of the delegate account. In the Delegate Permission box, click "Editor in the Calendar list" and select "Delegate receives copies of meeting-related messages sent to me," then click "OK." Click to select, "Send meeting requests and responses only to my delegate, not to me" then click "OK."


Comments
0 comment