views
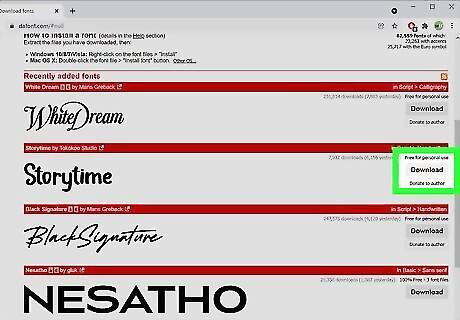
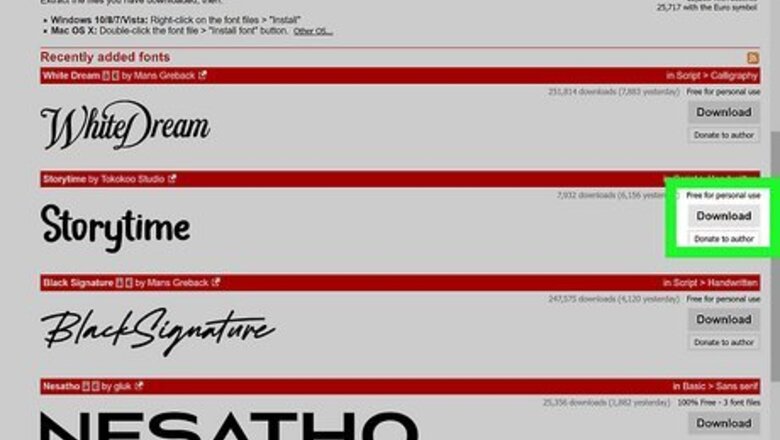
Download a font you want to use in WordPad. You can browse for fonts from several sites, like https://fonts.google.com/, https://www.dafont.com, https://www.1001freefonts.com, https://www.fontspace.com, and https://www.fontsquirrel.com. While some fonts are free, some require you to pay. If you find a font you like but it isn't free, you can search for a similar-looking font on another website to see if they offer it for free. Click to download the file, and it'll probably download in a ZIP folder.
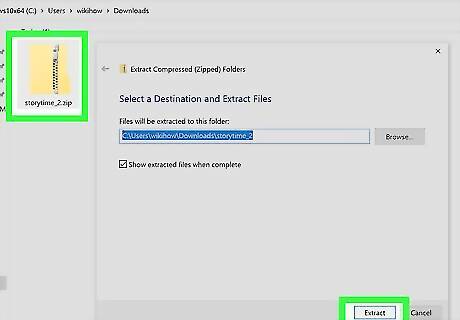
Unzip the folder you downloaded. Click the folder to select it in File Explorer, then click Extract All. Finally, choose a location to move the zipped files to (which usually are a .txt file that shows you what the font looks like and a .ttf/.otf/.ttc file), and
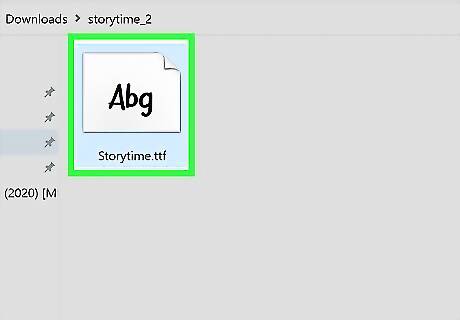
Open the font file. Double-click the font file (the .ttf/.otf/.ttc file) to open it.
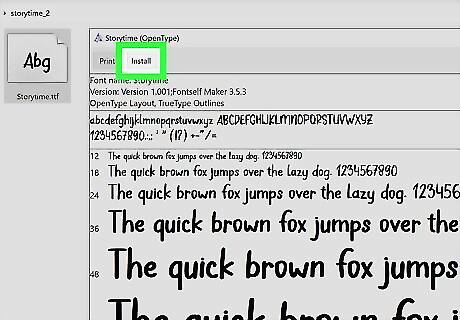
Click Install. It's at the top-left corner of the window next to "Print." This installs the font by placing it into the Fonts folder. When the font is installed, the "Install" button will dim.
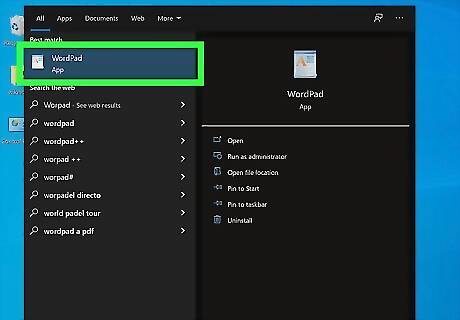
Launch WordPad. If the app is already open, you need to close it and open it again.
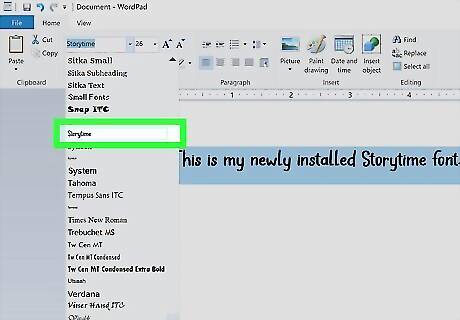
Find your newly installed Font in the font drop list. Once you launch or restart WordPad, you should see the downloaded font in the font drop-down list.


Comments
0 comment