views
Choosing a Relaxer
Get a no-lye relaxer if you have a sensitive scalp. There are two main types of relaxers, lye and no-lye. Both of these have benefits and drawbacks, but those with sensitive scalps should go with the no-lye because it’s less painful and irritating. However, no-lye relaxers often dry out the hair. For this reason, those who don’t have sensitive scalps should consider using a lye relaxer.
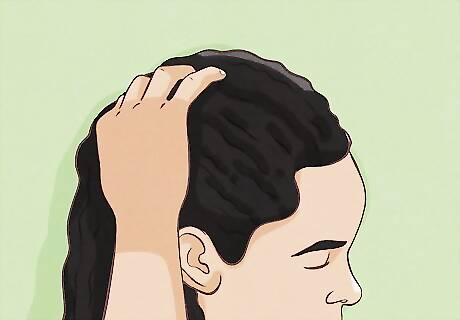
Go with a regular strength relaxer for normal to thick, coarse hair. Different relaxers have different strengths. Pick a relaxer strength based on your hair’s thickness and texture. For most, a “regular” strength relaxer should work just fine. Get a relaxer with mild strength if your hair is fine, color-treated, or damaged. If you have thick, coarse hair, you can try a “super” strength relaxer. Make sure to apply it as directed in the instructions, as improperly used relaxers can cause breakage.
Read the relaxer directions. Read the directions on your relaxer kit thoroughly and make sure you understand everything. While relaxing your hair is relatively simple, it can also be dangerous. Ensure your own safety by carefully reading through the instructions and warnings.
Preparing Your Hair
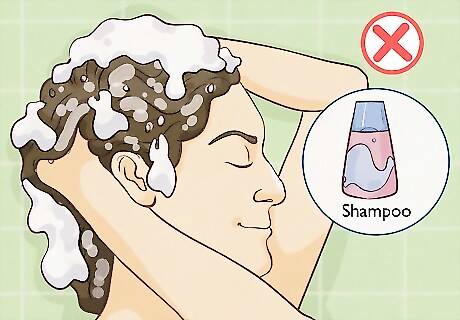
Don’t shampoo or scratch your scalp before relaxing your hair. Applying relaxer will be painful if your scalp is already irritated in any way. For this reason, it’s best to not wash your hair or scratch your head at all for at least the week leading up to application. If you do accidentally scratch your scalp, the relaxer will likely make your head tingle.
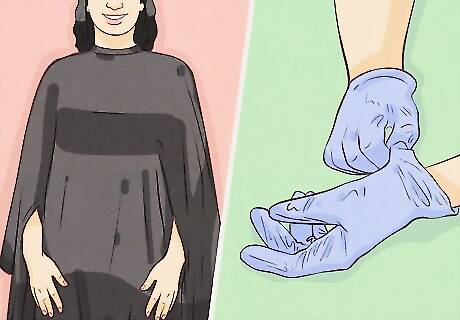
Put on gloves and a cape. You’ll be working with dangerous chemicals that can harm your skin and possibly damage your clothes. Get a hairdresser’s cape and plastic gloves and put them on before handling the relaxer to prevent any harm or damage.
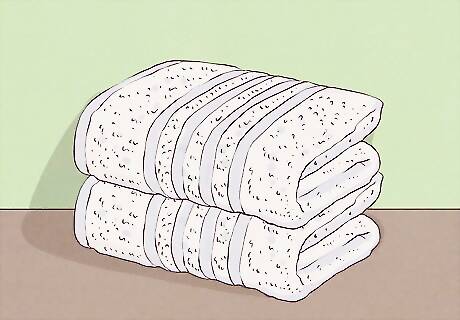
Get out a couple of towels in case of spills. Keep a towel or two on standby in case you have any spills. The chemicals you’re dealing with may stain clothing, furniture, and other things they touch, so it’s best to clean any spills up immediately.
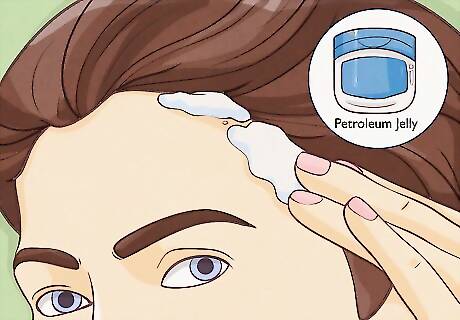
Apply a protective base cream to the scalp and hairline. Because relaxer can irritate your skin, it’s a great idea to apply a base cream directly to the scalp to protect it. Part your hair in multiple places and apply the base to your scalp. Don’t forget to apply the base to your hairline and around your ears as well. Petroleum jelly is also a sufficient protective base option.
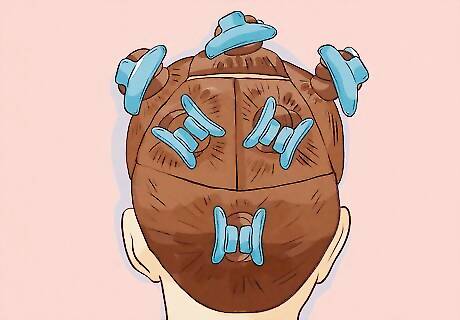
Divide your hair into 4-6 sections. Use a comb to divide your hair evenly into 4-6 different sections. Secure the sections with plastic hair clips or rubber bands. Avoid any hair ties or clips that have metal.
Applying the Relaxer
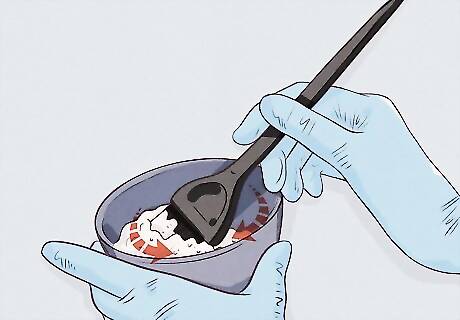
Mix the product in a plastic bowl. Typically, hair relaxer comes as a cream or paste and there will be chemicals that need to be mixed with it to complete the relaxer chemical process. With your plastic gloves on, mix the product in a plastic bowl as instructed.
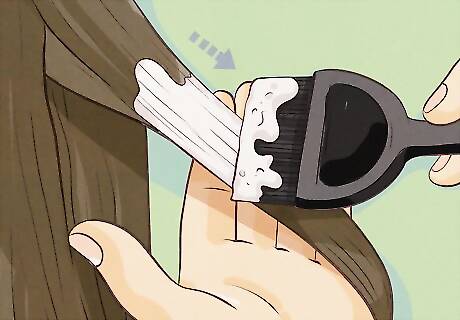
Apply the relaxer to the new growth in small sections. Use your comb or the opposite end of your applicator brush to get a small section of hair that’s no more than ½ inch (1.3 cm) thick. Using an applicator brush, carefully coat your new growth with the relaxer. Do this over and over until you’ve applied it to every section. If you’ve never applied relaxer before, you’ll be coating all of your hair. If you have, then you should only be applying it to your roots. Avoid getting the relaxer on your scalp. Don’t apply the relaxer to the parts of your hair that aren’t new growth. You’ll over-process the hair and may cause damage.
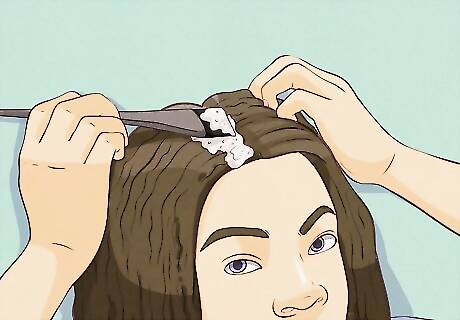
Apply relaxer to your nape and hairline last. Your hairline is the area that people will see first when they look at you, so you want to be extra sure that you don’t over-process the relaxer along the hairline. Also wait to apply relaxer to the nape of your neck, because the hair here tends to process more quickly. Over-processing may result in unsightly breakage.
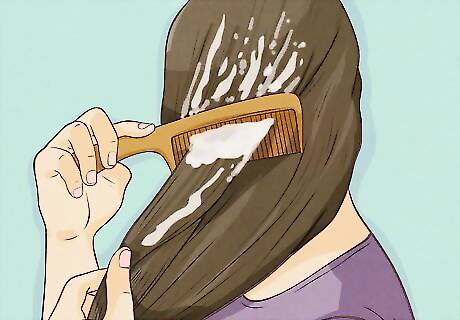
Smooth the new growth with the back of a comb. After applying your relaxer, go back over all of the hair you applied relaxer to. Use the back of a comb to smooth out the hair to ensure that it straightens. Do not comb the hair.
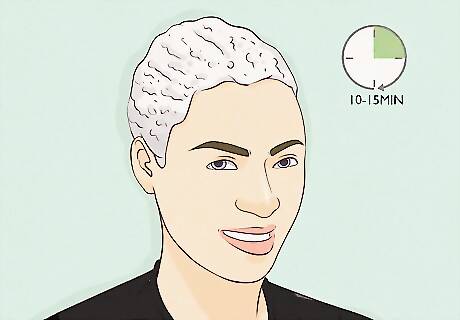
Set a timer for 10 or 15 minutes. While most relaxers should be left on for 10-15 minutes, different relaxers require waiting different amounts of time. Set a timer for however long the box instructs. Strictly follow the time instruction. Some people leave the relaxer on longer to achieve “bone straight” hair, but it’s typically more attractive to take the product off when you’re supposed to because then your hair will have some body. Also, leaving it on too long can damage your hair.
Removing the Relaxer
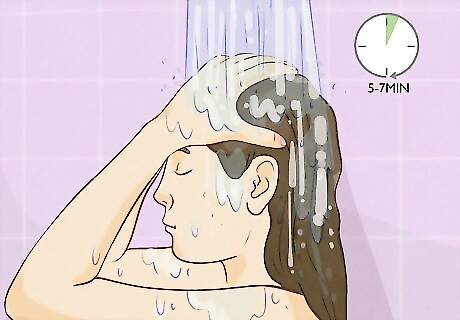
Rinse your hair for at least 5-7 minutes. When the time is up, spend several minutes rinsing the relaxer out with comfortably hot water. In order to protect your hair, it’s important to get as much product as possible out of your hair. Don’t spend any less than 5 minutes rinsing.
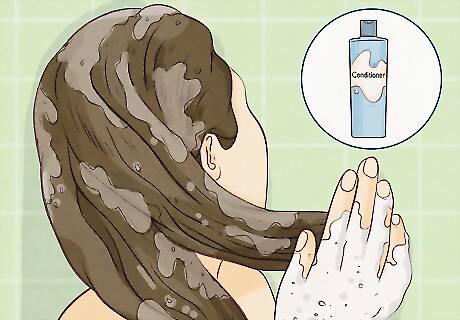
Condition your hair. After rinsing, massage a regular moisturizing conditioner into your wet hair and then rinse it out just after application. This will bring the pH level of your hair back up to normal. It’s important to do this before shampooing while the hair cuticle is open. The conditioner will moisturize your hair much more effectively when the cuticle is open.
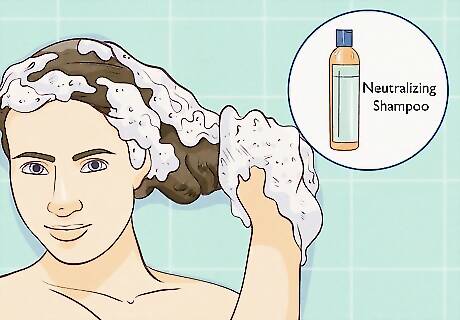
Wash your hair with a neutralizing shampoo. Finally, wash your hair with a neutralizing shampoo to stop the chemical process. This will ensure that the relaxer is completely removed from your hair.
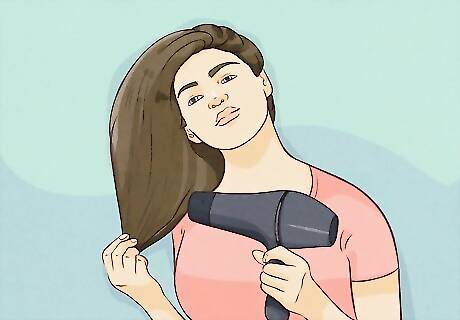
Rinse your hair and style as usual. Thoroughly rinse the neutralizing shampoo out of your hair and then spray with a heat protectant and blow your hair dry with a hair dryer if you wish. Then, you can finish styling your hair however you want to. Complete the sleek look by straightening with a flat iron.
Caring for Relaxed Hair
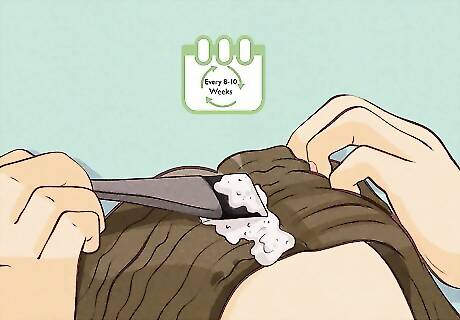
Relax your roots every 8-10 weeks. If you want to stick with the sleeker look of relaxed hair, you’ll need to apply the relaxer every 8-10 weeks. Every time you do this, make sure you only apply relaxer to your new growth. Otherwise, you’ll damage your hair.
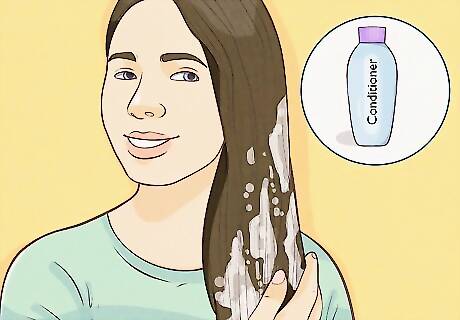
Keep your hair moisturized. All relaxers tend to dry out hair to some degree. Moisturize your hair daily with leave-in conditioners and deep-penetrating light oils to keep your hair soft, silky, and smooth. Deep condition your hair weekly with a protein treatment or moisturizing mask.
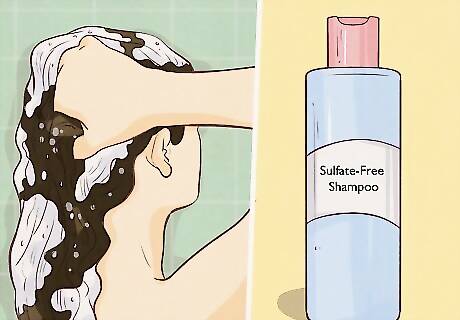
Use a sulfate-free shampoo. Shampoos that contain sulfate strip your hair of its natural oils, which dries it out. Make sure to shampoo with a gentle sulfate-free shampoo instead so that your hair retains as much moisture as possible.
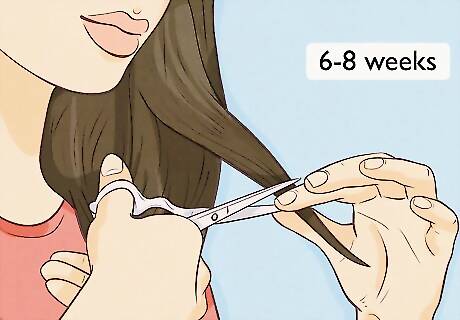
Get your hair trimmed every 6-8 weeks. When you relax your hair, the ends often become porous and fragile, which means you’ll be more susceptible to getting split ends. To keep your hair healthy, get your hair trimmed at least every 6-8 weeks, or whenever you notice that your ends are beginning to look frayed.
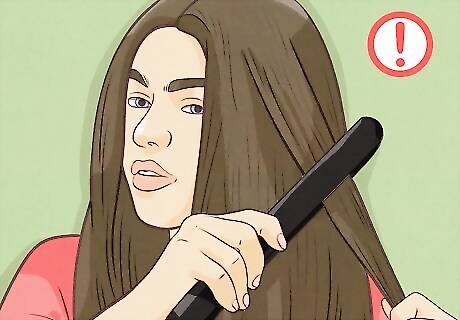
Limit your use of heat styling tools. Heat styling tools such as flat irons and curling irons can weaken your hair, making it more prone to breaking and becoming damaged. Try to limit your use of heat styling tools as much as you can.



Comments
0 comment