views
Pouring the Footing
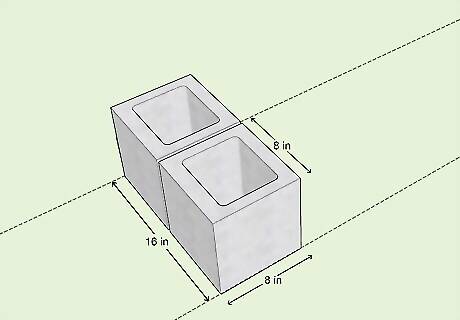
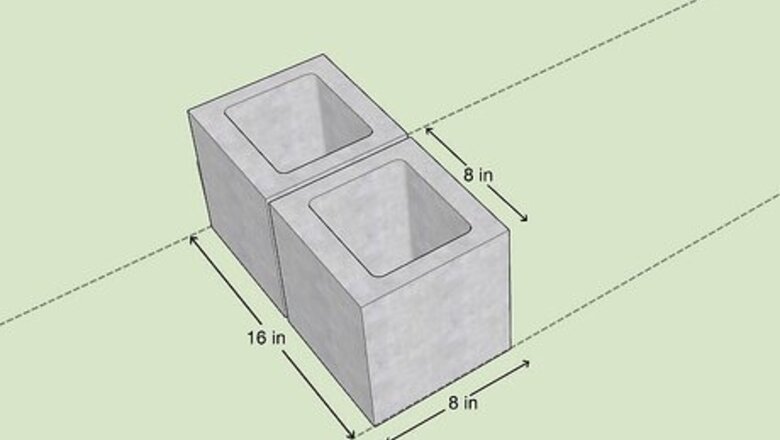
Determine the width of your wall. To determine the width of your future wall, decide how many cinder blocks you want to use for the wall width, then calculate the width using the block's measurements. For example, if your cinder blocks are 8x8 in (20x20 cm) and you want to use 2 blocks to make up the wall's width, your total wall width would be 16 in (40 cm).
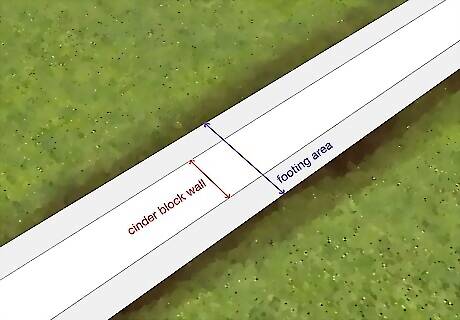
Measure the footing area. The footing is the foundational base of the cinder block wall. It should be at least two times wider than the width of your block. Start by measuring the width of your future wall, then calculate the footing area. Use a tape measure to find the dimensions of the footing area on the ground. For example, if your wall will be 3 feet (0.91 m) wide, your footing area should be between 6 feet (1.8 m) and 9 feet (2.7 m) wide. Footing helps to spread the weight of a load-bearing wall across an area of soil. The taller and heavier your wall is, the wider the footing should be. Your footers should be free any potential water seeping or pooling. Make sure that your planned footing areas are all set up to drain water away from the footing. Remember to check with local building codes to make sure you are in compliance, as well.

Mark the footing area with 4 stakes. Place a stake in each corner of the footing area. This will help you contain your poured footing in the enclosed space. The length of the wall is up to you, just remember to mark 2-3 times the width of your wall so you can install the footing.
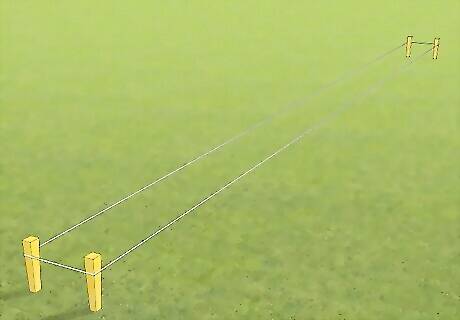
Tie string along each stake to mark the perimeter of the footing area. The string will create a barrier and help you stay within the marked lines when pouring the footing. Tie string from stake to stake around the perimeter of the area. This creates 4 straight lines -- 1 for each side of your wall.
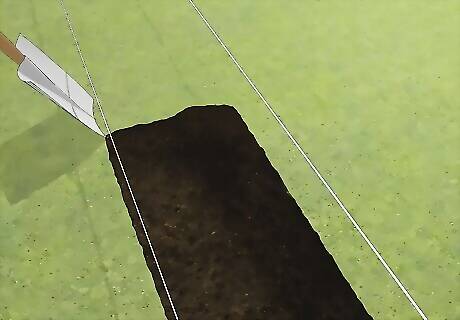
Dig out the space between the lines. Use a shovel to remove dirt from the footing area. Dig out about as much depth as the cinder blocks are long, plus 3 inches (7.6 cm). For example, if your cinder blocks are 7 inches (18 cm) long, dig out the footing area about 10 inches (25 cm) deep, making sure that the footing is located below the frost line. If you are in the U.S., call the national Digline to request information for any local utilities that may run through your project area. Call at least 2 days in advance, and follow all guidelines and directions you receive.
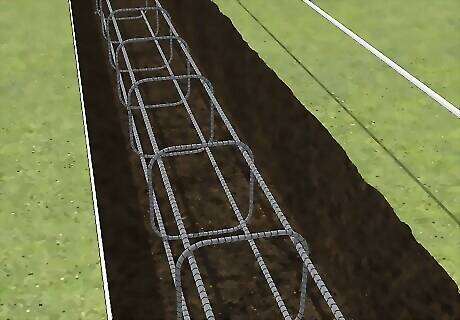
Place steel rebars into your trench. You'll have to use a rebar bender to form an “L” shape with your steel bars. One should be placed in each corner and be about half the width of your trench on each side. Once the rebar benders are in place, apply pressure until your 90 degree bend is completed. You will also want rebar placed vertically in every other masonry core, stabilized with coarse fill grout. If your wall will be load-bearing, the horizontal tie rods should be set at least 6 inches (15 cm) into the footing. Tap the block lightly with a rubber mallet to help the grout settle.
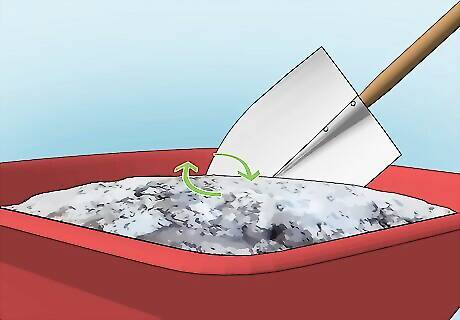
Mix concrete in a wheelbarrow. Concrete mixes vary slightly from brand to brand, but most of them require adding water. Be sure to check the specific instructions for your concrete before doing any mixing. Follow the directions for mixing ratios and stir until the concrete mixture is fully combined. Put on goggles, gloves, long sleeves and pants, and a mask before you mix the concrete.
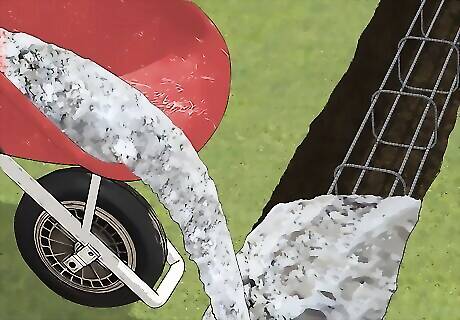
Pour the wet concrete mixture into your footing trench. Starting in 1 corner, tilt the wheelbarrow up by its handles and let the wet concrete drain out of it. Move slowly to the opposite end, continuing to pour. Repeat on the other side. Keep pouring until the trench is completely filled. Use a hoe or a flat nosed shovel if any concrete sticks to the wheelbarrow. Pour the concrete with great care. Kicking up dirt or debris could contaminate your mixture and create a non-binding or crumbling mix.
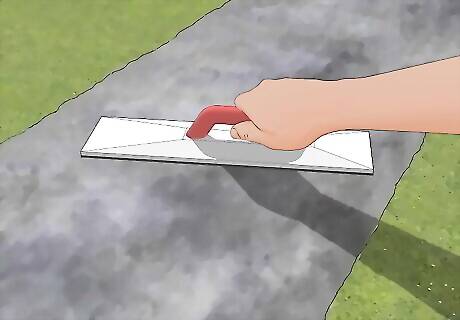
Smooth the surface of the concrete with a float. After pouring wet concrete, it probably won't be perfectly flat or smooth. Use a float to smooth out any rough or spotty areas on the surface of your concrete. Let the concrete harden overnight before proceeding. Use a notched trowel can provide a little bit of texture in the top of your concrete. The notches it creates will help the first row of blocks better adhere to the footer than they would on flat, smooth concrete.
Building the Base
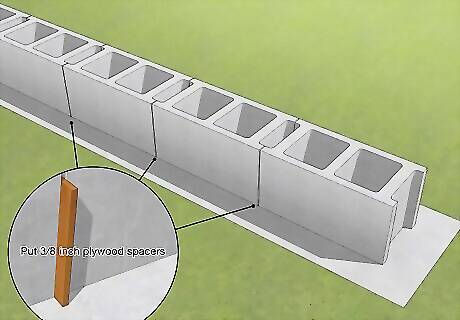
Lay out the first layer of cinder blocks. Starting at one end of the wall, lay out the cinder blocks, end to end, until you reach the first turn in the wall. If your wall is straight, line up the first layer of cinder blocks from one end to the other end. Put ⁄8 inch (0.95 cm) plywood spacers in between the blocks. You will use spacers for straight walls and walls with turns.
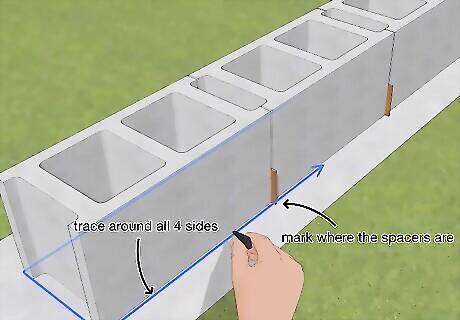
Trace around the edges of the bricks from end to end. Use a pencil to lightly trace around the entire chain of cinder blocks you set up. Trace around all 4 sides and mark where the spacers are, as well. Then pick the cinder blocks up and put them aside.
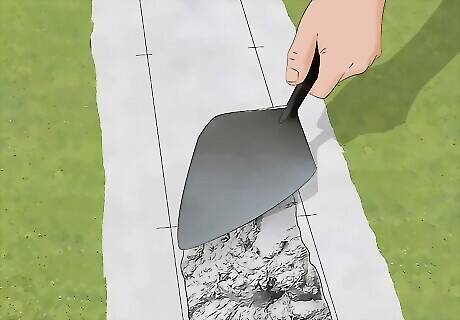
Spread mortar on the footing inside the marked area of the first block. The mortar should completely cover the area where the first block will sit. Use a trowel to add mortar to the area between your traced lines. Spread the mortar to be about 1 inch (2.5 cm) thick. You can use premixed mortar or buy a bag of mortar mix and mix it yourself according to the package directions. Mixing it yourself is usually the cheaper option.
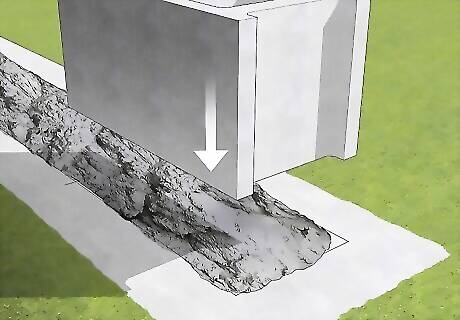
Place the first cinder block on top of the mortar. Line the cinder block up right over the prepared area, then gently lower it onto the mortar. Push the cinder block into the mortar very gently until it's sitting ⁄8 inch (0.95 cm) above the footing.
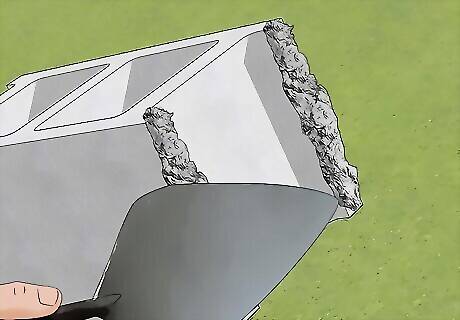
Butter the "ears" of the second block with mortar. The "ears" are the 2 protrusions (also called flanges) running from top to bottom on both ends of every cinder block. Buttering the ears simply means use your trowel to apply mortar directly on top of both flanges on 1 end of a cinder block. This connects the flanges of this block to the flanges of the 1 already in place. You only need to use enough mortar to thinly cover the surface of the ears. You only need to use mortar on the ears. Do not apply it to the space between the ears.
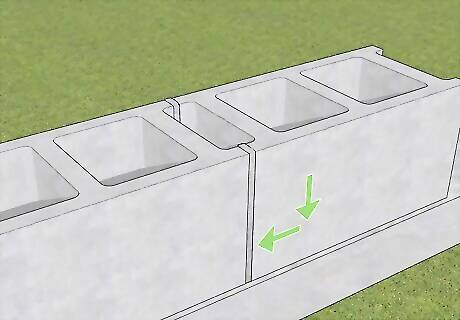
Push the new block into the base block. Slide the block into the preceding block until their mortars meet. Keep pushing until there's only about ⁄8 inch (0.95 cm) of mortar between each block.
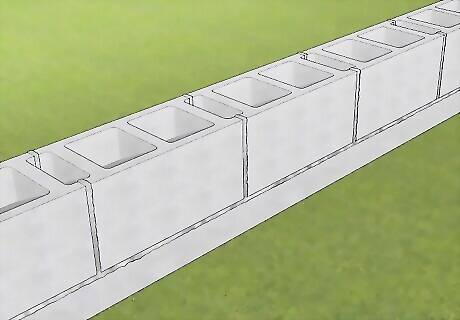
Repeat the same process for the rest of the first layer of cinder blocks. Spread 1 inch (2.5 cm) of mortar on the footing within the lines you traced for the block. Line the new block directly over the area, then gently place it on top of the mortar. Push the block into the mortar until it's sitting ⁄8 inch (0.95 cm) above the footing. Butter the ears of the next block and continue.
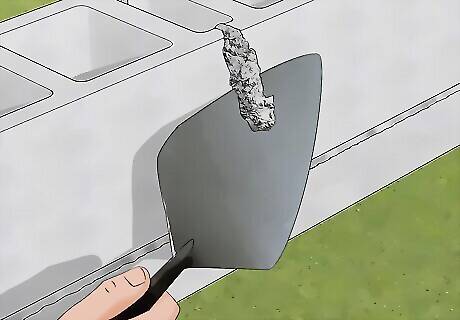
Wipe any excess mortar off periodically. Use your trowel to scrape any protruding mortar from the side of your wall. Do this every few blocks to make sure your mortar doesn't set before you have a chance to fix it.
Building Up and Around a Corner
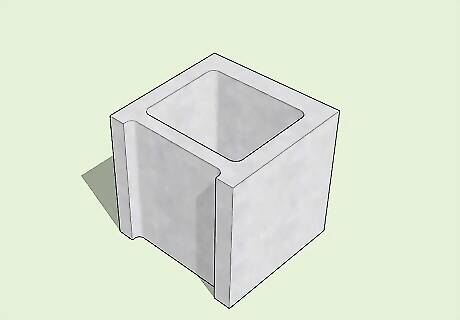
Grab a half block. Your brick set should have half blocks included. This will help to stagger the layout of your bricks and make your wall sturdier. You will also end each row with a half block. Half blocks are also known as corner blocks.
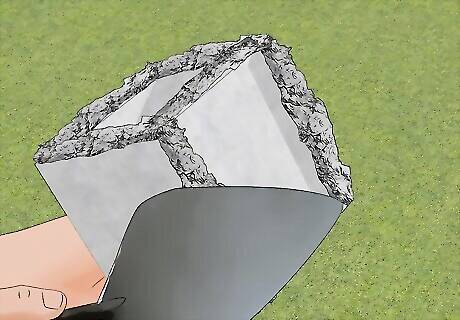
Spread mortar on the footing and ear of the half block. Place it directly on top of your base block. Continue to build out along your base, spreading mortar on both the ears and footing of each cinder block.
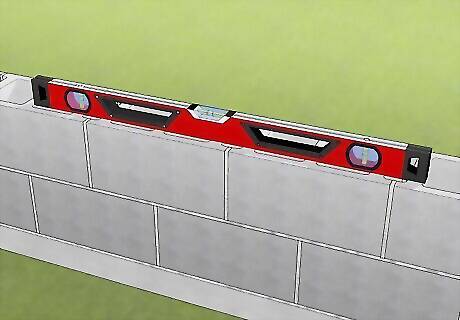
Check your base blocks often with a level. This will prevent you from building a crooked wall! Use a level often, every 10 minutes or so, so your mortar doesn't have a chance to harden before you can find and fix any issues. Be sure to check vertically as well as horizontally. Press the mortar with your thumb once in a while to check for hardness. Once you can just barely dent the mortar with your thumb, it means the mortar is close to being set.
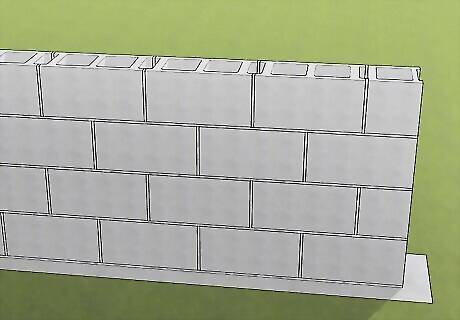
Use the same technique to build the wall up. Repeat the buttering and laying blocks technique to build out the wall's second layer. Start the third layer with a regular cinder block and build out. Start the fourth layer with a half block, and continue starting layers with half blocks every other layer until your wall has reached the desired height.
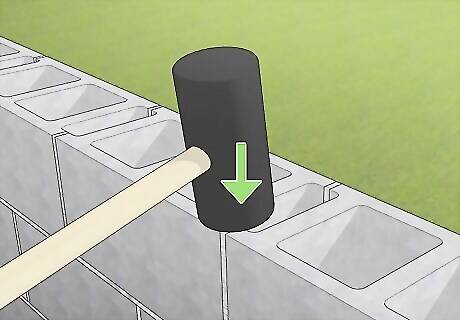
Strike the joints with a rubber mallet or sledgehammer. This will help to solidify the bricks in place. Do this shortly after checking the mortar to make sure it has hardened somewhat, but not completely. If you choose to use a sledgehammer, be sure to use one that is 2 pounds (0.91 kg) or less. Rubber mallets tend to produce more consistent results with less chance of causing damage. Strike the horizontal joints first using gentle pressure. Then strike the vertical joints gently. Scrape off the excess mortar and strike both joints once more.
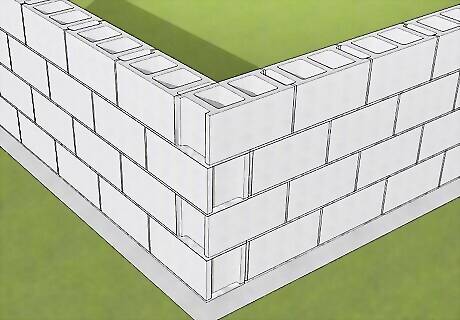
Build up the corner with cinder blocks. Once your wall is 3-4 blocks high, you're ready to turn the corner of your wall. Do the same things listed above, but remember to use alternating half blocks in either direction to make sure your wall remains sturdy. Use a large level often to make sure the corners are plumb and square. Be sure that the joint line is staggered from block to block.






Comments
0 comment