views
Deciding What to Build
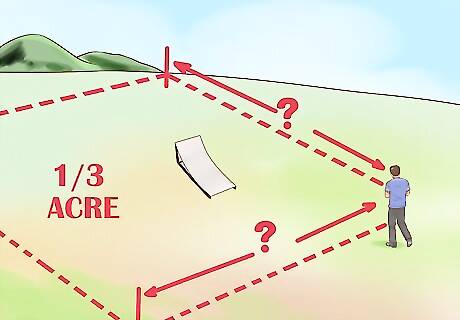
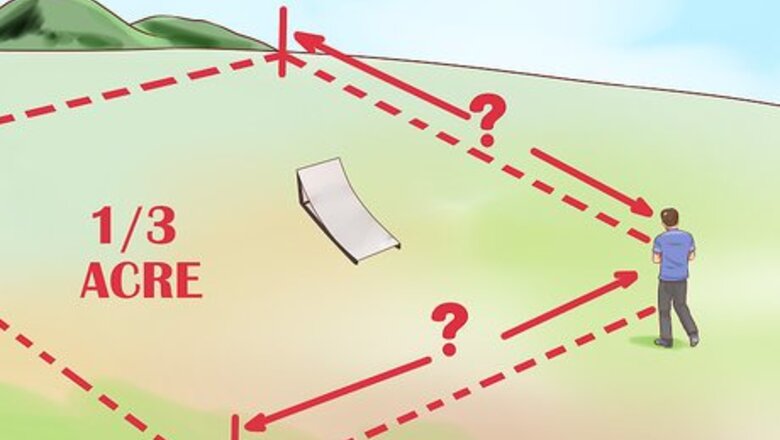
Determine how much space you have. You’ll need around a third of an acre at the bare minimum to make a dirt jump track. If you have any doubts about making the space permanent, it’s a good idea to build a wood ramp instead of digging jumps into the ground. And of course, make sure you have the authority or permission to build or dig. If you decide to dig dirt jumps, you’ll need to locate an area where you’ll have enough room to accelerate, for take-off and landing ramps, and for decelerating and stopping after hitting the jump. You’ll need even more room if you plan on making a circuit track, or a loop from the end of the jump to its start.
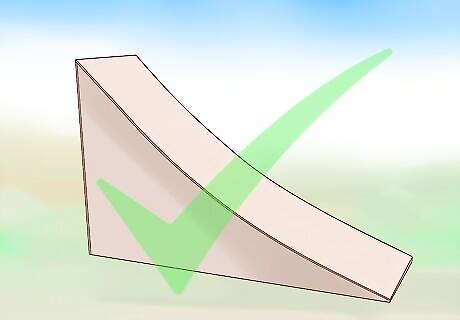
Decide if portability is best. Whether you need a portable or permanent jump will determine what you build. A portable, wooden ramp would be better if, for example, you’ve got a great spot to practice jumps up in the mountains that you only drive to every now and then. If you don’t want to or don’t have permission to dig up your land, go with the portable wood ramp. You can tow it to any location suitable for practicing jumps. In order to build a permanent site, you’ll have to make absolutely sure you have permission to modify the land you’re building on.
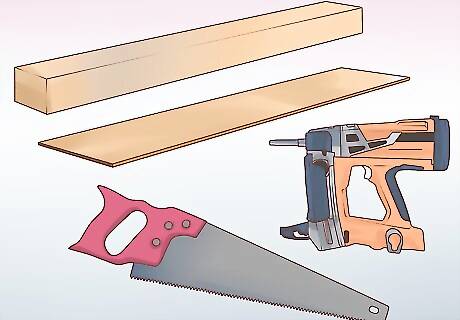
Think about what materials are easier for you to access. Building a dirt bike ramp is no joke, whether you’re constructing it out of wood or digging it into the ground. If it’s easier and more cost effective to acquire wood beams, planks, a saw, nails, and a nail gun, build a wooden ramp. If you or a friend have easy access to a backhoe or other heavy-duty digging equipment, dig out a dirt jump. Consider what’s easiest to build and easiest on your wallet.
Building Dirt Jumps
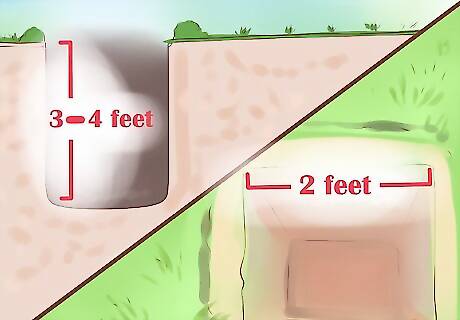
Start digging the hole. Use a sharp, rounded shovel, and get your friends to help get it going. Make it as deep and wide as your skill level can handle: shoot for three or four feet deep and two feet wide for starters. Plan out the hole’s placement, so it’ll eventually form the area in between your jumps. Don't just throw the dirt anywhere. You’ll need it to form take-off and landing mounds. Getting the ground soft by wetting it down before you dig makes this step easier. Think of how you want the final product to turn out, making sure you leave room for deceleration. If you prefer a loop, map out a circuit track that leads back to the start of the course with a hose, rope, or other long, movable object. Once you’ve decided on the best track, use a shovel to dig it out. Use a backhoe or other heavy-duty digging equipment if you have access.
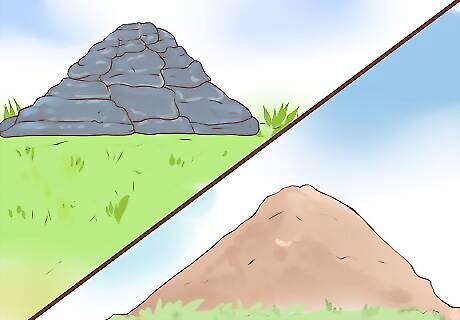
Build up the dirt mounds. Use the dirt that you dug out from the jump’s hole to build out the take-off and landing ramps. To make the cores of the ramps, use construction surplus, like broken concrete, cinder blocks, and bricks. Form them into a suitable mound shape and begin to cover them with dirt. Do not use logs, branches, or similar items that will decay and cause your jumps to collapse. Add thick layers of dirt, and pack them in to form a secure, solid mound. The mounds’ heights varies on your skill level. Don’t bite off more than you can chew: don’t go over two feet in height if you’re a beginner.

Use your bike tires to roll over the jumps. If you don’t have another vehicle to do so, use your bike to really pack in the dirt mounds. At a slow speed, roll your front tire up the ramp to make the lip. This also compacts the ramp more, making them more usable and stable. The landing ramp should always be bigger than the take-off ramp and not as steep as the take-off ramp.
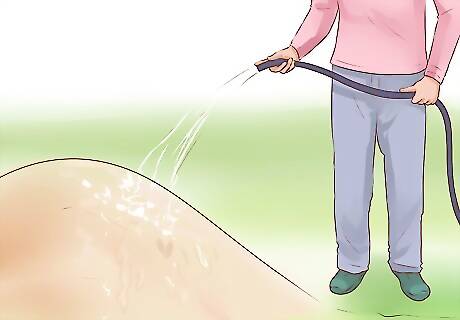
Wet the mounds and pack them more. Get the mounds wet and muddy, and pack them in even more. Use your bike wheels again and stamp your feet. After letting the dirt harden in the sun for two or three days, wet and pack them at least once more. It’s important to take time to make sure everything is compacted, otherwise your landing will hurt..
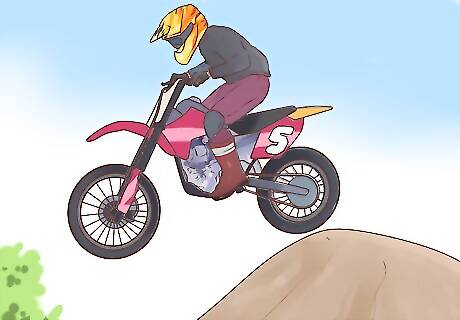
Try the ramp out. Give the ramp a test, and make changes as necessary. You might find that you need to make the lips on either jumping or landing ends smoother by scraping off dirt. Or, on the other hand, you might find that you need to add more dirt. If so, repeat the process of wet packing the mounds.
Building a Wood Ramp
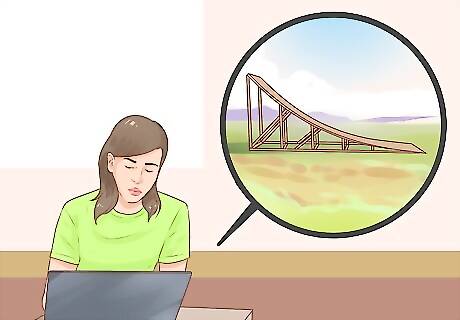
Get your hands on some plans. You can find plans online for either a full freestyle ramp or a basic FMX ramp. Alternatively, if you’re mechanically skilled and already have a lot of knowledge about ramp sizing and proportions, you can make your own drawings. It is, however, important to get your measurements and a visual down on paper before you get started. You should have some experience with woodworking before attempting to build a ramp on your own. Do not use tools such as saws or nail guns without permission, ability, and, if necessary, supervision.
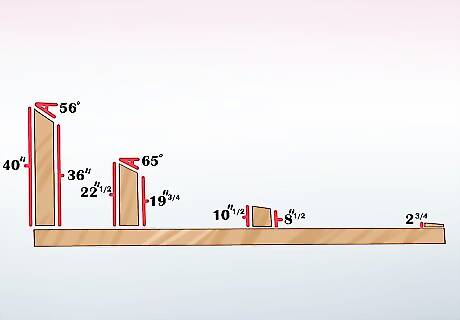
Measure and cut supports. Use 2x6" lumber for your support structure. Measure and cut four 10 foot beams for the base supports. Then, measure and cut four sets of vertical support beams. Each beam will need to be angled at the top end. This angle will form the incline of your ramp. It’s easiest, quickest, and most accurate to use a miter saw to make the crosscut for the angle at the top of the vertical supports. If you don’t have a miter, you’ll just have to carefully measure and mark your boards to make sure they’re cut as precisely as possible. For a basic FMX ramp, cut the tallest vertical supports so one side is 40" in height and the other is 36". Each individual beam should thus have one side that’s longer than the other. The result will be a 56 degree slant, or angle, at their tops. For the second tallest pair of vertical supports, cut them so one side is 22 1/2" and the other is 19 3/4". Each should have a slant at their tops of about 65 degrees. Cut the third pair of vertical supports so one side is 10 1/2" and the other is 8 1/2". Cut the fourth pair of vertical supports so one side is 2 3/4" and the other is 1 1/2".
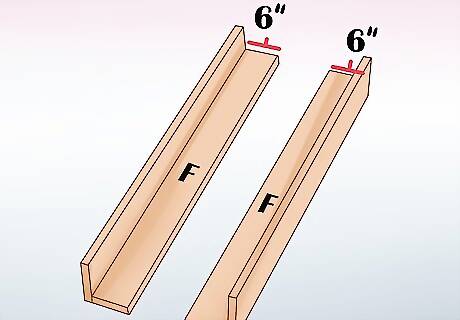
Build the base supports. Lay two 10 foot 2x6" beams down parallel on their 6" faces. These will be the support structure’s “feet.” Using 3" nails throughout, nail another 2x6" beam along each support foot’s side, so they’re perpendicular, or form an “L” shape. The second pair of 10 foot beams will form a lip that’ll hold in place the rest of the vertical support beams.
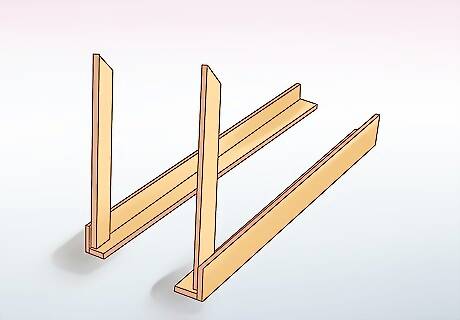
Nail in the first pair of vertical supports. The first pair of 2x6" vertical supports are the ones that measure 36" and 40" at their tops. Position one flush against the lip formed by the 10 foot beams, all the way to the end of one side, and nail it into place. Nail the other tallest support post into place on the other support foot. Make sure these and all other support posts mirror each other. The slants at their tops should face the same way, so they form the incline of the ramp.
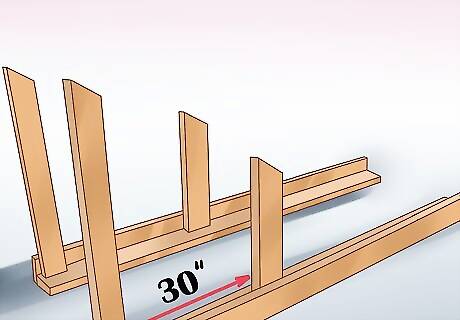
Nail in the second pair of vertical supports 30 inches from the first pair. Measure 30" in from the ends of the first pair of support posts and mark the spot with a pencil. This is where you’ll position the second pair. Position them, and nail them into place on both sets of 10 foot bottom beams.
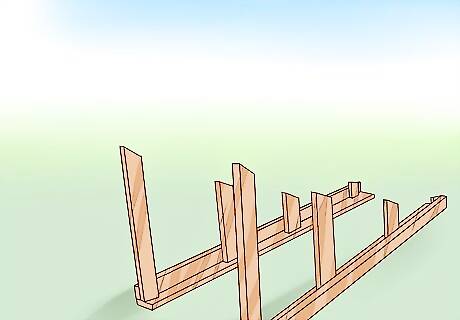
Nail in the third and fourth pairs of vertical supports. For the third pair of vertical supports, measure 60" in from end of the first set of vertical posts. Mark the measurement, position the posts, and nail them into place. For the fourth set, measure 120" from the ends of the first set, mark, position, and nail them.
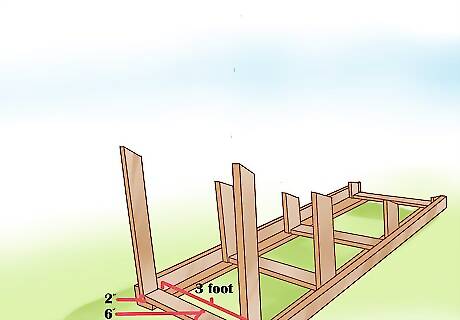
Install the middle supports. At this point, you should have two sets of 10-foot bottom supports with four vertical posts nailed into each. You will link them together by nailing down middle supports at each vertical post. Measure and cut four 3 foot, 2x6" beams. Line up the bottom 10-foot long supports, keeping them parallel, and space them three feet apart. Start on each end to make sure the supports are square, and position the middle support beams where you’ve nailed each pair of vertical posts. Carefully position first to get a feel for their fit. You might even use masking tape to hold them in place. Make sure you’ve got everything flush and square, then start nailing the middle supports into place. Take special care on this step: it’s essential to make sure the two halves are square and lined up with each other or your ramp will turn out unstable.
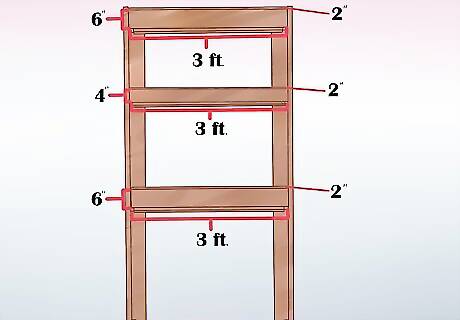
Cut and install horizontal beams to top the vertical supports. Now that you’ve built the basic support structure, you have to start on the ramp itself. The vertical supports with the angled tops that you’ve built will hold beams across them. In turn, these horizontal beams will support the ramp surface. Cut three 3-foot, 2x6" beams. These three beams will be for the first, third, and fourth pairs of vertical posts. Use a 3-foot, 2x4" beam to top the second-tallest pair of vertical supports. A 2x4" here, rather than a 2x6", will give the plywood sheets that will form the surface of the ramp more give.
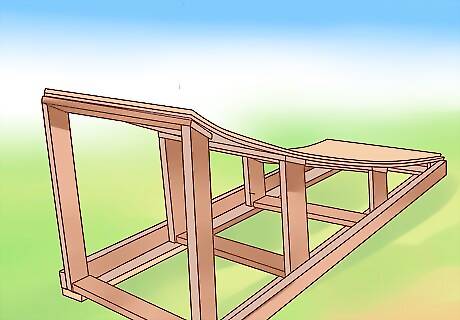
Install plywood sheets for the ramp surface. Cut 1/2" plywood into 3-foot by 6-foot sheets. To attach them to the support structure, it’s important to use 2 1/2" to 3" screws instead of nails. Nails will not hold the plywood surface in place properly. Drive them as close to the edge of the sheet as possible for maximum stability. Once you’ve installed one layer of plywood, add a second to cover it. Make sure to overlap the edges of your plywood: don’t let their ends match up, or the result will be a groove that’ll ruin your ramp. You’ll have to cut the second layer of plywood sheets at a different length in order to keep your sheets from matching up. Use a steel saw to clean the ramp up and cut off any plywood overhanging at the high end of the ramp.
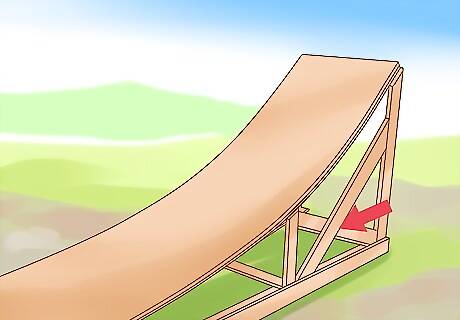
Nail in cross supports from corner to corner. Once you’ve added double layers of plywood sheets for the ramp surface and removed any unsupported, overhanging edges, add 2x6" cross supports to the tallest set of vertical posts. Measure the diagonal distance between the four corners, and cut beams to match that length.




Comments
0 comment