views
Filling the Jars
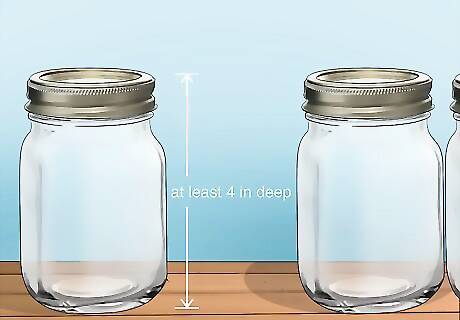
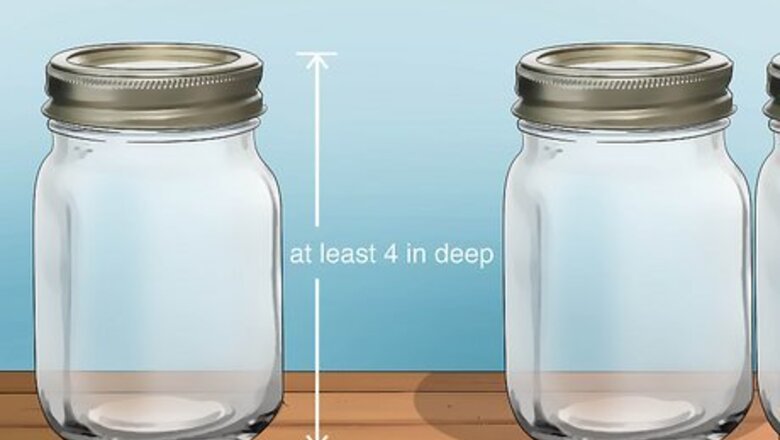
Get a set of mason jars that are at least 4 inches (10 cm) deep. Ordinary glass mason jars can be purchased inexpensively at most supermarkets and home good stores. Pick up as many jars as you think you’ll need to contain a garden of the size you have in mind. Mason jars are often sold in sets, which can simplify the process of collecting them. Most mason jars come in either quart or pint sizes, which can be useful if you’re planning on growing more of one type of herb than another. You might also take a more thrifty approach by repurposing the jars from pickles, jellies and pasta sauces.
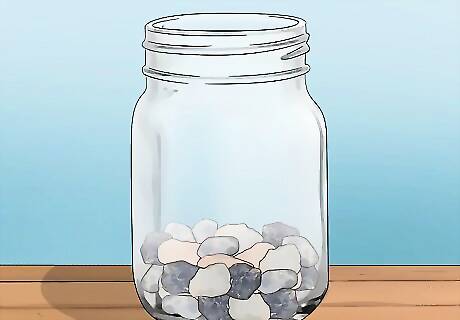
Cover the bottom of each jar with a thin layer of stones. Excess water can cause the delicate roots of most herbs to rot. Since the solid glass bottoms of the jars don’t provide any openings for runoff, a couple inches of small stones will allow water to settle out of the reach of the roots, making sure they absorb just the right amount. Gravel, cork shavings or even glass marbles can also be used to create the first layer of your mason jar planters. Mix in a small amount of sand to fill in the spaces between the stones and keep the soil from shifting.
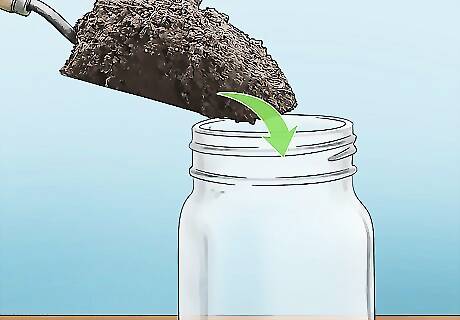
Fill the jars with potting soil. Scoop the soil into the opening of the jars, stopping when they’re about three quarters of the way full. This will give you a little extra space to work with when it comes time to plant the herb seeds and give them room to stretch out as they grow. Try not to pack the soil too tight—it needs to be somewhat loose in order for water and nutrients to penetrate down to the roots with ease. Use a thin dowel or the tines of a fork to aerate the soil periodically.
Planting the Herbs
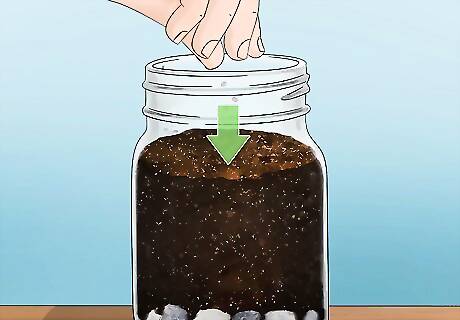
Sprinkle new seeds onto the top of the soil. Keep the seeds confined to the area near the center so their growth won’t be checked by the walls of the jar. Only scatter a small pinch of seeds in each container. If you’re planning on growing large quantities of a particular type of herb, you’ll be better off using multiple jars. If you’re replanting seedlings that have already begun sprouting, make sure you position them with their roots pointing at a downward angle to the soil. You have a wide range of possible herbs to choose from, including cilantro, mint, chives, sage, rosemary, marjoram, parsley and lemongrass.
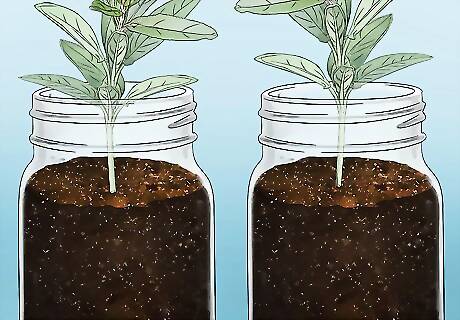
Transplant mature herbs with care. You can also use the mason jars to continue cultivating herbs that are fully-grown. Just make sure to burrow the roots into the soil so they’ll be able to properly take hold. Packing the soil tightly around the base of the herbs will help keep them anchored in place. Try to minimize the amount of time that the roots are exposed to the air. Water the transplanted herbs using a spray bottle as soon as you’ve potted them.
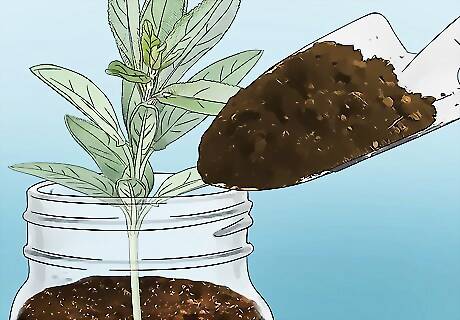
Spread more soil over the newly planted herbs. Once the seeds or mature herbs are in the jars, cover them with an additional half inch of soil. Tamp the new layer lightly to provide a more stable base. Don’t smother the herbs with too much soil. This can make it more difficult for them to sprout. Alternatively, blanket new seeds with a thin layer of mulch or starting mix to help them along.
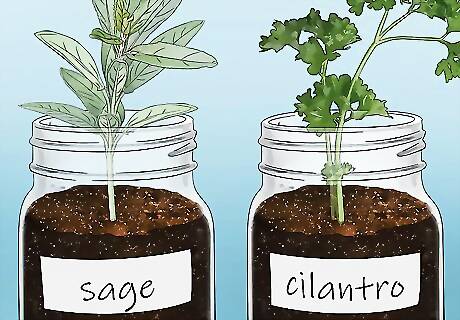
Label the jars individually. Without labels, it can be difficult to keep track of what’s in the different jars, especially when they’re all bunched together. As a precaution, identify each jar separately in case they happen to get mixed up or moved around. Choose from stylish premade labels to customize the look of your garden, or simply mark a strip of masking tape. Grouping similar types of herbs together can help ensure that they’re subjected to consistent growing conditions.
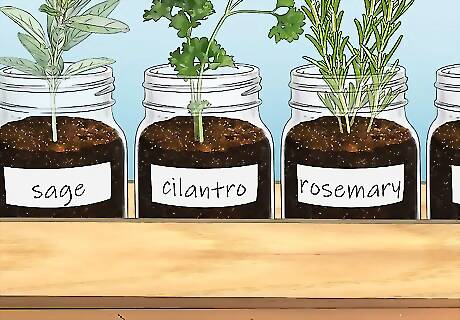
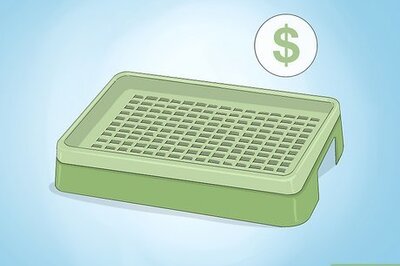
Find a creative way to display your garden. Rather than simply setting the mason jars on a ledge, think of how you can be more expressive with their presentation. You might line them up in a narrow tray where you can keep them organized, or suspend them in a crafty macrame weave. Whatever you decide on, make sure the jars won't fall or get knocked over, and that nothing is in the way to prevent the plants from receiving water and sunlight. Another idea is to attached the jars to a separate board and mount them on the wall, where you can label them plainly and keep an eye on their growth and development. If you're planning on keeping your garden outside, try arranging the herbs in a wooden trough or the bed of an empty wheelbarrow to create a quaint, eye-catching bit of decoration.
Cultivating and Using Your Herbs
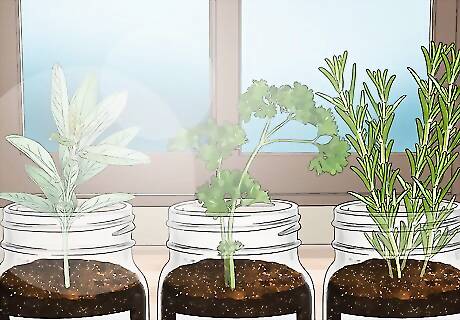
Place the herbs where they can receive plenty of sunlight. A window sill or low shelf in an open area can be a good place to leave them. As a general rule, your herbs should get at least six hours of sunlight a day in order to flourish. Move the jars around as needed to keep them exposed to direct sunlight. Too much or too little shade can stunt the growth of young plants. For those short, dark winter days, it can help to have a secondary light source, like a grow light or heating lamp.
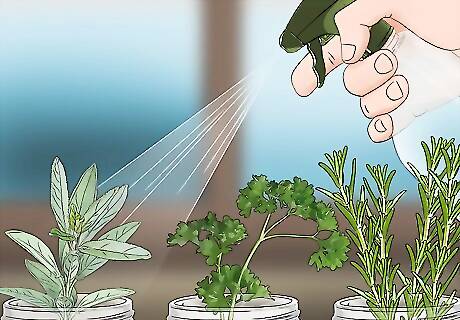
Water the herbs regularly using a spray bottle. Once your herbs have begun to sprout, they’ll only need enough water to dampen the uppermost layer of soil. Wait until the soil is dry to the touch before watering them again. Try not to oversaturate the plants, as too much moisture can kill them off. Some herbs, like basil and mint, require more frequent moisture. Other, more delicate varieties such as lavender should be given time to dry out between waterings. Fill a spray bottle with fresh water and mist the herbs at soil level once or twice a day. The gentle dispersion will help you avoid overwatering.
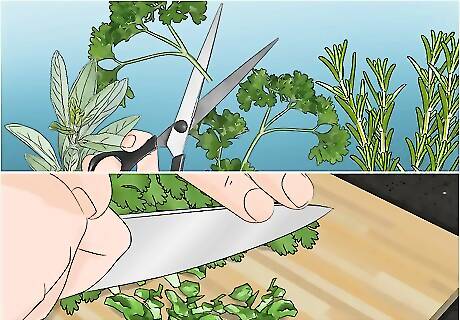
Use fresh herbs in your favorite recipes. Anytime you think a dish could benefit from an infusion of flavor, you’ll have a supply of potent and savory herbs at the ready. Snip the herbs close to the stems with a pair of sharp scissors, removing only as much as you plan on using. For recipes that call for an abundance of a certain herb, take cuttings from multiple plants to ensure that there’s enough left to grow back. If you have herbs leftover, you can sandwich them between a layer of damp paper towels, slide them into an airtight plastic bag and store them in the refrigerator. Even though the herbs have been grown naturally, it’s still a good idea to wash them before incorporating them into food.





Comments
0 comment