
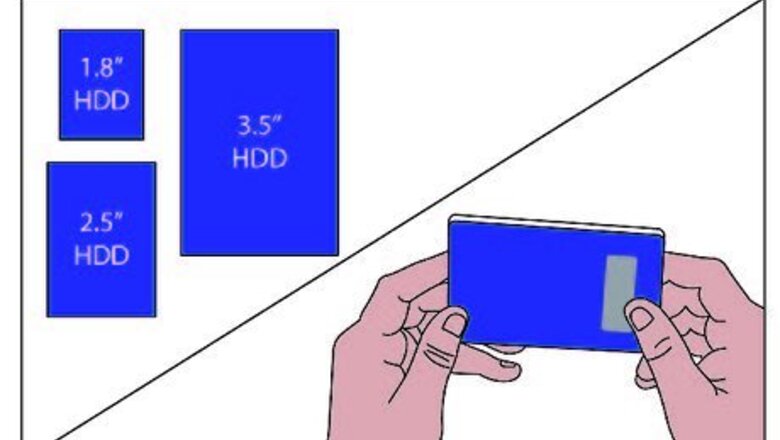
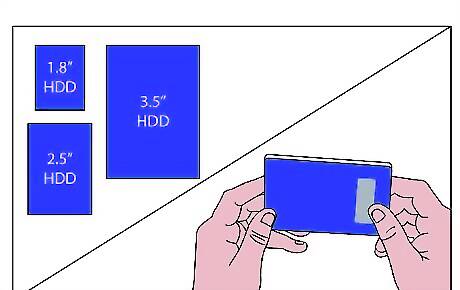
You must obtain an internal hard drive (from now on referred to as a HDD). The first step is to decide on one of the standard physical sizes for any HDD. If you already have a spare HDD laying around for this project, skip to step 2. There are basically 3 HDD sizes: 1.8", 2.5", and 3.5". 1.8" and 2.5" are the standard sizes for laptop HDD's. Laptop HDD's can be powered by the USB cable, so there is no AC adapter needed. Laptop HDD's are however more expensive than internal PC HDD's, so if you are not worried about size or another power cord, a desktop PC HDD may be the way to go.

Choose and purchase a compatible enclosure. Take into consideration the physical size of your HDD, as well as its interface (ATA100, ATA133, Serial ATA150, Serial ATA II, etc.). Decide on a connection type that suits the needs of all computers that will be connected. USB2.0 is currently a good standard, and it will work on any computer or laptop with a free USB connection. FireWire (IEEE1394) is even faster, however it is not as common in all computers yet. Be sure to also compare fan noise levels (if it has a fan, and if the noise level is displayed). For a HDD that will be running whenever your computer is turned on, a fan will be most likely a good thing to have, while HDD's used primarily for backup usually won't need one. Also check to see if there is a power switch on 3.5" enclosures. Without one, you will need to unplug the adapter to power down the drive. For backup this isn't a big deal, but some people using their drive for secondary storage might find it annoying to plug and unplug every time they start and shut down their computers.
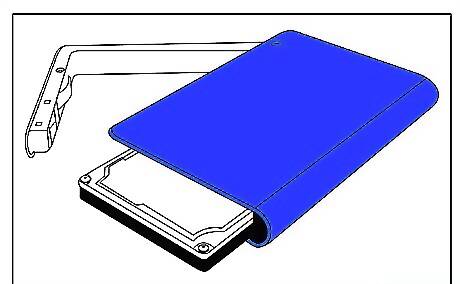
Unwrap both your enclosure and HDD.
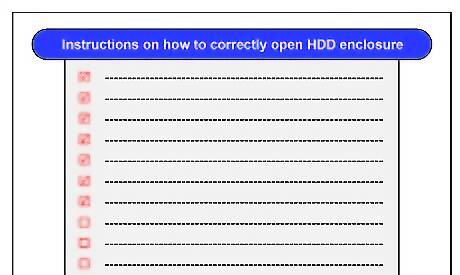
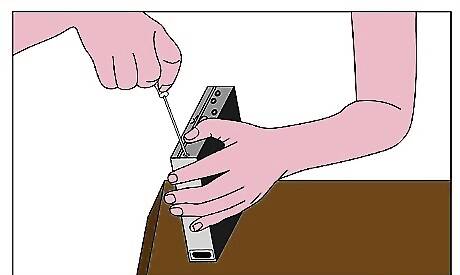
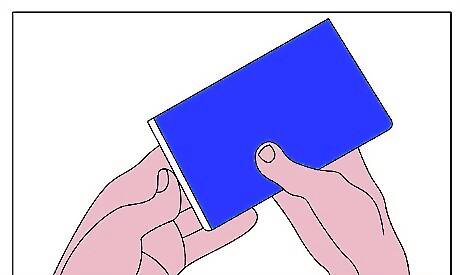
Follow your instructions on how to correctly open your enclosure.
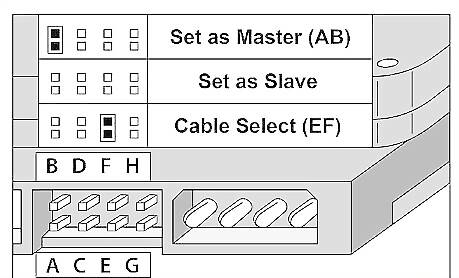
Set your HDD to the Master setting (or Master/No Slave if one exists). This jumper setting is located between the Molex power connector (4 large round pins) and the ATA/SATA connector. You will see 2 rows of four or five small pins, and a small clip (jumper) connected to 2 of them. Pull out the jumper with a tool such as tweezers or a pencil, and place it in the Master position if it is not already there. A diagram of the different jumper settings can usually be found right on the top label of the HDD.
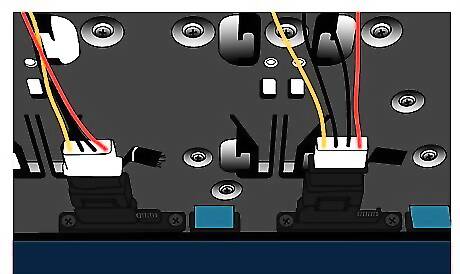
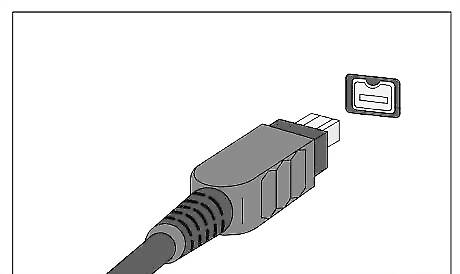
Connect your enclosure's Molex power connector and ATA/SATA ribbon cable to your HDD. Although it would be very hard to accidentally plug these in upside-down, take a moment to make sure that the ribbon cable and power connector are properly aligned before inserting them.
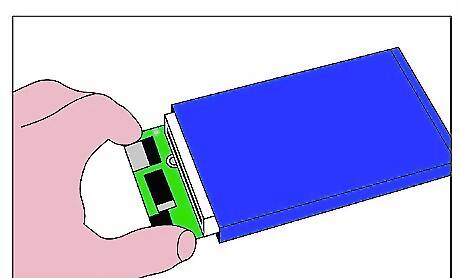
Screw the HDD into the enclosure. 4 or more screws were supplied with the enclosure. There will be 4 holes, 2 on each side of the HDD, and corresponding holes inside the enclosure.
Take one last look at the inside before you close it. Make sure you did not forget to connect anything. Read your instructions (you HAVE been reading them too, haven't you? :) and make sure you covered all of the steps. It will be a pain to open it all over again because you forgot to change the jumper to Master or something.
Close the enclosure.
Connect the power cord (if one is necessary) and the USB or FireWire cord to your drive.
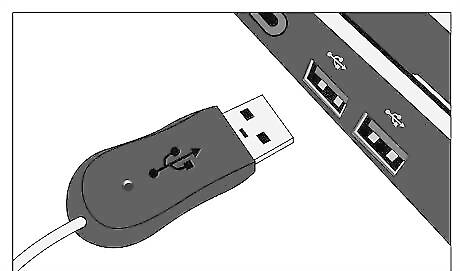
USB and FireWire are Plug-and-Play, meaning that you do not need to turn off the computer before connecting your drive. Connect the other ends of these cords to your computer and surge protector (you ARE using a surge protector, right? :).
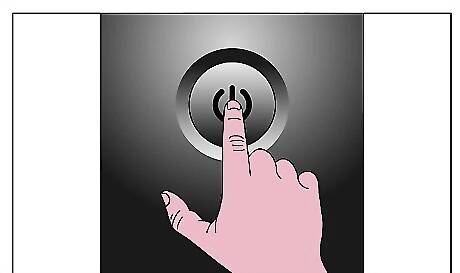
Turn your computer on if it is not already. Go to My Computer (or Computer for Windows Vista or Windows 7). It is most likely on your desktop, but can also be found in the Start menu.
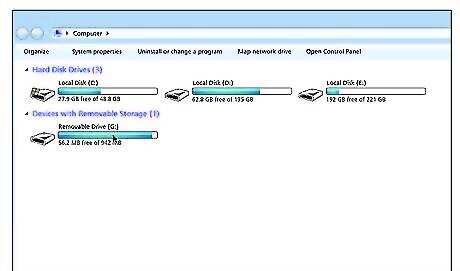
You should see a new device in the 'Devices with Removable Storage' section.
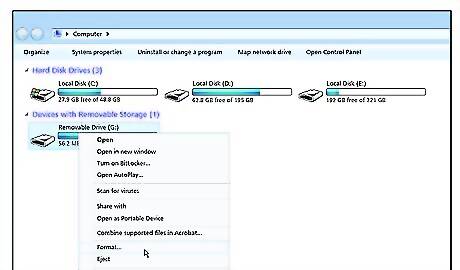
Right click on it and select Format (about halfway down the list).
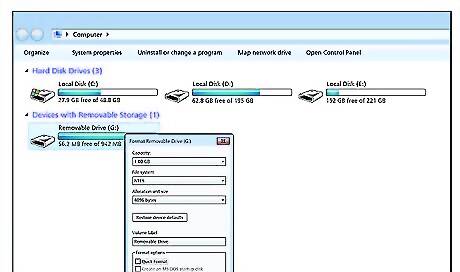
Format the drive using NTFS for use in Windows (ext3 or ext4 is good for Linux) as the File System. To read and write from both Linux and Windows, use fat32. You can give it a Volume Label if you wish. Example: External, Secondary, Backup, etc. Be sure Quick Format is not selected. This will allow any bad sectors to be recognized and to be roped off from any data being stored later on.

Wait for formatting to complete. This may take longer for large drives.
Good Job! You have successfully built your own external hard drive.


Comments
0 comment