
Setting Up The Habitat
Get a dwelling. Finding the right habitat for your chick is relatively simple. You can use a variety of different types of housing, ranging from one you purchase to one you have around the house. If you have more than one chick, make sure the habitat can comfortably accommodate all of them. Consider some of the following options for your chick’s home: A simple cardboard box An aquarium A cat carrier A guinea pig cage
Place the habitat in a protected space. Because it is so young and small, your chick is especially vulnerable to falling from its habitat or becoming prey for other animals. Keep the habitat in a space where your chick can’t fall or escape and where pets can’t gain access to her. Consider putting a ventilated lid on the habitat for times when you are not home or unable to watch your chick. This can keep other animals out while protecting your chick from falling out of the cage. Avoid putting the habitat in any spaces that are very high off the ground. This can protect your chicks from falling too far, which can be fatal
Line the habitat. Chicks and chickens are very sensitive to temperature. It’s important to line your chick’s habitat with materials to help keep it warm, which can prevent disease or death. Line the housing with old towels or blankets for the chick’s first few weeks of life. Make sure the lining has no loose strings, which your chick can swallow or might strangle her. Switch to a lining of straw and newspaper after a few weeks. Make sure to cover the bottom of the habitat with enough straw because the slippery surface of the newspaper can cause your chick’s legs to grow malformed.
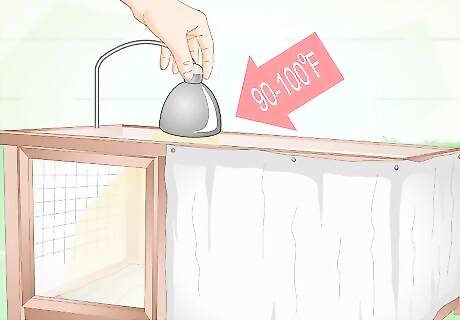
Control the temperature. Chicks generally need to be kept warm but should also have a habitat that has a range of temperatures. Use a lamp to heat one side of the habitat while keeping the other side cooler. This allows your chick to freely decide at which temperature she feels more comfortable throughout the day. Construct a heat source using a 100watt light bulb in a reflective clamp style lamp or an infrared reptile heat bulb. Install either option on one side of the habitat. You can get both lamps at most pet and home stores. Make sure the temperature is a constant 90-100 degrees for the first few weeks of the chick’s life. Your chick is the best thermometer for her habitat: if she is hiding on the opposite corner of the habitat from the lamp, then it is too hot. If she is smothering herself in the blankets or along with other chicks, then you need to increase the heat. Consider keeping your chick’s habitat away from radiators or non-lamp heating devices to help maintain a warm and consistent temperature. You may also want to keep it away from drafty areas.
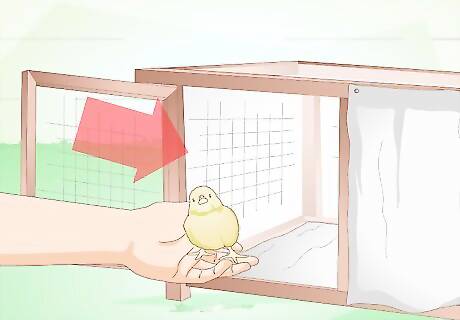
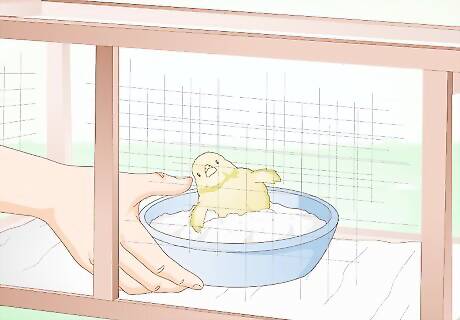
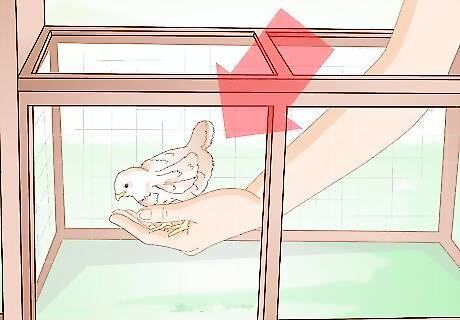
Introduce your chick to her habitat. Once you get your chick, it’s time to introduce her to her new home. You can do this by gently holding her and releasing her into the habitat. Talk to her and assure her with by patting her that she can enter and be comfortable. Consider staying with your chick for an hour or so to help her get used to her habitat.
Tending to Your Chicks

Commit to your chick. While it’s tempting to pick up a cute colored chick at Easter or have one in a classroom, remember that baby chicks are animals and not toys. Many people think it’s acceptable to release a chick into their backyards or an animal shelter when it grows beyond the cute, fuzzy stage. Before you get your chick, make sure you are fully committed to caring for it over the course of its life.
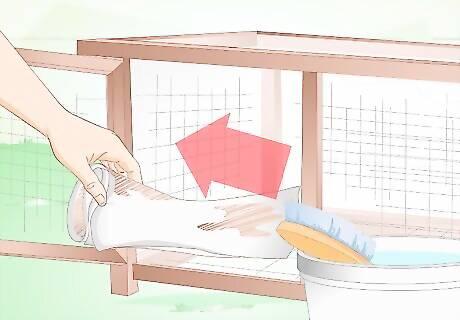
Maintain habitat cleanliness. A clean habitat is key to your chick’s health. Help keep it clean with daily spot cleaning and a thorough cleaning once a week. Remove any soiled lining and replace it as necessary. Replace all of the lining at least once a week. Wash your chick’s water and food dish at least once a week with a mild soap and hot water. Make sure to thoroughly dry the dishes to prevent the development of bacteria that can harm your chick. Wipe down any soiled walls or bases. If you are using a cardboard box, consider giving your chick a new one if it is soiled or smells bad.

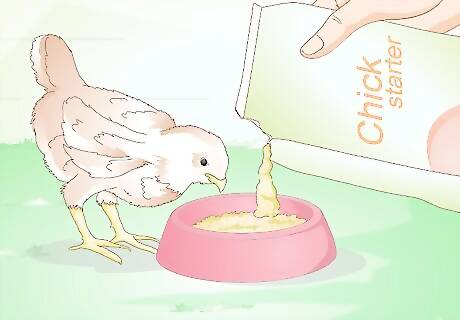
Feed your chick. Your chick will eat special food for the first few months of her life. Make sure she has plenty of food and allow her to graze throughout the day on it. Provide your chick food specially formulated for chicks for the first two months of her life. You may get either a medicated or non-medicated food depending on your chick’s needs or your personal preference. You can get chick food at either your vet’s office or a pet store. Switch to grower feed, which is about 17% protein, when your chick turns two months old. After another two months, you’ll switch the feed again to a slightly lower protein choice or a layer feed. Make sure your chick has a constant supply of food and water because she will grow quickly. Refill food as necessary and make sure you clean her food dish at least once a week. Throw away any feed that is old, moldy, or stale.
Provide your chick fresh water. Just as your chick needs a constant supply of food, she also needs a steady amount of fresh water. Place a small dish of fresh water in your chick’s cage every day and refresh it as necessary. Check the dish a couple of times a day to make sure your chick has enough water and that it’s clean.
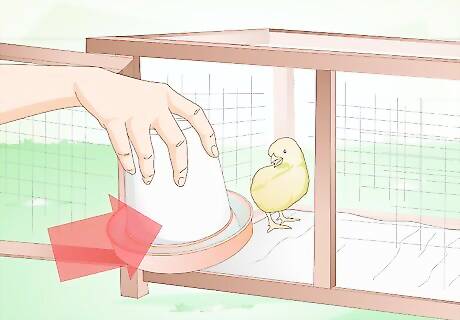
Place a dirt bath in the habitat. Most birds “bathe” themselves and clean their feathers by flapping around in dirt or sand. Put a small dish of either material in the habitat for your chick to keep herself clean. Be aware that not all chicks will take baths. Your chick may wait until she is older and this is entirely normal.
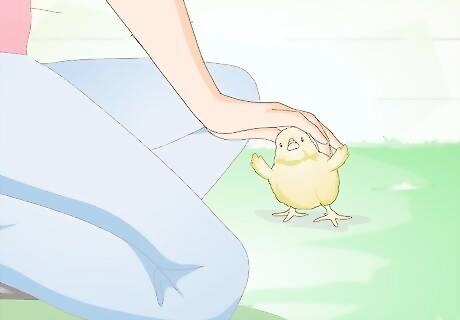
Play with your chick. It’s also important to the health of your chick that she receives plenty of attention from you. Chicks are friendly and curious and can form a bond with you. In addition, it can be fun to watch your chick’s interactions with you and other chicks. Give your chick a name and make sure to talk to her using this name during your play. Hold and stroke her for at least a few minutes multiple times a day. Consider allowing her time to roam outside of her habitat during the day. However, make sure you watch her during this time so she doesn’t injure herself or doesn’t fall prey to another animal.

Schedule a babysitter. If you have to leave or go on vacation, it’s vital to your chick’s health to have someone check in on her every day while you are gone. Ask a trusted friend or family member to either stay at your home to care for your chick or check in on her and refill food and water every day.

Watch for illness. Maintaining the habitat and feeding your chick properly will go far in keeping her healthy. However, it’s good to check your chick and her waste every day to ensure that she is healthy and not showing potential signs of illness. Check or listen for signs of wheezing or limping, which can signal a problem with your chick’s lungs or leg development. Examine your chick’s poop, too. Diarrhea can cause matted feathers or clogged cloaca, which are the openings to the digestive and urinary tracts. Avoid introducing chicks from different flocks to your chick, as these can also introduce disease. Schedule an appointment with your vet if you see any signs of illness or are concerned about your chick.
Helping Your Chick Transition into Adulthood
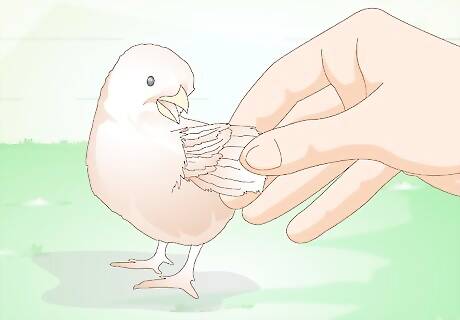
Watch for feathers. One of the first signs of your chick developing into an adult chicken is her sprouting feathers. In most cases, you will see feathers developing a few days after your chick has hatched. Continue to monitor your chick over the next few weeks to make sure she’s properly growing feathers. The rate of feather development should increase over the following weeks and your fluffy chick will appear more like a grown chicken. Be aware that it’s common for your chick to go through a phase of looking awkward while she is transitioning. Don’t be surprised if she has long, gangly legs and scraggly feathers. This phase is comparatively short.
Promote growth with diet. You may notice that once your chick starts sprouting feathers that her appetite also increases. Make sure to give your chick the proper food to her age and always provide a source of water. Feed your chick her starter rations until she is about 18 weeks old. At about 18-20 weeks, switch her food to a layer feed, which has extra calcium to help her grow. Consider getting a well-balanced layer feed at your local pet store or vet’s office. These feeds have the right protein, vitamins, and nutrients to help your chick grow into a chicken. Avoid feeding your chick scratch if you can afford it. Although your chick might love the taste, it doesn’t necessarily have all of the nutrients needed for proper growth. Consider giving her scratch as a treat. Make sure your chick has a consistent source of clean food and water. Spread it in her habitat and keep a dish of water readily available. As your chick grows, you may want to check the habitat a few times a day to ensure that your chick has enough food and water.
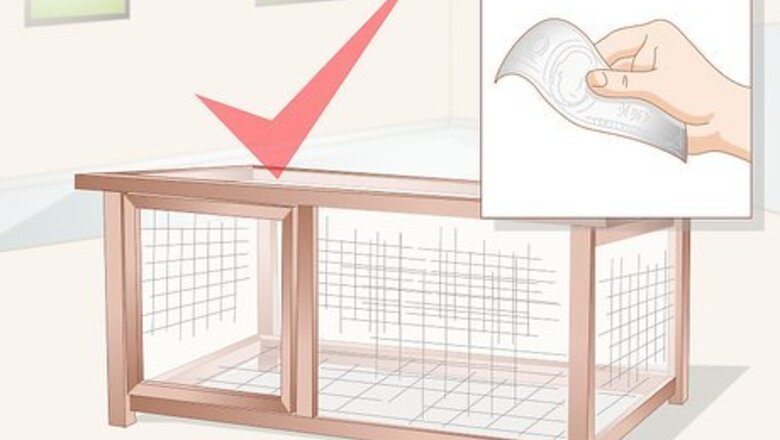
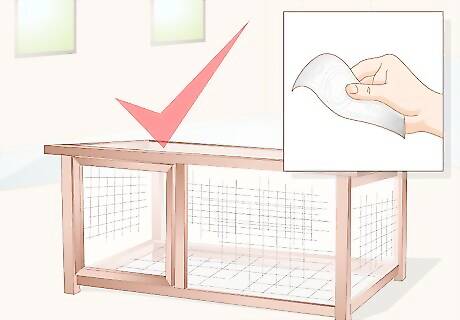
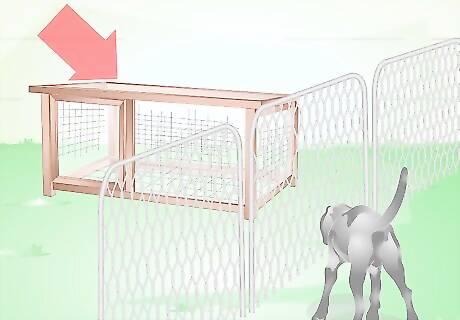
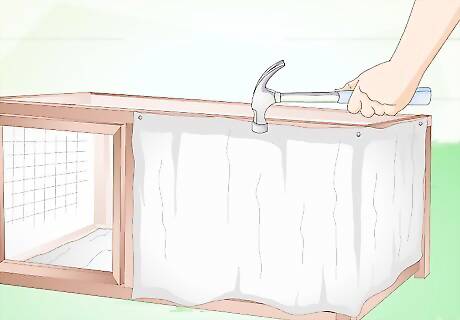
Move your chick into a coop. Your chick will eventually outgrow her cozy habitat that you created. Even if you plan on allowing your chick to range freely on your property, she will still need a coop to protect her from predators and bad weather. You can either purchase a commercially constructed coop or build one yourself. Your chick will need 2-3 square feet of space to live comfortably. You can buy coops at many pet stores or consider getting one secondhand. If you decide to build the coop yourself, you will need to incorporate some of the following elements: four walls, a roosting bar, a nest box, windows for ventilation, and a door with a secure latch. Take safety precautions when setting up the coop. Raise it 6–8 inches (15.2–20.3 cm) off of the ground to prevent rodent infestation and cover or replace any ventilation holes with cloth wire instead of chicken wire to prevent injury. Make sure to check the latch because raccoons are very good at opening latches. Move your growing chick when it is at least 55 degrees at night inside the coop. Remember that your chick will still be sensitive to temperatures as she grows and may need to stay inside longer to promote healthy development. Be aware that although there is usually no problem introducing your chick into a coop with other chickens, she may be hesitant at first. Introduce her gradually and gently to the flock through playtime outdoors or putting her in the coop for a few minutes a day until she is ready to move more permanently.
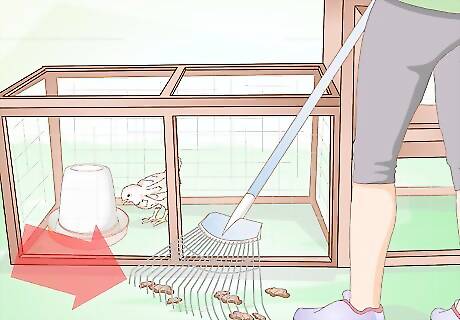
Keep the coop clean. Your growing chick will continue to need a clean habitat to promote her health and well-being. Sweep out the coop at least once a week and check the food and water dishes daily to ensure there isn’t any moldy or old food or algae growing on the water.


Comments
0 comment