views
Jumping a Dead Auxiliary Battery
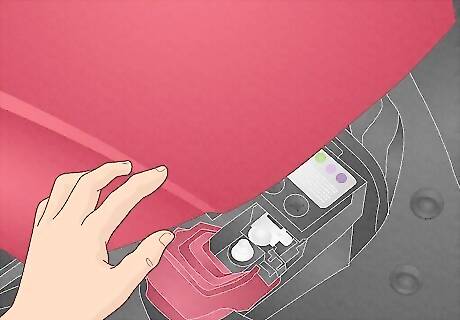
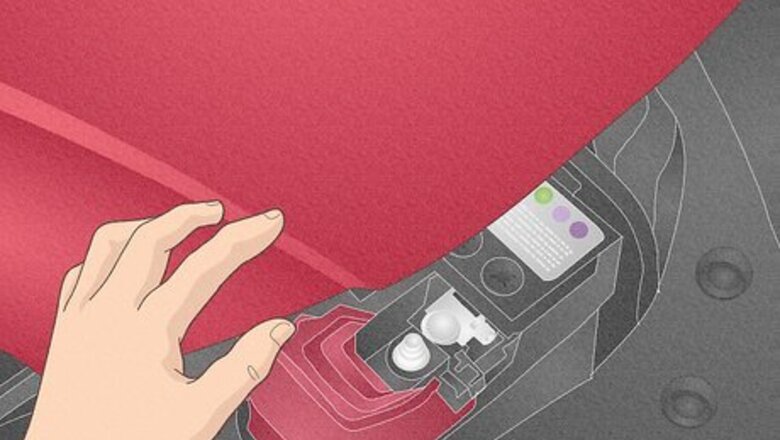
Open your vehicle’s trunk or hood to access the 12-volt battery. If your Prius won’t start, you need to charge the auxiliary battery. If your Prius is a 2012 or older, the battery is probably under the floor mat in the trunk. On newer models, pop the hood and remove the black cover on the smaller battery to the right of the traditional, high voltage battery. This is the auxiliary battery. If you can’t figure out how to open the trunk without the electric button on the outside, there’s a lever on the interior of your vehicle near the base of the trunk’s latch. If you’re in a tight spot, you can jumpstart the Prius’ main battery like you’d jumpstart any car. However, the auxiliary battery is designed to start your vehicle, so it’s generally considered ideal to charge the 12-volt if your Prius won’t start.
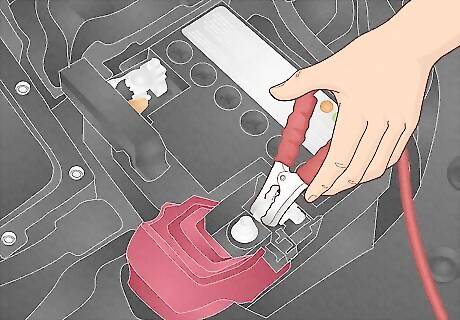
Attach the positive jumper cable to the positive terminal on your engine. Lift the jointed red terminal cap on the rear edge of the battery to expose the positive terminal. Clamp the red positive lead to the positive terminal. To jump the auxiliary battery, you will need another vehicle or a remote battery charger. You can use traditional jumper cables for this. There is nothing unique about the auxiliary battery that requires special equipment.
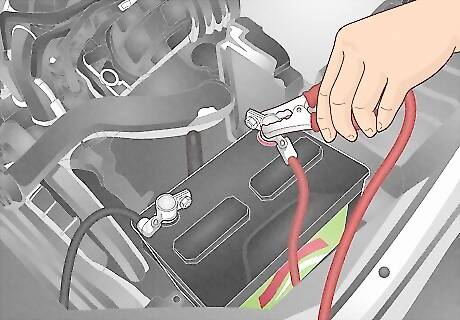
Connect the other end of the red cable to a car or battery charger. If you’re using a remote charger, connect the free end of the red cable to the positive port. If you’re using another vehicle, attach the remaining red cable to the red positive terminal on the battery. If you don’t already have a battery charger, you can pick one up online or at any automotive store for around $50-100.
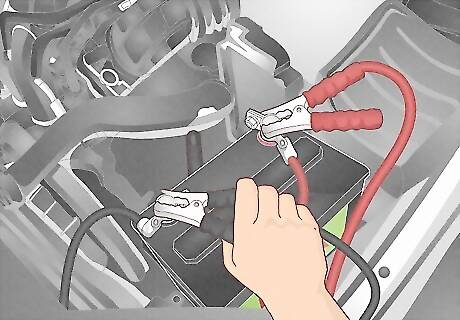
Attach the black cable to the charger or running car’s negative terminal. Plug the black cable lead into the negative port on your charger. If you’re using another vehicle to jumpstart your car, clamp the negative lead to the negative terminal on the running vehicle’s battery.
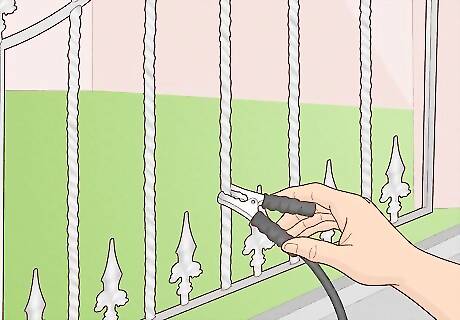
Ground your vehicle by connecting the negative clamp to metal. You can connect the remaining negative lead to any unpainted and bare metal, so long as it’s not a moving part and it’s away from the 12-volt battery. If you can’t find a good spot for the negative clamp, pop the cover on your engine block and connect the clamp to the block’s frame. This will prevent an open circuit, which may spark when you begin charging and potentially damage your vehicle.
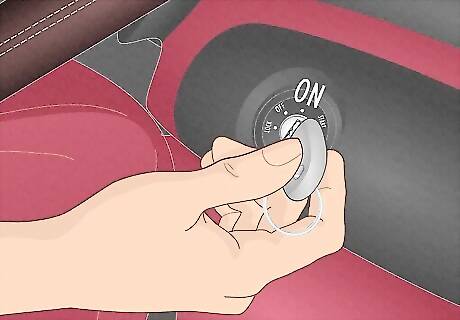
Turn the other vehicle or charger on and wait 5 minutes. If you’re using a remote charger, simply flip the switch or press the power button to begin charging the battery. If you’re using another vehicle, start the engine and slowly rev the engine repeatedly. Your auxiliary battery should have enough juice after roughly 5 minutes. If your remote charger has customizable amperage settings, select 12 volts and 2 amps. Charging more than 2.5-3 amps may damage the circuit.
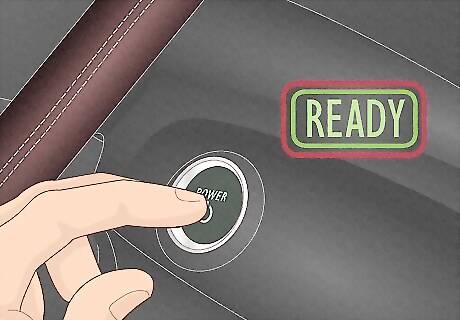
Start your Prius and look for the “ready” light to turn on. Put your foot on the brake and press the push-to-start button. If you see the “ready” light illuminate on your dashboard, your 12-volt battery is on and you’re good to go. If the indicator doesn’t pop up or nothing happens, continue charging for another 5 minutes and try again. If your vehicle isn’t starting after 2-3 attempts, check your cable leads. You may have accidentally connected one of the leads to an incorrect terminal. If your connections are solid and the vehicle still isn’t starting, you may have a faulty battery. Contact a dealership or mechanic near you to get a replacement.
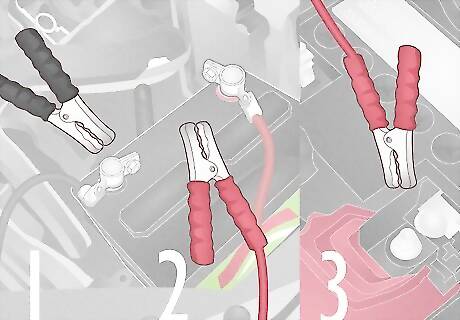
Disconnect your cables in the reverse order you connected them. Remove the negative lead on your Prius first, followed by negative lead on the charger or other vehicle. Then, remove the positive lead on the other vehicle or charger, and finish by taking the positive lead off of your Prius. Put the cover back on your battery and close the hood or trunk.
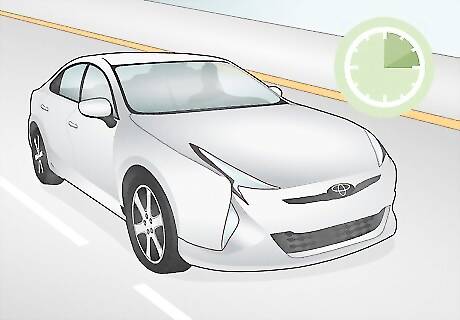
Drive the car for 10-15 minutes to charge the battery. The really cool thing about the 12-volt auxiliary battery is that it charges itself when you drive. Every time you brake, the kinetic energy is converted to electricity that powers your 12-volt battery. Drive around for a few minutes to get that auxiliary battery charged before you park and shut off your Prius. Try to make it a point to drive your vehicle for at least 20-30 minutes at a time once or twice per week.
Charging a Plug-In Prius
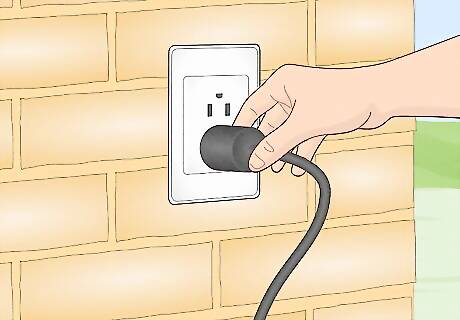
Plug the end of the supplied charging cable into any electrical outlet. The charging cable is in the trunk of your car, under the floor mat. Insert the prongs into a normal outlet. Many Priuses do not have charging ports. Those vehicles can only be charged using the kinetic energy from your brakes. If you don’t still have the original charging cable that came with your Prius, you can purchase a replacement from a dealership or online.
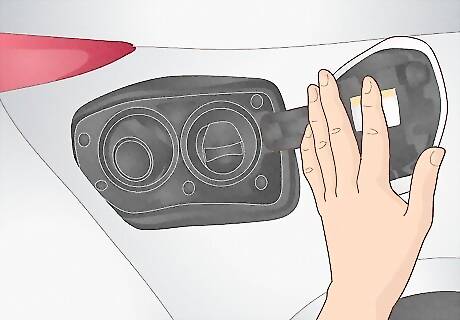
Open the charging port on your vehicle. On newer Prius models, the charging port is on the opposite side of your gas tank. Push in the panel door to release it, then open it outwards. Remove the cap from the port and rest it on the built-in holder next to the charging port. The charging port itself will almost always be on the left side of the panel, with the cap holder on the right side.
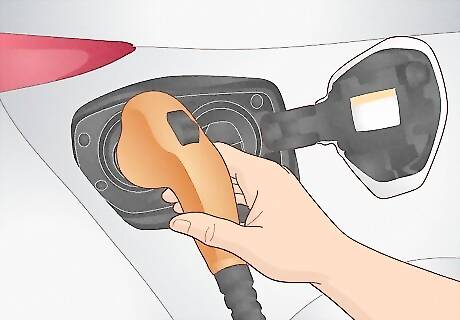
Connect the charger to the port. Pull the protective cover off of the charger’s head and slip it into the exposed port, making sure the molded holes on the inside of both components are in alignment. You’ll feel the charger head click when it’s seated securely. The charging head is the larger handle-like end of the charging cable, opposite the plug end. You should feel a click once the cable is in all the way.
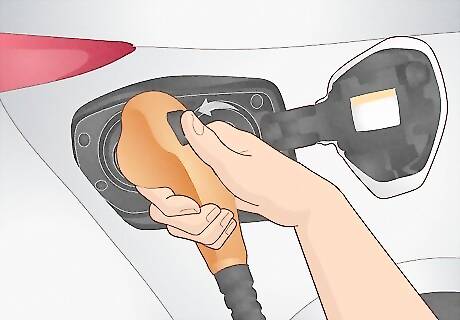
Press the trigger on the back of the charger to start charging. A small green light will appear at the bottom of the charging panel to let you know the battery is charging. If the light doesn’t come on, take the charger out and reconnect it.
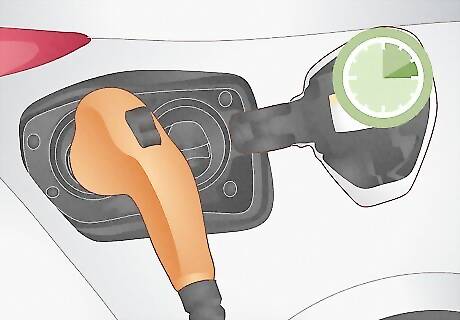
Wait 2-3 hours for your battery to finish charging. If you’ve connected your Prius to a standard 120-volt wall outlet, it will take approximately 2½ hours to bring a totally drained battery back up to 100%. If you’re hooked up to a 240-volt charging station, your total charging time will drop to 1½ hours. On newer Prius models, such as the Prius Prime, you can check your charging progress by looking at the 3 blinking blue lights on the passenger side of the dashboard. When all 3 lights are steadily illuminated, your vehicle is done charging. The Multi-Information Display (MID) on the inside of the car also shows your current charging status, including an estimate of how much time is left until your battery is fully charged. To reduce the amount of time you spend charging your Prius, consider upgrading to a 9 level 2 charger setup at home.
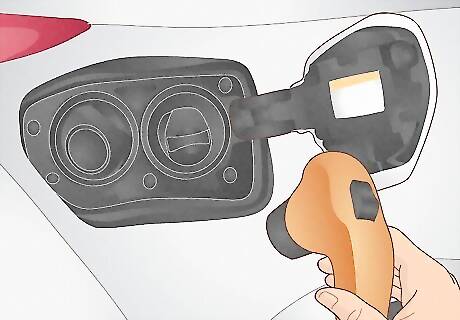
Disconnect and store your charging cable when you're done charging. Press the small button on the charging panel beside the indicator light. Replace the protective cover on the charger head, then put the cap back on the charging port and close the charging panel. Stash your charging cable in the specially-designed compartment in the trunk of your vehicle. It's a good idea to keep your Prius Plug-In charged whenever you're not driving it to ensure you’re always driving with as much hybrid power as possible. This will cut fuel costs and harmful emissions.





Comments
0 comment