
Double Jump Tutorial In Detail
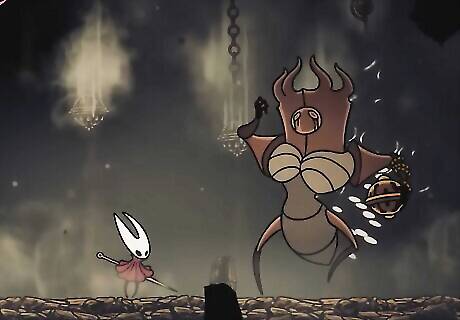
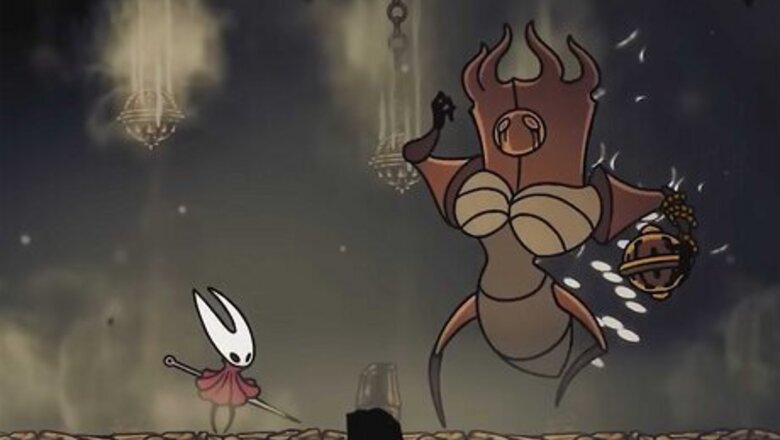
Reach Act 2 by getting into the Citadel. The easiest way to start Act 2 is by working your way up the Blasted Steps from Shellwood. Fight and platform your way to the northeast. If you keep going, you’ll reach the front door of the Citadel, which will trigger the Last Judge fight. Beat the Last Judge and enter the Citadel to start Act 2. What if the door won’t open? The two NPCs will explain that bells are missing. Check your minimap for the (up to) 6 bell locations. Go to those markers and unlock the bench at each spot. Return, and the door will unlock. Alternative path: You can also get to the Citadel by going through Sinner’s Road, traveling to the northwest, and defeating Phantom. That’s a much harder route, though. We recommend beating the Last Judge, even if the runback from the bench is pretty brutal.
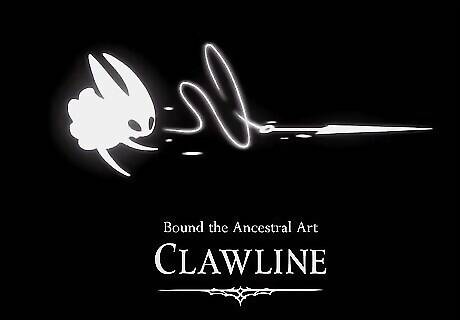
Get the Clawline from The Underworks if you haven’t already. It’s possible you already got the Clawline, in which case, skip this step. If you haven’t, here is the process for unlocking the ability: Exit halfway up from Cogwork Core. From the base of Cogwork Core, go up on the right side and enter the exit on the right wall. Beat the bugs and enter Whispering Vaults. There’s a bug gauntlet in the room on the other side of the circular crossway. Defeat them and keep going right. Defeat Trobbio and take the elevator on the right. Drop down in the first big room you enter and go into the room on the left with the three heads on the sign. Take the elevator on the right down to The Underworks. Go to The Cauldron in the Underworks. Go to the left and drop down the big vertical chamber. At the bottom, go to the right. Climb up and enter the lever door to enter The Cauldron. Unlock the Clawline ability. After you snag the Clawline, go to the top right of the room and defeat the gauntlet of enemies to get out. We recommend using the harpoon on the ring next to the bench before leaving to meet Twelfth Architect, a shopkeeper selling tools.

Go to The Slab. The Slab is Pharloom’s prison, and there’s only one way to get in. Starting at the room you defeated Last Judge in, go right and jump up the swivel platforms in the first vertical chamber. Enter the door on the right and continue working your way up. At the first left-right junction, go left. Climb up twice and go right to the vertical column. Jump up and immediately go left. The Slab is on the other side of the large, horizontal platform. Alternative path: If you’ve already explored The Citadel, the quickest route starts in the dining room, where you meet Loyal Mergwin. Go left, and take the closest exit on the left of the vertical chamber. Continue going left, and you’ll end up in the Slab.
Enter Mount Fay or complete the prison quest in The Slab. You have two options for getting to Mount Fay. Most players like completing the prison quest first because it naturally drops you off right where you’re going anyway, but it’s totally up to you. Here are the options for getting to Mount Fay: Allow yourself to get captured in The Slab and complete the prison quest. Hang around in The Slab. Keep exploring until you’re abducted by a Wardenfly. Let yourself get captured, and you’ll wake up in jail. Complete the railroaded platforming and combat challenges to get your stuff back, and you’ll end up at the Bellway for The Slab. Mount Fay is just outside to your left. Go to Mount Fay without getting captured. To do this, go all the way to the left after entering the Slab (as far as you can go). Drop down the serpentine tunnel and go down (not right) at the bottom. Go out the left, past the Bellway station, and you’re in Mount Fay.

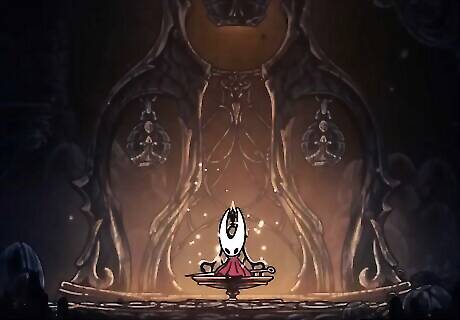
Complete the platforming challenge in Mount Fay. Start by using the Clawline to jump to the left. Enter the next room and buy the map. Jump to the left and then work your way up to the right. Go past the row of beacons and enter the next room. Go directly up, using the Clawline and Wall Cling abilities as you go. Go to the left, jump on the wall, and wall jump up to the beacon. Jump up and to the right and platform your way through the spikey area. Once you reach the “top” of the platform, go left. Continue wall jumping and Clawlining your way through the spikey area. On the next screen, jump down and avoid the flickering flying bugs. Enter the hallway on the left. Hook and float to the left, then go up to the platform with the beacon. Pause there and work your way left. Keep doing this until you reach the bench room. Buy the bench and save the game. Once you’ve saved at the first bench, keep going up and to the right. This is really the main challenge of the whole thing, but at least there’s only one route to go. Keep going up and right until you find a large hallway going east. Follow that all the way until you reach the vertical chamber and climb your way directly up. The double jump ability is at the top of the mountain. This is one of the hardest platforming challenges in the game. Do not get discouraged! This one takes even the best Silksong players plenty of attempts.
Tips for Beating the Platforming in Mount Fay
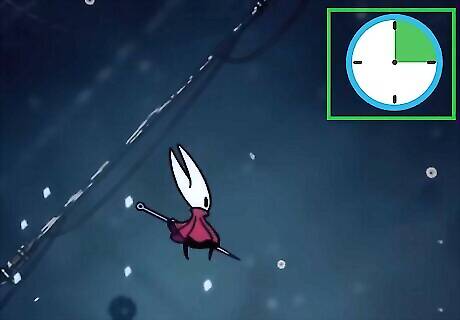
Use a 15-second timer to determine when you’ll lose life. The warm spots and beacons will “warm you up” and keep you from losing life. The game doesn’t explain it, but you’ll start losing health after 15 seconds in the cold on Mount Fay. If you keep dying from the cold, grab a timer and start it every time you move from section to section.

Go back to the “warm spots” or beacons if you miss a jump. It’s not worth risking the health by trying to solve a single platforming section without the full 15 seconds, so if you screw a jump up and you can’t see the next beacon or warm spot, just go back to safety and try again.
Don’t turn around if you’ve already made vertical progress. If you get to the point where you start working your way up, you’ve already beaten some of the hardest sections. It’ll be easier for you to just finish the mission and climb up than it will be to turn around and go look for something else to do. This really is one of the longer challenges in the game, so if it takes you a few hours, you aren’t alone. Stick with it once you reach the first bench (after the entrance).
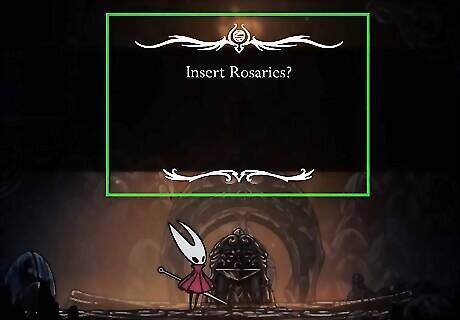
You need at least 170 rosaries. You probably have plenty of rosaries at this point in the game, but in the event that you’re a little light on cash, you must have at least 170 rosaries before starting this challenge. If you don’t, you won’t be able to unlock all of the benches that you’re going to need to unlock.
Frequently Asked Questions
Is the double jump mandatory for the end of the game? The double jump is mandatory if you want to access Act 3 of the game, so if you want to see the ending(s) of the game, then yes, it’s mandatory. You can progress up to a point, but you won’t physically be able to access the areas you need to get to in order to progress the story into Act 3.
Is the prison mission mandatory to get the double jump? No, players just like completing it first before getting the double jump because the mission ends up leaving you right where you need to be. The other reason to complete the prison mission before starting the platforming challenge on Mount Fay is that you’ll acquire all of the rosaries you need along the way. The prison mission involves fighting a bunch of devoted bugs who are carrying more than enough rosaries to buy your benches.
Can you get the double jump in Act 1? No, there’s no possible way to access Mount Fay without getting into the Citadel first. It is quite late in the game to get the double jump, but that’s what Team Cherry wanted!


Comments
0 comment