views
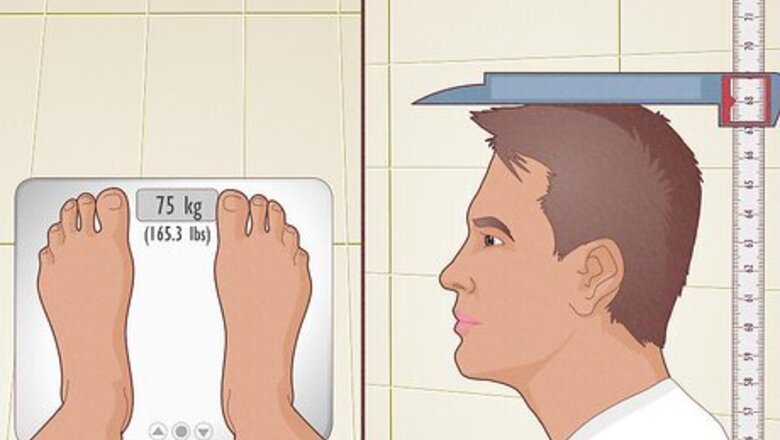
- Choose a board that stands taller than your chin but shorter than your nose for an approximate sizing, or use our height and weight chart for more accuracy.
- Select a width that matches your boot size so the toes of your boots hang off the board just a bit, but not enough to drag on the ground during a sharper turn.
- Opt for a symmetrical, all-mountain board as a beginner to help you ride groomed trails and dip your toes into some powder while you get the hang of things.
Sizing for Length
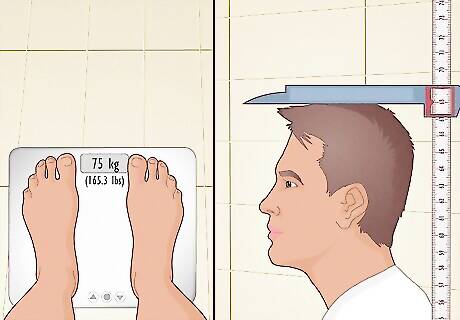
Measure your height and weight, and find them on the chart below. There are a number of factors that go into choosing a snowboard, but you can narrow it down quite a bit if you know your height and weight. These both influence approximately how long your board ought to be to get you shredding in comfort—and style. Common boarder wisdom says that ideally, when standing next to your board, it should come up to somewhere between your chin and your nose, but this is just an approximation. Each board brand has its own recommended specs based on your body, so default to the manufacturer’s advice, which is often printed on the tag. Note that most snowboards are sized in centimeters.
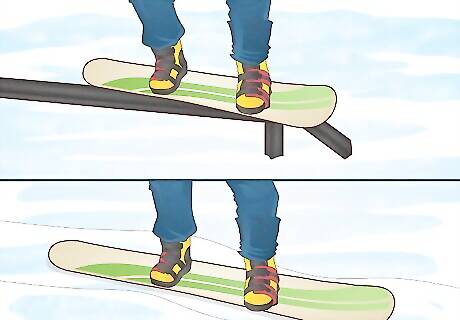
Tailor the length of your board to your riding style. Here’s that exception we mentioned earlier. While there’s a loose guideline for snowboard sizing (the chin test), your board’s length is actually entirely up to you. A shorter board is great for tight maneuvers, tricks, and park riding, while a longer board is better for powder riding and general stability. If you’re a beginner, we recommend sticking to the chin test, then trying out new boards once you’ve mastered the basics of snowboarding.
Sizing for Width
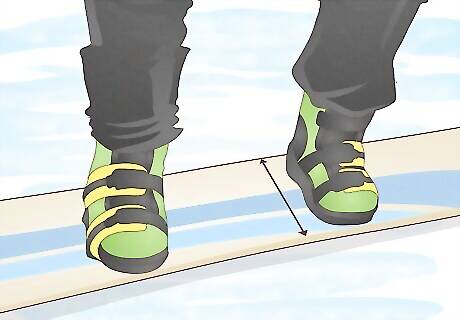
Pick a board width based on your boot size. The width of your board needs to accommodate your binding and boot length. Otherwise, if you lean too far in either direction, your boots or bindings will touch the ground and cause some serious drag. Most boards have a recommended binding size, but you can also consult the chart below for a general idea. Note that your boot’s toe should ideally hang over the edge of the board just a bit, but not enough to hit the snow when you’re carving.
Flex, Camber & Board Shape
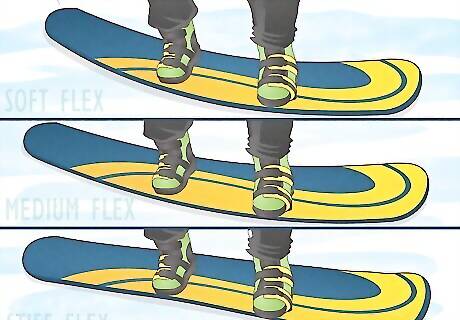
Choose a flex type based on your experience level or preferred terrain. Each board has a certain amount of flex, or how much it bends as you ride it. How much flex you need depends on the terrain you plan to ride, and how you plan to ride it: Soft flex boards are more forgiving and easier to handle, making them good for beginners and those who like tight maneuvering, or experts who like to pull stunts. Medium flex boards make easier, better turns at high speeds, making them ideal for speed hounds. Stiff flex boards hold their shape in deep powder, making them great for backcountry riders.
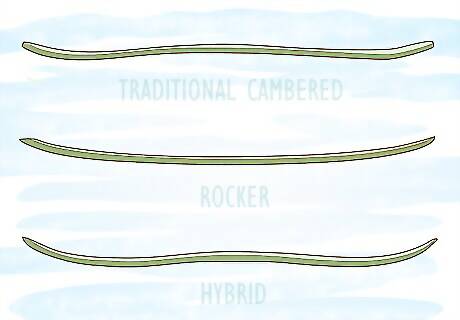
Choose a camber based on your riding style. A board’s “camber” refers to how it curves when laid flat on the ground, and it hugely influences how the board handles. Pick a camber type based on how you want the board to behave under your boots: Traditional cambered (or just “cambered”) boards rise off the ground at the center, and are great for springing into the air and maneuvering the board, which is ideal for tricks and snow park junkies. Rocker (or “reverse camber”) boards lift up at either end, making them sort of like boats that float right through deep powder and are easier to start turns with, but aren’t the most comfortable when landing tricks. Hybrids combine the two, and there are loads of different configurations. A hybrid camber is one type, and it offers good turns, good jumps, and good powder floating.
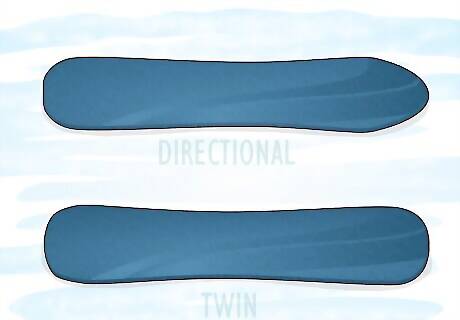
Choose a board shape based on your riding context. Boards also come in a number of shapes, or how it looks when viewed from above. Twin boards are symmetrical, which allows you to switch stances, and are great for beginners and shredding all around the mountain. Directional boards point like an arrow in one direction, allowing for greater speed and powder handling. That said, directional boards can only be ridden in the direction they “point,” which can feel limiting for some riders who prefer more freedom in their stance.
What type of board is best for me?
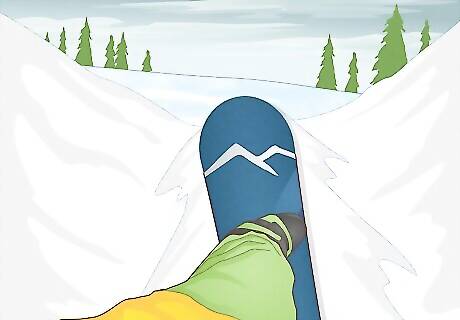
All-Mountain These are your jack-of-all trades boards. They’re competent on groomed trails, in the park, and on powder, but don’t necessarily excel in any of these. Don’t let that deter you, though! All-mountains make excellent beginner or casual boards, and are also great for pros who like to ride a bit of everything during their day on the slopes.
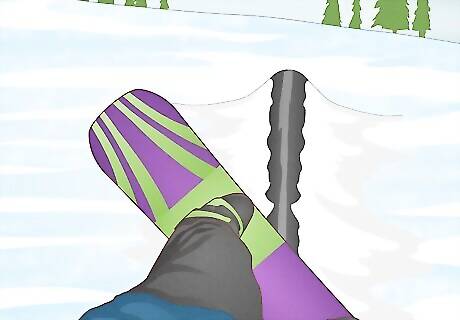
Freestyle Also sometimes called “park” boards, these boards are right at home grinding rails or getting air in the halfpipe. They’re easy to maneuver, generally smaller, more lightweight, and with greater flex, and have a twin shape to make switching stances a breeze. Ideal for trick junkies. “All-mountain freestyle” boards are a bit of column A, a bit of column B. They’re trick boards that can ride in more conditions than a basic freestyle board.
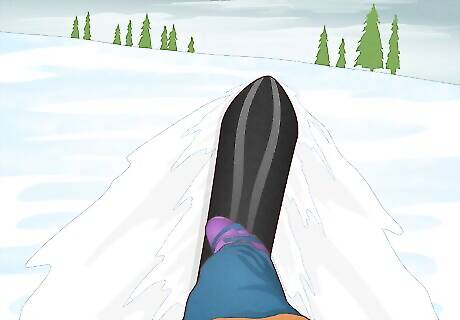
Powder Powder boards do just what their name implies—they ride powder and fresh snow like nothing else. They’re generally tapered, a bit longer, and often directional, allowing you to surf across soft snow without a second thought. We recommend that beginners learn on the groomed trails before they take to the deep snow, though. Freeride boards are similar, but a bit more versatile to let you shred any snow or terrain, not just powder.
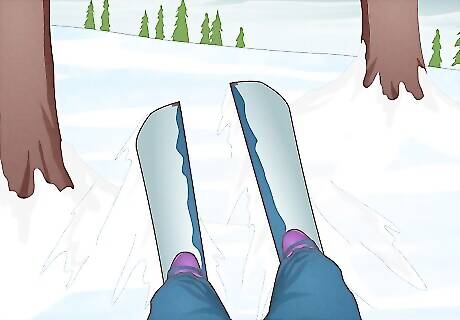
Splitboard The splitboard is one of the more recent advancements in board tech. They literally split down the middle to form skis! Those skis aren’t for the downhill, though—they’re for the intrepid riders looking to trek to some fresh powder or backcountry, where the lifts won’t take ‘em. These are definitely best left to the pros, but they’re something for a beginner to aspire to.






Comments
0 comment