views
Using a Vacuum Cleaner
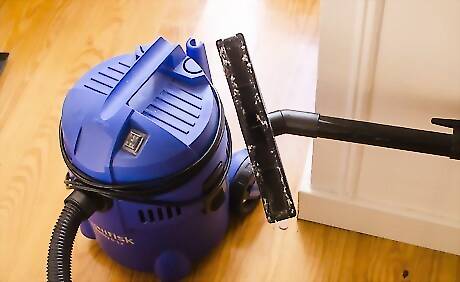
See if your vacuum cleaner has a ceiling fan or dusting attachment. Many vacuums come with a dusting attachment that allows you to affix a brush over the vacuum’s hose, making it easy to dust surfaces without having to worry about scattering dust everywhere. You’ll need a dusting attachment if you choose to vacuum your ceiling fan. If your vacuum doesn’t have one, they can usually be purchased for around $10. For best results, use a dusting attachment that is wide and flat, not circular.
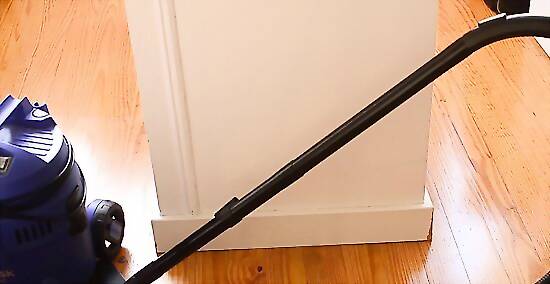
Extend the vacuum handle to reach the fan. Stand slightly off to the side below the ceiling fan and hold the vacuum handle at arm’s length. You may need to be elevated to reach the top of the fan blades if you’re short, have high ceilings or if the dusting attachment on your vacuum doesn’t have a curved structure. Make sure you’re able to move the vacuum hose along the length of the fan blade from where you’re positioned. If need be, find a crate or step-stool to lift you closer to the fan. When standing on an object for support, be careful that the sweeping motions you make to clean the fan don’t sway you off balance.
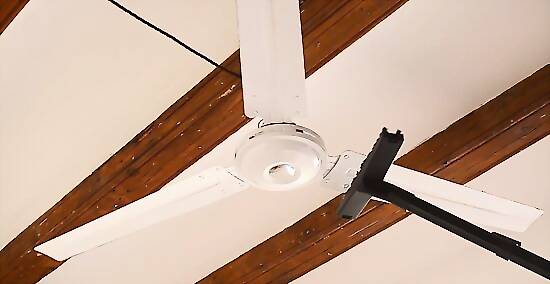
Run the attachment along the fan blades. Turn on the vacuum cleaner and begin brushing the fan blades. The brush attachment loosens the settled dust so that the hose can promptly suction it up. Complete a full sweep of each blade, moving the hose slowly in a single direction first, then going back over the blade to catch any dust that you missed. Make each pass with the vacuum smooth and straight, rather than jerky back-and-forth motions, which can send dust flying.
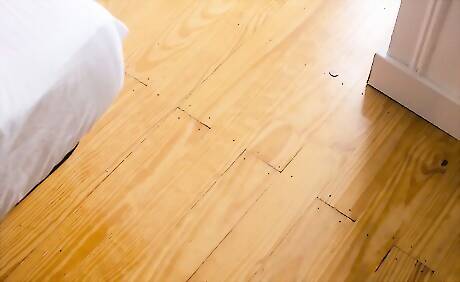
Look for stray dust. Even with the vacuum method, you may have knocked some dust off the fan and sent it drifting down below. Make sure there isn’t dust on the floor or on any furniture in the immediate area below the ceiling fan. If there is, this dust can also be vacuumed up, or you can quickly wipe it up by hand.
Using a Long-Handled Duster
Acquire a long-handled duster. A magnetic duster or Swiffer duster will be perfect. Magnetic dusters make use of static charge to attract and hold dust, while a Swiffer duster’s specially designed material grips and locks in dust so that it doesn’t go flying. Magnetic dusters are typically a couple of feet in length, so they’ll work well for a person of average height (though you might still need a step-stool). If you go with a Swiffer duster, you’ll also need a handle extender which is cheap and can be bought alongside the regular duster at any home goods store. An extendable duster handle and pack of disposable heads can be purchased for less than $15.
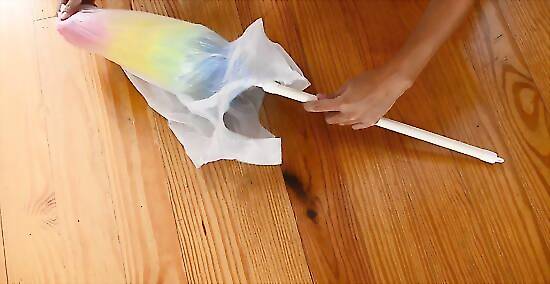
Give your magnetic duster a charge. In order to attract dust, your magnetic duster needs to build up the proper static charge. To accomplish this, take a simple plastic shopping bag and grip it around the head of the duster, then rub it back and forth to fluff the dusting fronds and create static electricity. Your duster should now be able to “magnetize” nearby dust without even touching it. Watch out when touching metal surfaces after using a magnetic duster. Any time you work with static electricity, there’s a chance of a slight electrostatic shock, which can startle and sting.
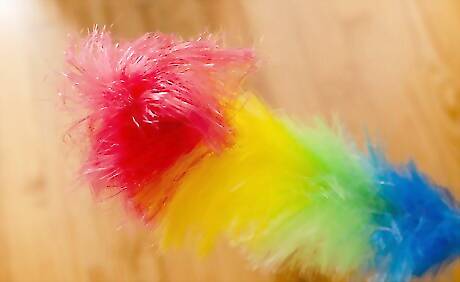
Make sure the dusting head or pad is clean. If you’re using a Swiffer duster or another kind of long-handled disposable duster, start by attaching a fresh dusting head or pad. Used pads that are clogged with dust won’t hold the new dust that they come into contact with, and you might even lose dust and make a new mess. Fit a new pad or dusting head onto the end of the extendable handle and you’ll be ready to take on fresh dust.
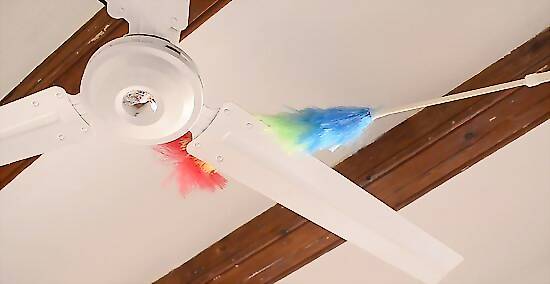
Slowly dust from one end of the fan blade to the other. Hold the handle of the duster overhead and drag the duster over the top of the fan blade. The grippy material should capture even thick coats of dust in a single pass, making the fan a breeze to clean. Repeat this process of the remaining blades. Go slowly so you don’t sweep dust onto yourself!
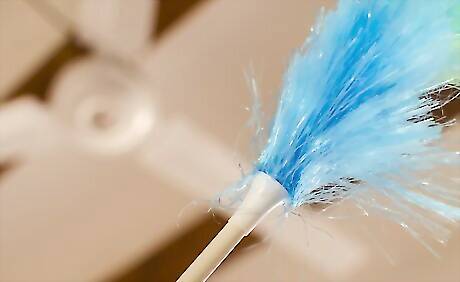
Replace the dusting head or pad as needed. The fan may be especially dirty or the dusting head or pad may run out of usable area before you’re finished. Should this happen, pause long enough to switch out the dusting head. If you don’t you may just end up sweeping dust off the fan and into the floor. Duster replacements are inexpensive, so it should be no problem to make sure you’ve got more than one to get the job done right.
Cleaning by Hand
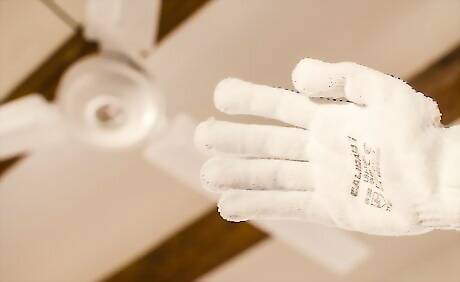
Use a cloth or hand dusting glove. Dusting gloves easily slip onto your hand and allow you to wipe away dust using multiple contoured projections, but a simple cloth will work if you’re dusting by hand and don’t want to go to the trouble of shopping for new supplies. A dusting glove will be ready to use right out of the package, but you’ll want to slightly dampen the cloth before getting started as this will allow it to hold more dust. Softer materials like cotton and composites like microfiber will do a better job of collecting dust, especially when damp.
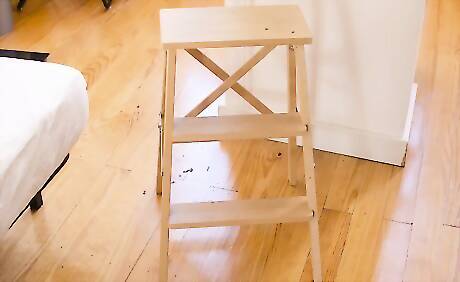
Set up a ladder or step stool to get closer to the fan. You’ll need to get level with the ceiling fan in order to clean it by hand. Using an indoor ladder or step-stool, carefully position yourself under and slightly to the side of the fan. One of the advantages of manually cleaning your ceiling fan is that you can grab hold of the blades to stabilize them, and once you’ve finished cleaning one blade all you have to do is rotate the fan and you’re ready for the next. Be extremely careful when using a ladder for household tasks. Have someone hold the ladder for you, if you can, and never climb to the highest step. If no one is around to help, use conservative motions while on the ladder to prevent it from rocking.
Apply some dusting spray. It’s recommended that you use a dusting spray like Pledge or Endust for best results; these sprays provide a layer of moisture to hold the dust in place and leave surfaces with a polished shine. Spritz a small stripe of dusting spray on each blade. You may not need to dampen your cloth when using a dusting spray. Some dusting sprays contain wax that can build up on surfaces and may not be good for them over time. Obviously, these are not recommended for use on certain materials. Make sure you look the product over to know exactly what you’re buying.
Wipe each blade clean. Go over each fan blade with the cloth or dusting glove using straight, linear strokes. Thicker coatings of dust will likely require multiple passes when cleaning by hand, so you may have to periodically wring out the cloth before continuing. Apply the dusting spray a second time if you prefer, and look for dust that has escaped the fan once you’re done. Dust your ceiling fan weekly so it doesn't get too dirty again.



Comments
0 comment