views
Cleaning an Electric Percolator with Soap and Water
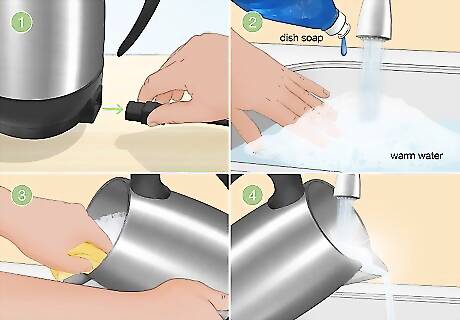
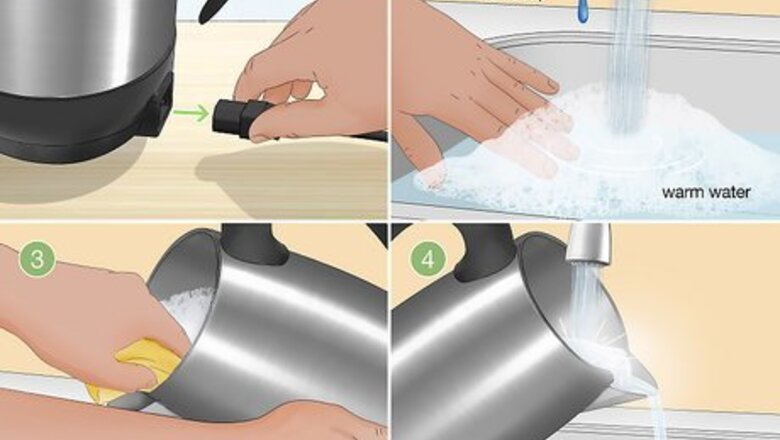
Use warm soapy water to wash out the body of the percolator. Unplug your percolator and take it to the sink. Fill the water basin with warm water and a few drops of dish soap. Swirl the soapy water around and use a sponge to quickly wipe down the interior, then rinse it out until the water runs clear. Never fully submerge your electric percolator in water, or you could get shocked. Take your time when rinsing out the soapy water—you really don’t want sudsy coffee the next time you go to brew a pot.
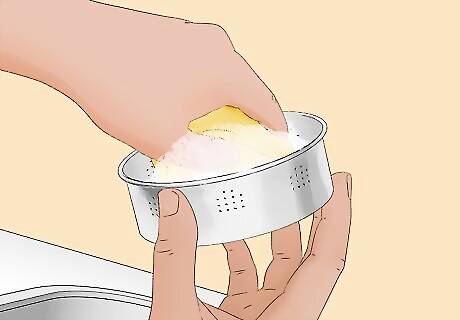
Scrub the percolator basket if it has built up grime or coffee residue. The basket tends to get oily quickly. If you’re cleaning your percolator every day, you should be able to just use a sponge dipped in warm, soapy water to wipe down the basket. Never use a hard-bristled scrub brush or a scouring pad to clean the percolator basket. It could get scratched easily or damage the built-in filter.
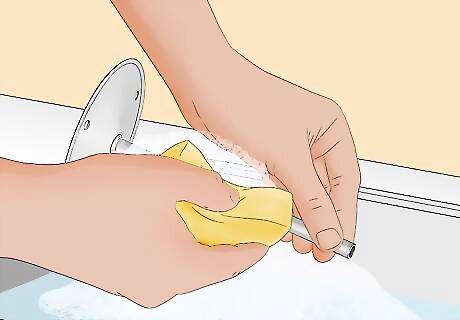
Wipe down the stem and clean away any stuck coffee grounds. This may also be called the “perk tube,” just depending on what kind of machine you’re using. It can get a little oily sometimes, so take a few moments to wipe it down with your soapy sponge, and rinse it off with clean water when you’re done. If the perk tube is extremely dirty, you can usually wash it on the top rack of your dishwasher. Check your owner’s manual to make sure it’s dishwasher safe.
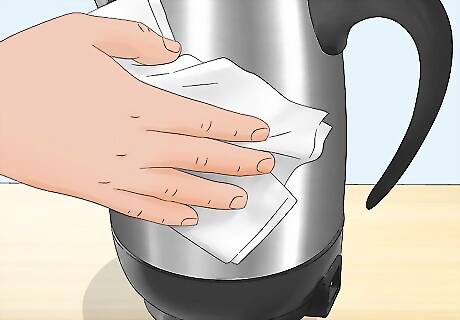
Wipe down the outside of the percolator with a damp cloth. Don’t use a scouring pad or anything else that might scrape the stainless steel. Focus on areas that may collect coffee drips. Use a lint-free towel to dry it off and buff it back to its original shine. Most percolators are made of stainless steel. Even if yours is made of glass or ceramic, you can still wipe it down with a damp cloth.
Cleaning a Stovetop Percolator with Soap and Water
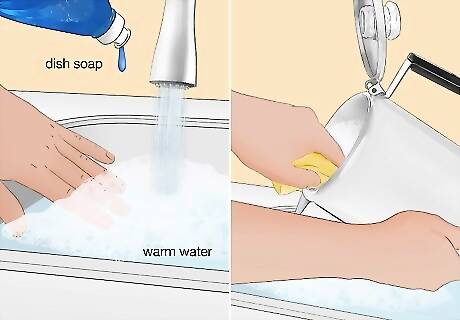
Wash the body of the percolator with soap and water. Let your percolator cool down if you’ve just used it, then take it to the sink. Fill the basin with water and a few drops of dish soap, then use a sponge to wipe it out. Rinse your percolator until the water runs clear. Make sure your percolator is rinsed out thoroughly before your next brew! Otherwise, you could be drinking sudsy coffee.
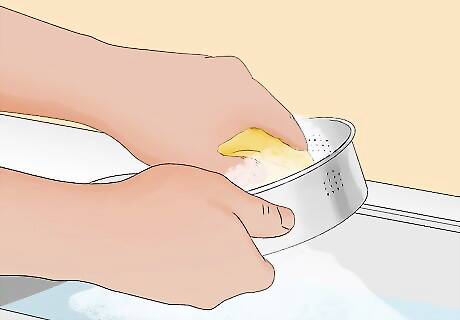
Wipe down the basket if it’s grimy. The basket tends to get dirty very fast, so it may take more scrubbing. Use a sponge and soapy water to wipe it down, then rinse it out. Always use a soft sponge, not a hard-bristled scrub brush. The built-in filter is delicate, and it could get damaged.
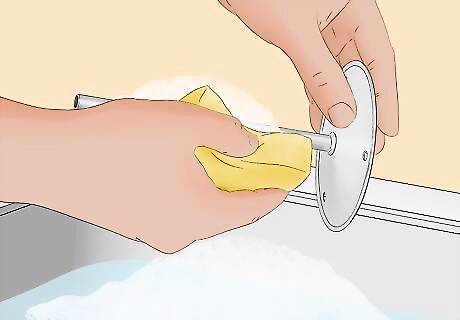
Wipe down the stem and the pump base. The stem, also called the perk tube, tends to get oily (and so does the pump base at the bottom). Take extra care to wipe down these parts with your soapy water, then rinse them off. Most stovetop percolator parts can be washed in the dishwasher. Check your owner’s manual to make sure it’s dishwasher safe, then place the parts in the top rack of the dishwasher for a more thorough clean.
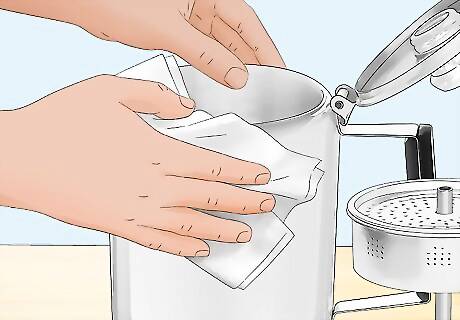
Clean the outside of the percolator with a cloth. Always use a clean, soft cloth or towel instead of an abrasive scouring pad (since that could scratch the percolator). Get your cloth wet and wipe down the outside of the percolator. Once the outside has been wiped down, dry it off with a new, clean towel. Most percolators are made of stainless steel. Even if yours is made of glass or ceramic, you can still wipe it down with a damp cloth.
Cleaning an Electric Percolator with Baking Soda and Vinegar
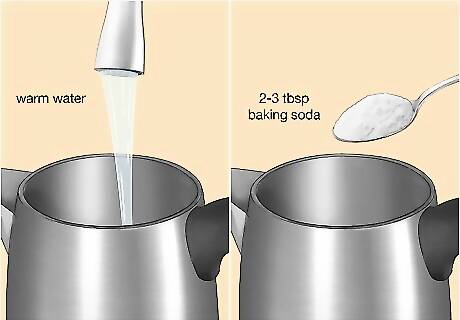
Fill the coffee pot with water and baking soda. Fill the coffee pot with warm water from the sink, just like you’re making your regular brew. Then, add 2 to 3 tbsp (28 to 42 g) of baking soda to the mixture. If you see it fizzing up a little bit, don’t worry—that just means the baking soda is working. Baking soda is mildly abrasive, so it’s great at breaking down tough stains and marks inside your coffee pot. Don’t have baking soda on hand? Use the same amount of cream of tartar instead.
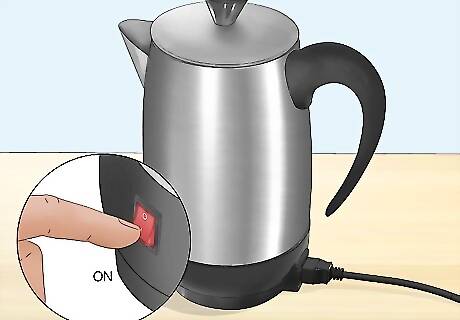
Turn on the percolator and let it brew. The percolator will agitate the water and the baking soda mixture to ensure a deep clean. Wait until it runs a full cycle before continuing on.

Leave the water to cool down. Percolators get hot, and handling your percolator right away can be dangerous. Once the brew is over, let your percolator cool down for a couple of minutes, or until the water is no longer boiling.
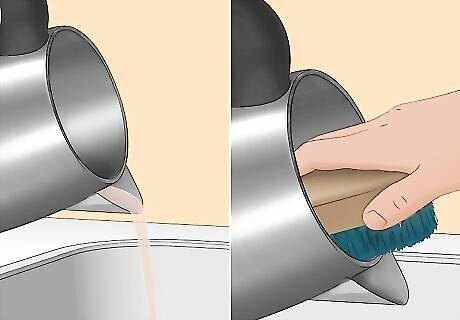
Empty the pot out and scrub the inside with a scrub brush. Take your percolator over to the sink and pour out the water and baking soda mixture. Use your faucet to spray out the inside of the pot, then scrub the inside with a scrub brush to remove any stuck-on bits. Don’t be alarmed if you see gunk and grime coming out of the percolator when you first empty it out—that just means your baking soda has done its job!
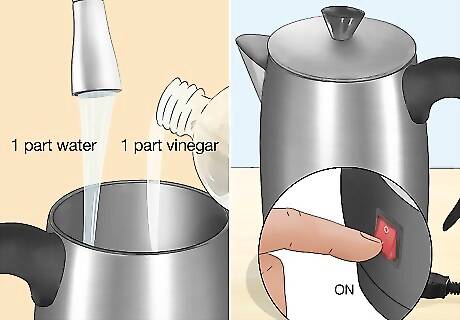
Run the cycle again with a 1:1 mixture of vinegar and water. White vinegar is a natural disinfectant, and it helps tackle tough stains and marks. If you don’t love how your percolator looks after using just baking soda, fill it again with water and white vinegar. Let it brew for a full cycle, then pour the mixture out. If you still see marks inside of your percolator, scrub it one more time with a scrub brush.
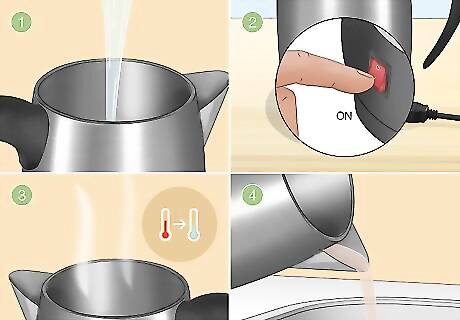
Run the cycle again with fresh water. Fill up your percolator with water, then turn it on again. Let it brew for a three full cycles, then let it cool down before emptying it out. Running a second cycle ensures that none of the baking soda or vinegar taste will be left in the pot for your next brew.
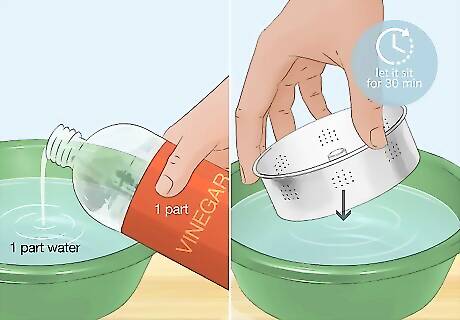
Soak the filter basket in white vinegar. The filter basket tends to get the dirtiest, since it collects the most coffee grounds. If your filter basket is still looking a little dingy, take it out of the percolator and put it into a bowl with equal parts of white vinegar and water. Let it sit for about 30 minutes, then take it out and rinse it thoroughly before letting it air dry. This is a great method to use if your filter basket has mineral or calcium deposits.
Cleaning a Stovetop Percolator with Vinegar
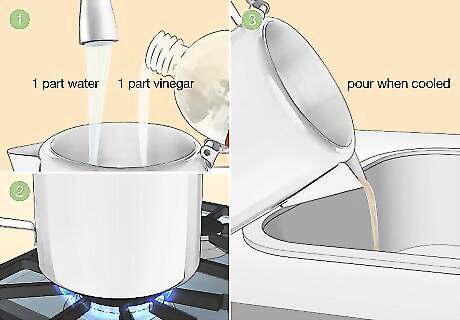
Run a cycle with a mixture of vinegar and water. Fill your percolator about halfway full with water from the sink, then fill the rest with white vinegar. Brew a full cycle, then pour the mixture out. Vinegar is a natural disinfectant that evaporates quickly. It’s great at tackling tough stains, and it won’t leave a taste or smell inside of your percolator.
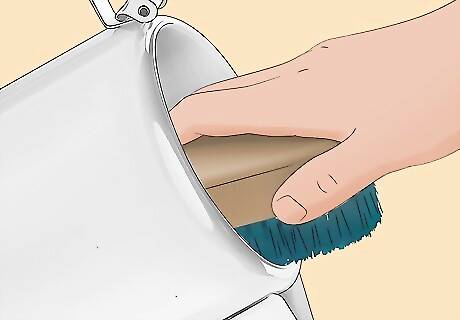
Scrub the inside of your percolator with a scrub brush. Add a few drops of dish soap if you want an extra deep clean. Scrub the percolator, then rinse it out with plain water.
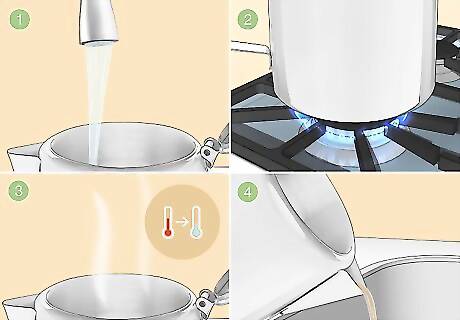
Run the cycle again with fresh water. Fill up your percolator with water, then turn it on again. Let it brew for a full cycle, then let it cool down before emptying it out. Running a second cycle ensures that none of the vinegar taste will be left in the pot for your next brew.
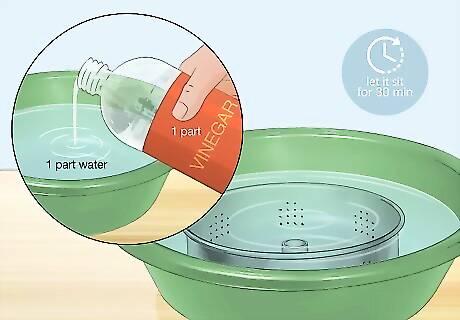
Soak the filter basket in white vinegar. If your filter basket still looks a little grimy, take it out and put it in a bowl with a 1:1 ratio of white vinegar and water. Let it soak for 30 minutes, then take it out and rinse it off with fresh water.



Comments
0 comment