views
Using Water Displacement with Active Metals
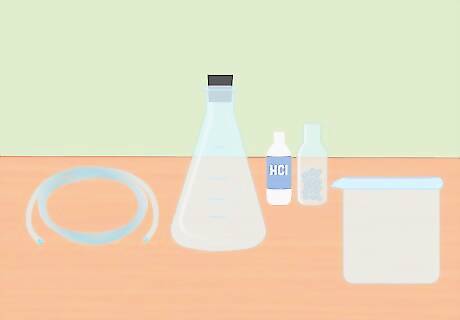
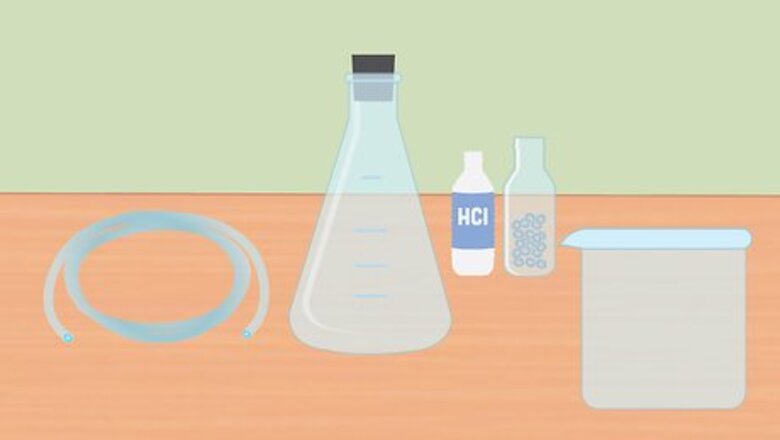
Gather the necessary materials. To collect hydrogen using the reaction of mixing a strong acid with an active metal, you will need: an Erlenmeyer flask, a rubber stopper, plastic tubing, distilled water, test tubes, a large container, 3 molar hydrochloric acid (HCl), and magnesium or zinc pellets. An Erlenmeyer flask is a glass flask that has a conical bottom and cylindrical neck. The rubber stopper is for the top of the flask and needs to have a hole in the middle for the tubing to go through. Either magnesium or zinc will work for this experiment, you do not need both. Some of these supplies may need to be purchased online or at a laboratory supply store.
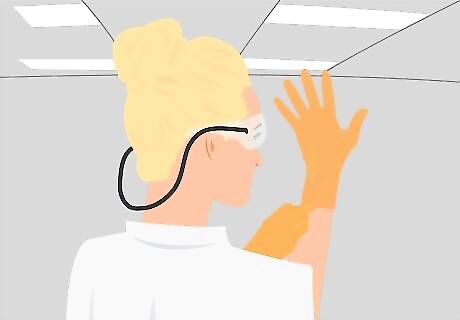
Wear proper protective equipment. When working with a strong acid such as hydrochloric acid, you want to make sure you take proper safety precautions. Wearing a lab coat, gloves, closed-toe shoes, and eye protection are essential. Goggles should wrap around the sides of your eyes to protect them from splashes. Wear gloves that fit properly so you maintain good dexterity of your hands and fingers.
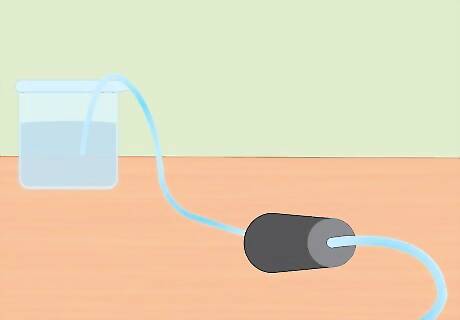
Prepare the experimental setup. Insert one end of the tubing into the hole of the rubber stopper. You want the tubing to go all the way through the rubber stopper and stick out slightly from the end. Fill the large container with water and place the free end of the tubing into the water. When the experiment begins, you will put the rubber stopper into the Erlenmeyer flask. Set these pieces aside until you are ready to use them.
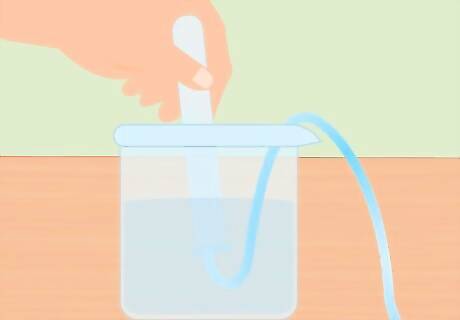
Submerge the test tube in the water. Take at least one test tube (you can use more if you want to collect more hydrogen) and submerge it in the water. Tilt the tube so that all the air bubbles can escape. Place the tube on top of the submerged tubing attached to the rubber stopper on the opposite end. It’s essential that all air bubbles are removed from the tube before you begin. If they are not, the gas collected in the tube will be more than just hydrogen.
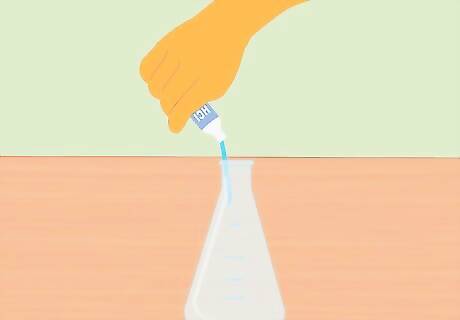
Add hydrochloric acid to the Erlenmeyer flask. Add enough hydrochloric acid to fill the flask about halfway. About 100 mL should be sufficient. Make sure the flask is clean and dry before adding the acid. Wear rubber gloves and use caution when filling the flask. Take care not to spill any water into the acid. Water added to acid can lead to an explosion and injury.

Start the chemical reaction by adding metal pellets to HCl. Add a handful of zinc or magnesium pellets to the hydrochloric acid in the flask. The exact amount you put in is not important, but a small handful should be enough to start the reaction. After adding the pellets, place the stopper into the flask so that the system is now closed.
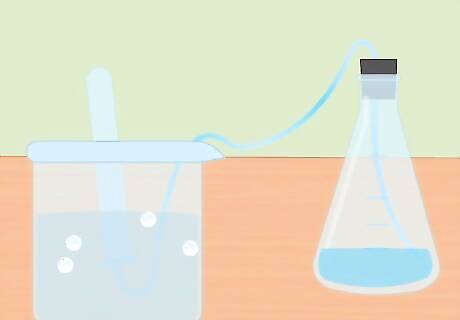
Collect the hydrogen in a submerged test tube. As the metal reacts with the acid, hydrogen gas is produced. This hydrogen travels to the top of the flask, through the tubing and into the test tube submerged in the water. The gas will displace the water and you should see a bubble form at the top of the test tube. When the test tube fills with hydrogen, submerge another tube with water and place it over the tubing. You can collect as much hydrogen as is produced by your reaction. Keep the test tubes facing down to prevent the hydrogen gas from escaping into the air.

Confirm the gas is hydrogen. In order to confirm that the gas is hydrogen, you can do what is called the splint test. Light a match and hold it underneath the tube. You’ll hear a “pop” or squeaking sound, indicating that hydrogen is present.
Using Electrolysis
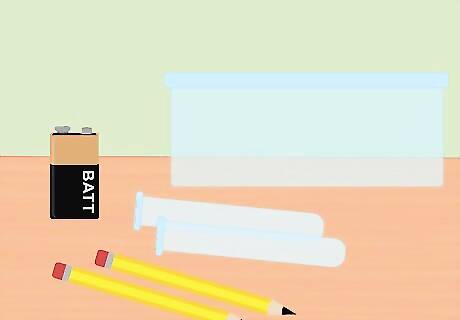
Gather the necessary materials. In this experiment, you will use electricity to separate hydrogen and oxygen gasses from molecules of water. To collect hydrogen gas using electrolysis, you will need a 9-volt battery, a pencil, two test tubes, a plastic container, water, baking soda, two large rubber bands (optional), and a battery clip with clamps at the end. The pencil must have graphite in it for this to work. A number 2 pencil is perfect. Two small pieces of graphite will also work for this. A small food storage container or bowl is sufficient. Make sure the battery clip can fit a 9-volt battery and that it has a red and black wire with alligator clamps at the end. These clamps will be used to hook up your system to the battery.
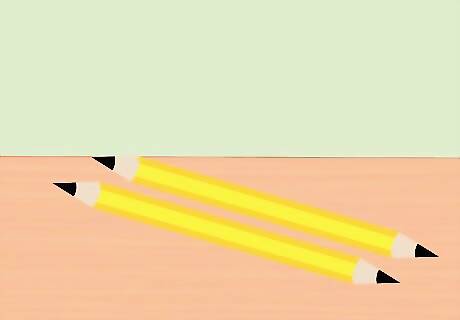
Remove the eraser from the pencil and break the pencil in half. You need two pieces of graphite, one for the positive end of the battery and for the negative end of the battery. Sharpen both ends of each piece of the pencil to a point. Make sure the graphite is well exposed. This step can be skipped if you already have two pieces of pure graphite.
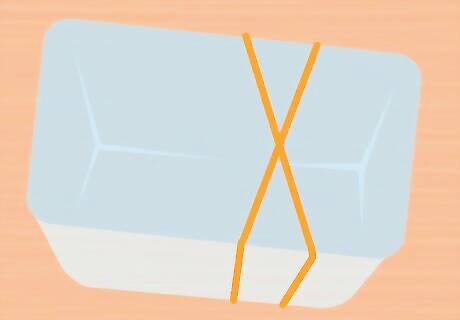
Wrap 2 rubber bands around the container in an X-shape. This step is optional, but is an easy way to keep the test tubes in place while the experiment is running. Stretch one rubber band over the container and stretch a second rubber band over it so that it crosses over the first, forming an X. If you don’t use rubber bands, be sure to secure the test tubes with tape or string so that they stay upside down during the experiment.

Make a baking soda and water solution. Dissolving baking soda in water will help the electricity be conducted in the system. The exact amount of baking soda added is not important, but about 1 teaspoon per 1 cup of water should be sufficient. Stir until completely dissolved. Use warm water to speed up the dissolving of the baking soda.
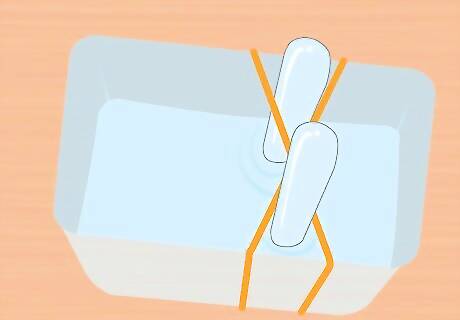
Fill the plastic container and test tubes with the baking soda solution. The container needs to be large enough to hold both of the test tubes. Add enough of the solution to fill the container about three-quarters full. Submerge the test tubes in the solution of the container and flip them upside down. Place each tube in the cross of the rubber band X to hold it in place. It is very important that both test tubes are completely full of water and no air bubbles remain.
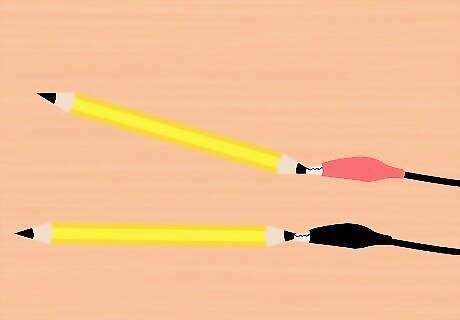
Attach the alligator clamps to the graphite. Take one clamp from the battery clip and attach it to the end of one of the pencils. Make sure it is touching as much of the graphite as possible. Do the same with the remaining alligator clamp and pencil piece. One pencil should be attached to the red clamp and one pencil to the black clamp.
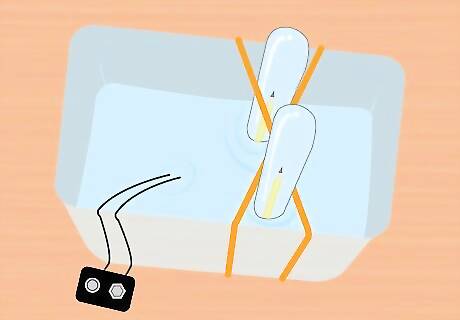
Slide the unclamped end of the pencil into the test tube. Keeping the test tube completely submerged, tilt it slightly so that you can slide the unclamped end of the pencil into the tube. Repeat this process with the other pencil and the other test tube. At this point, everything should be underwater and there should be one piece of pencil inside each test tube. Keep the end of the battery clip that attaches to the battery out of the water.
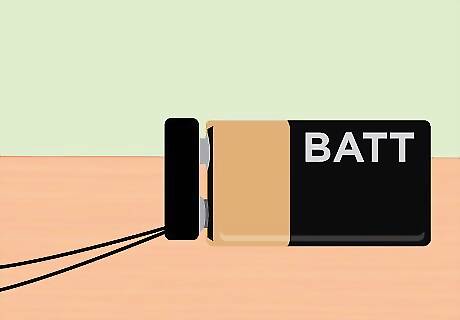
Attach the battery clip to the 9-volt battery. With everything set up, you are now ready to apply the electricity provided by the 9-volt battery. The end of the battery clip should be sticking out of the container so simply clip the battery in place. Once the battery is attached, you should notice bubbles rising from the end of the graphite and floating to the top of each test tube. If you don’t see bubbles produced, check to make sure the alligator clamps are firmly attached to the graphite of the pencil. Also, check that your battery is fully charged. The test tube with the negative wire attached to the pencil will be producing hydrogen, while the test tube attached to the positive wire of the battery will be producing oxygen.
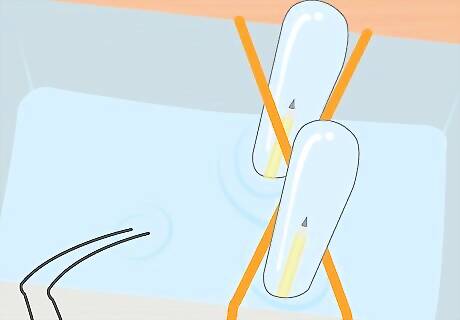
Collect hydrogen and oxygen in the two test tubes until you have a few inches of gas in each tube. Remember, the tube connected to the negative end of the battery will have the hydrogen and the oxygen will be in the tube connected to the positive end. Remove the test tubes from the jar, one at a time. Keep them upside down and let the water drain out. The gas in the tubes will remain even though you can’t see it.

Test for the presence of hydrogen. You can test for the presence of hydrogen by striking a match and holding the flame up to the gas. It will make a very distinct “squeaky pop” sound if it is hydrogen. You can also use a lit candle instead of a match. To test for oxygen in the test tube that was connected to the positive side of the power source, blow out a lit match (or candle) and place the still glowing end under the test tube. If the candle reignites, oxygen is present.






Comments
0 comment