
views
- Even if you don't pay for Adobe Acrobat Pro, you can use Adobe's online PDF compressor for free.
- If you have a Mac, you can compress a PDF by reducing its size in Preview.
- You can open a PDF in Microsoft Word and compress it, or save a Word document as a compressed PDF.
Using Adobe Online Compressor
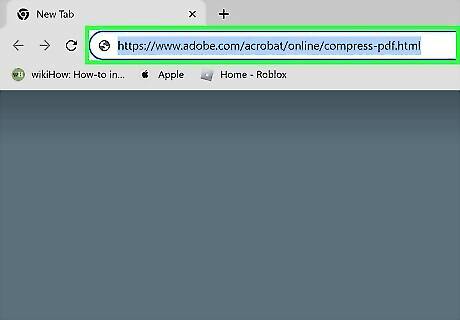
Go to https://www.adobe.com/acrobat/online/compress-pdf.html in a web browser. Adobe now offers a free online PDF compression tool that makes it easy to reduce the size of large PDF files. This tool will not work if the PDF is encrypted.
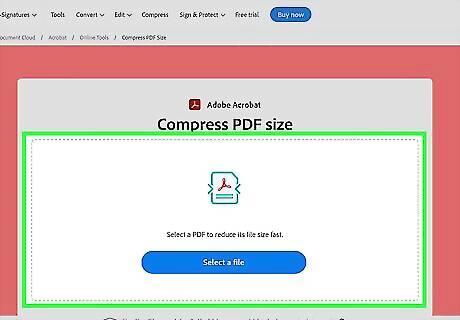
Drag your PDF to the box. Alternatively, you can click Select a file and double-click the PDF file you want to compress.
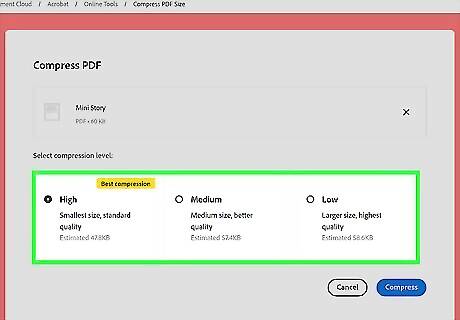
Select a compression amount. The High option will result in the smallest file with standard quality, while Low will only compress the PDF a small amount. If you're not sure which option to choose, opt for Medium compression.
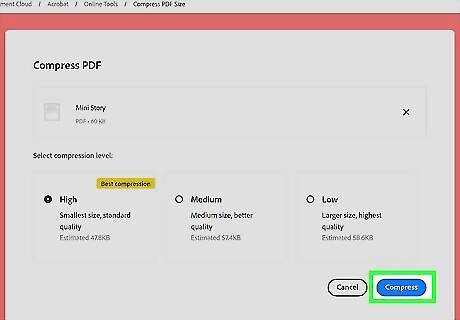
Click Compress. This compresses your PDF and creates a download link.
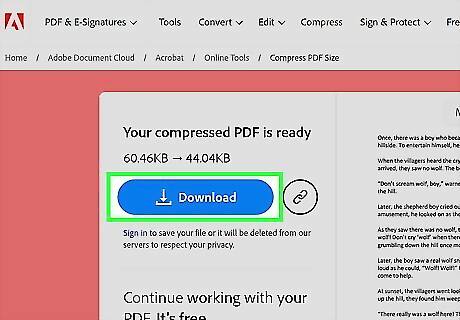
Click the Download button to save your compressed PDF. The PDF is now compressed to a smaller size.
Using Preview on Mac
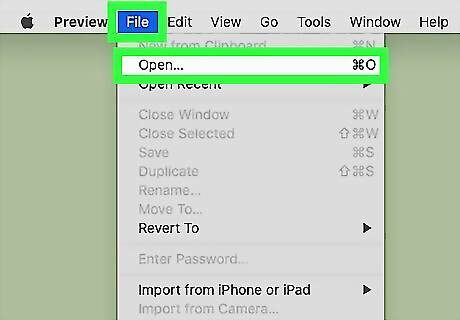
Open your PDF in Preview. Navigate to the PDF file on your Mac, then double-click it to open it in Preview by default. Alternatively, you can use the following steps to open a PDF in Preview: Click Preview on the Launchpad to open the app. Click File in the menu bar at the top. Click Open... in the drop-down menu. Select a file in the dialog box. Click Open.
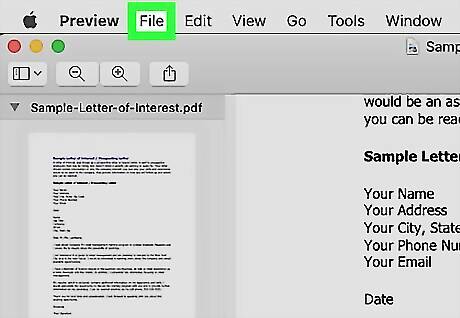
Click the File. It's in the menu bar at the top of the screen.
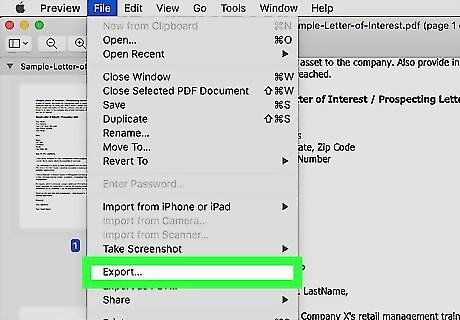
Click Export…. It's near the middle of the drop-down menu. A dialog box will open. Be sure not to choose "Export as PDF," as you won't have the option to compress it that way.
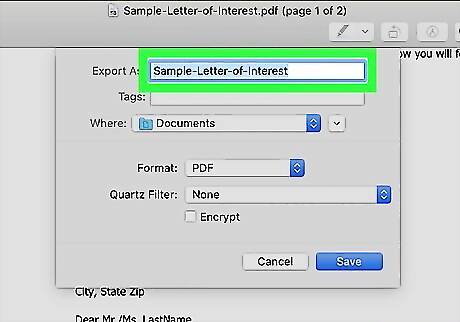
Type a name for the file (optional). If you want to create a new name for the compressed PDF, type it next to "Export as."
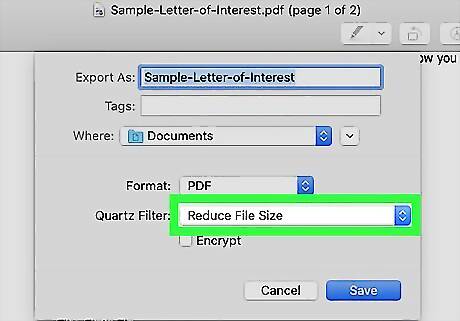
Select "Reduce File Size" from the "Quartz Filter" menu. Use the drop-down menu next to "Quartz Filter" to select "Reduce File Size."
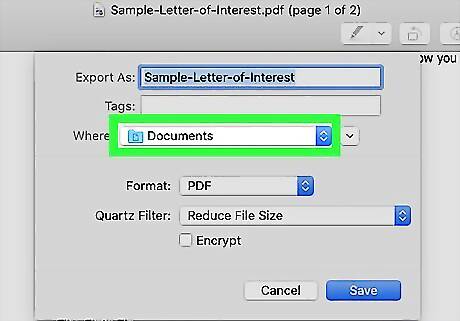
Select a location in which to save the PDF. Use the drop-down menu next to "Where:" to select a location to save the file. By default, it will be saved to your desktop.
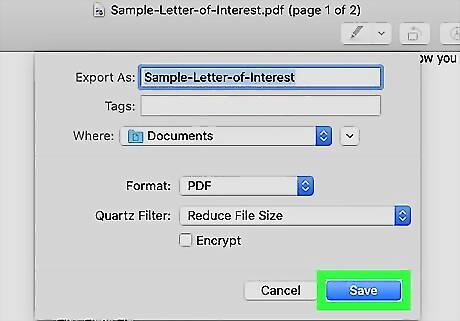
Click on Save. The compressed PDF has been saved on your Mac.
Using Adobe Acrobat Pro
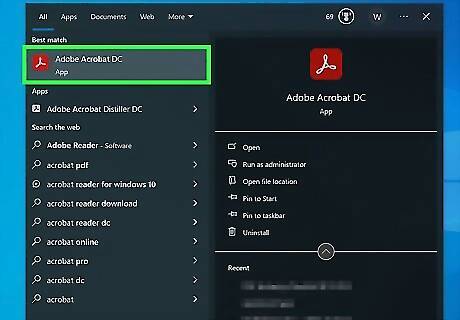
Open Adobe Acrobat Pro. If you subscribe to Adobe Acrobat Pro, you can use its built-in tools to compress any PDF file on your PC or Mac. To get started, open Adobe Acrobat Pro. There's no need to open your PDF just yet—just launch Acrobat Pro for now.
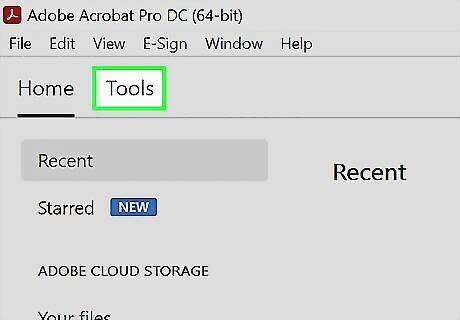
Click the Tools tab. You'll see it at the top-left corner of Acrobat.
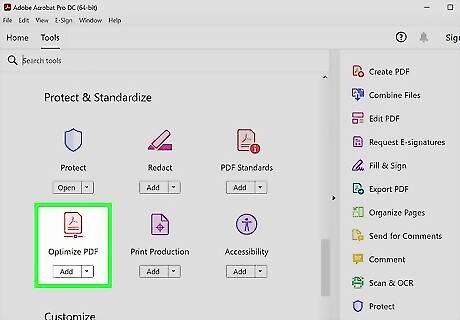
Open the Optimize PDF too. To do this, find the "Optimize PDF" icon under "Protect & Standardize," click its drop-down menu, then select Open. The "Open" dialog will expand.
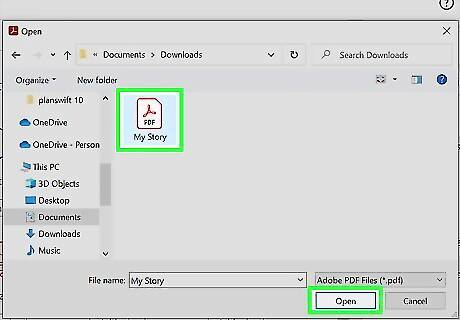
Select the PDF you want to compress and click Open. Your PDF will now open in Acrobat.
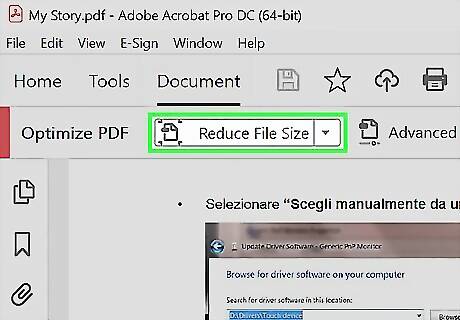
Click Reduce File Size. This button is in the toolbar just above your PDF's preview.
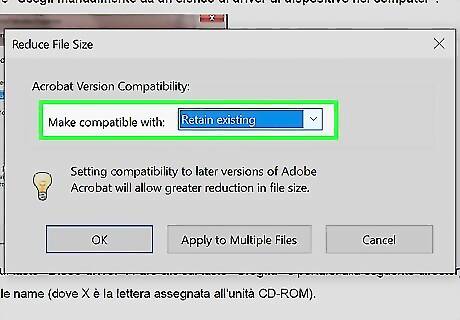
Choose a compatibility option and click OK. In most cases, you should choose Retain Existing here to ensure your PDF will be compatible with the latest version of Acrobat. Alternatively, you can choose a different version of Acrobat now.
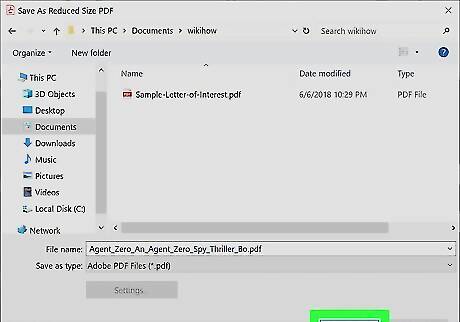
Save the compressed PDF file. If you want to overwrite the existing PDF instead of creating a separate optimized version, you can save the PDF with the same file name in the current folder. Enter a new name for the PDF file and click Save to create your smaller PDF file.
Using Microsoft Word
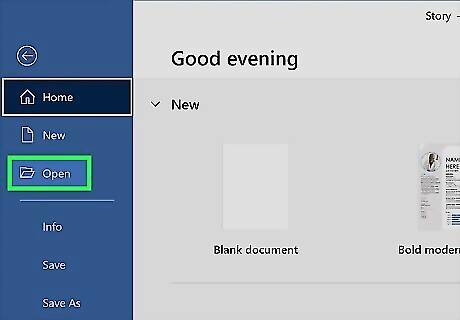
Open a document in Microsoft Word. Using Microsoft Word, you can export any document as a compressed PDF file. You can open an existing PDF in Word to use this compression tool or start with a regular Word doc. If you open a PDF in Word, it may not retain all of its original formatting.
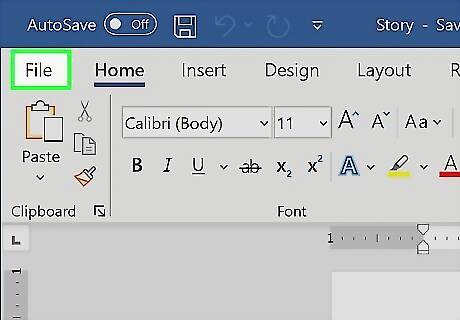
Click the File menu. It's at the top-left corner of the window.
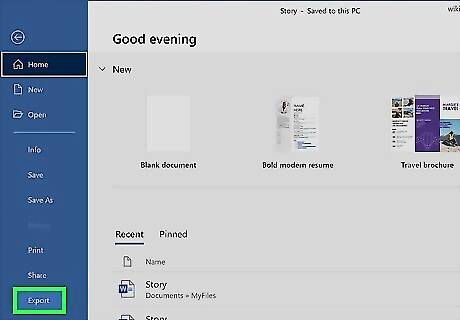
Click Export (PC) or Save As (Mac).
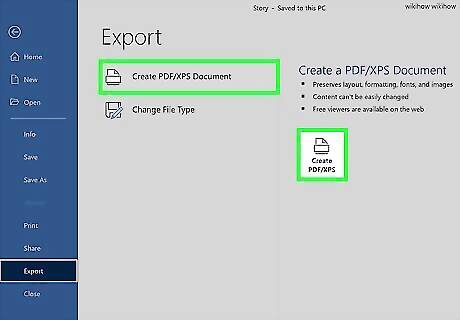
Click Create PDF/XPS (PC only). If you're using Windows, click this button on the right panel to export the document as a PDF.
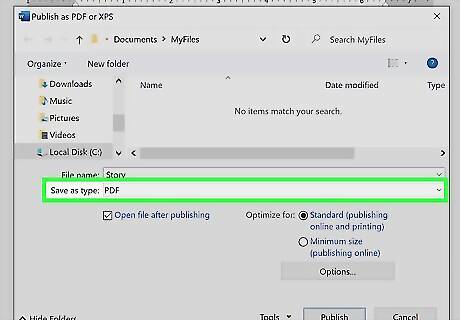
Select PDF as the File Format or Save As type. If you're using a Mac, you'll see this option near the bottom of the window. If you're using Windows, PDF should already be selected next to "Save As type."
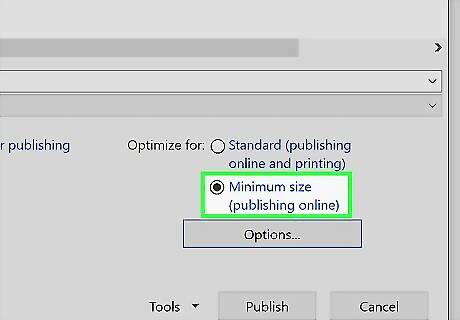
Select an optimization option. At the bottom of the window, you'll see two options for compression. To compress the PDF to a smaller size, choose Minimum size (Windows) or Best for electronic distribution and accessibility (Mac).
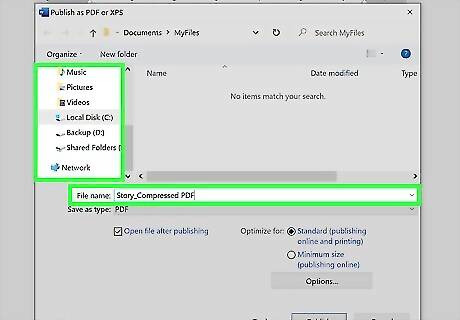
Name the PDF and select a folder. To overwrite the existing PDF file, keep the same name and folder. Otherwise, you can modify the file name and/or choose a different folder now.
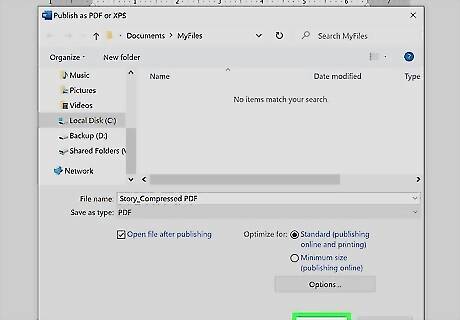
Click Publish (PC) or Export (Mac). This saves a compressed version of the PDF to the selected location.


Comments
0 comment