views
Get the Router Address
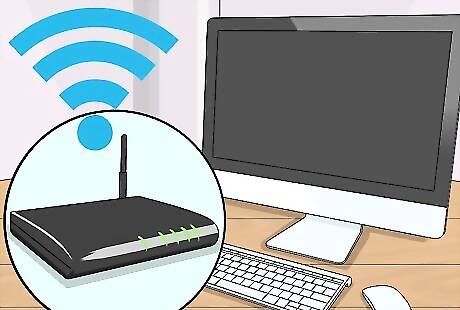
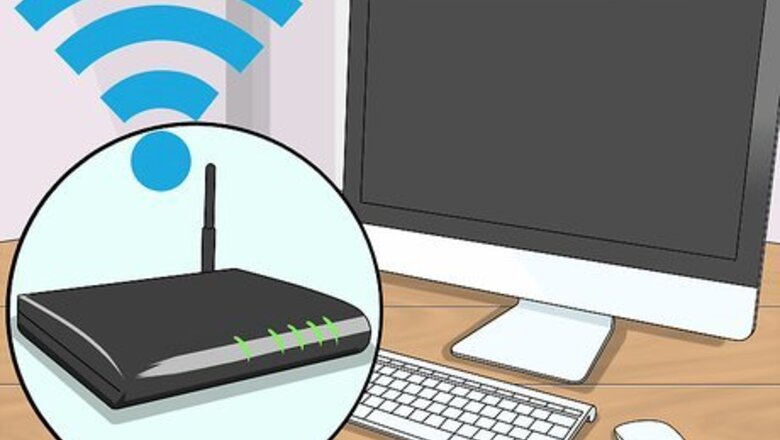
Make sure your computer is connected to the Internet. If your computer isn't connected to the Internet, you won't be able to view your router's address. If your wireless connection won't work, you can connect your computer to the router.

Open Start Windows Start. Click the Windows logo in the bottom-left corner of the screen.
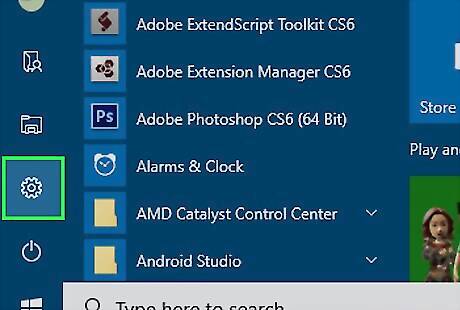
Click Settings Windows Settings. You'll find this in the bottom-left side of the Start window.
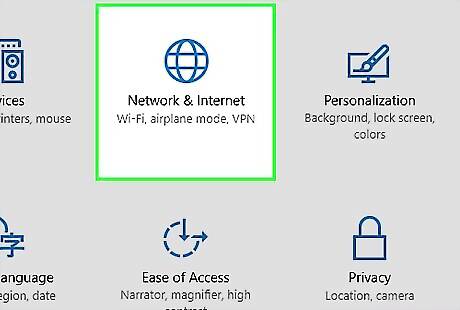
Click Windows Network Network & Internet. This globe-shaped icon is on the Settings page.
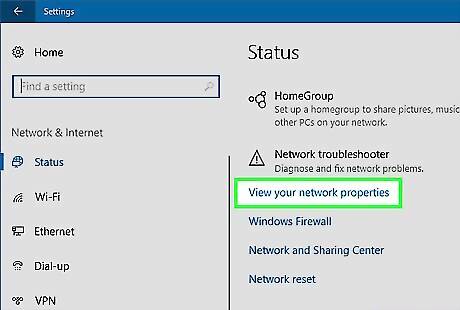
Click View your network properties. It's near the bottom of the page. You may have to scroll down in order to see this option.
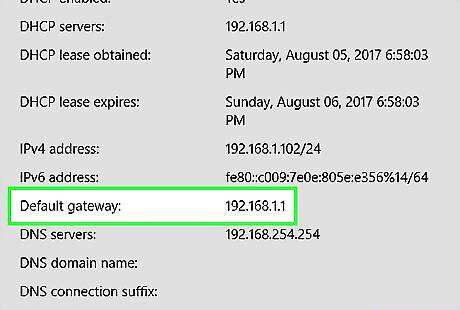
Find the "Default gateway" number. This is the router's address; you'll use it to access the router's page, from which point you'll be able to change your DHCP settings.
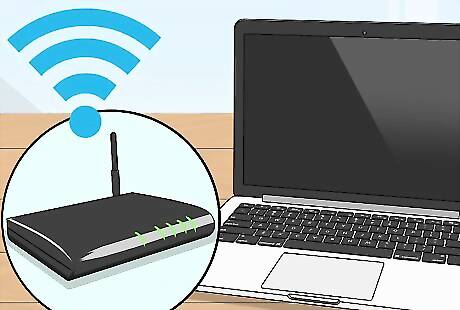
Make sure your computer is connected to the Internet. If your computer isn't connected to the Internet, you won't be able to view your router's address. If your wireless connection won't work, you can connect your computer to the router.

Open the Apple menu Mac Apple. Click the Apple logo in the top-left corner of your Mac's screen.
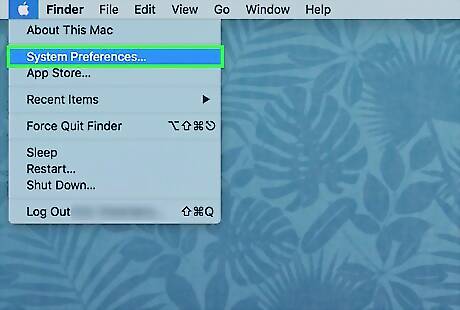
Click System Preferences. It's near the top of the Apple drop-down menu.
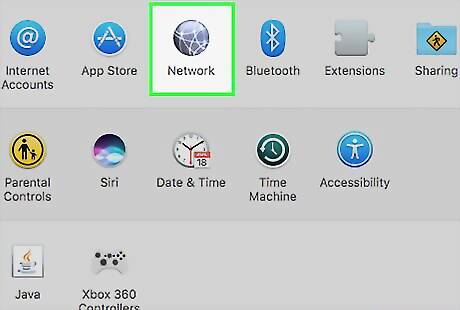
Click Network. This globe-shaped icon is on the System Preferences page.
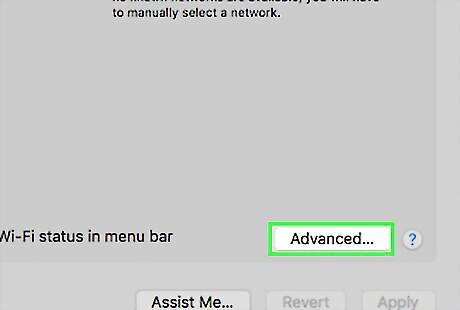
Click Advanced. It's in the middle of the page.
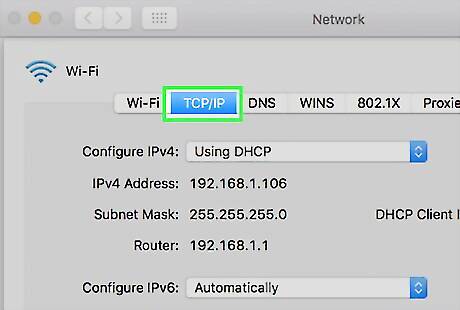
Click the TCP/IP tab. This option is near the top of the Advanced window.
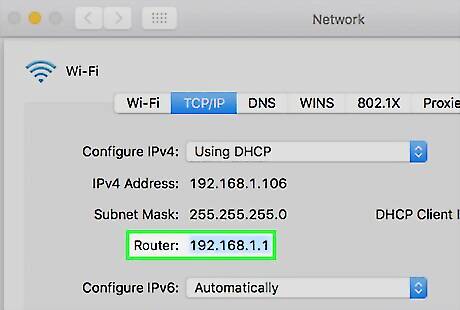
Find the "Router:" number. This is the router's address; you'll use it to access the router's page, from which point you'll be able to change your DHCP settings.
Enable DHCP
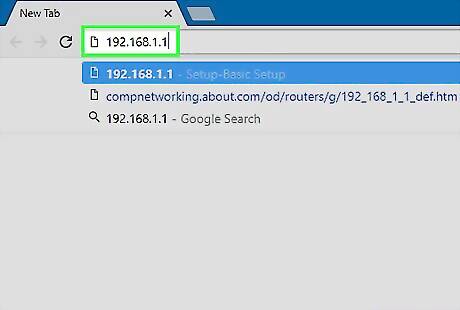
Open a web browser and enter your router's address. Doing so will take you to your router's page.
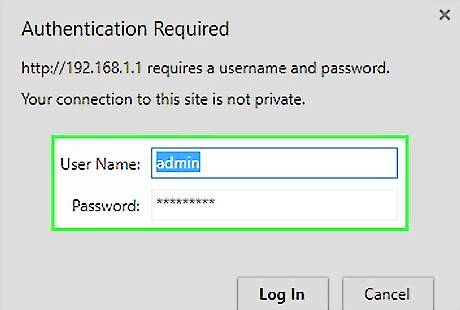
Log into your router's page if prompted. Some routers are protected by a username and password. If you didn't set the password, you can usually find it in your router's manual. You can also look up your router's model number and name online to see if you can find the default username and password. If you set a password but no longer remember it, reset your router to restore the factory settings.
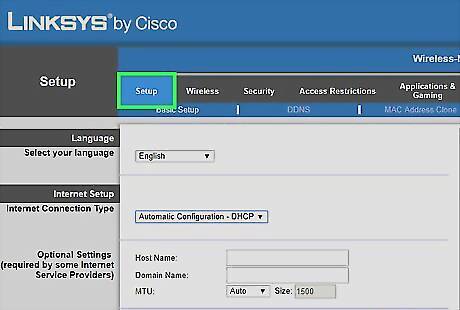
Open your router's settings. Each router's page will differ slightly from other routers; you'll likely find the router's settings.
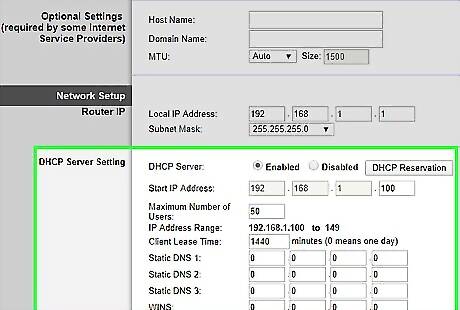
Find the DHCP section. This will usually be in the "Network Settings" section (or your router page's equivalent). If you can't find DHCP there, look for it in the "Advanced" settings, "Setup" settings, or "Local Network" settings.
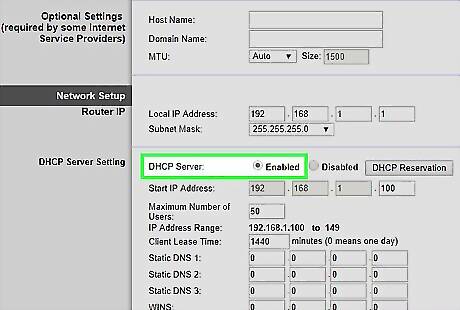
Enable DHCP. Click the Enable switch, checkbox, or button. In some cases, you may first have to click a Disabled drop-down box and then select Enabled from the drop-down menu. You may also have the option to change the number of devices that can use your router. Be careful if you do this, since allowing for too few devices will result in connection errors for one or more devices.
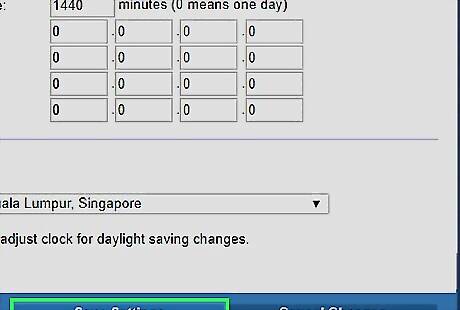
Save your settings. Click the Save or Apply button to save your settings. Depending on your router, you may also be prompted to restart your router in order for the changes to take place.


Comments
0 comment