views
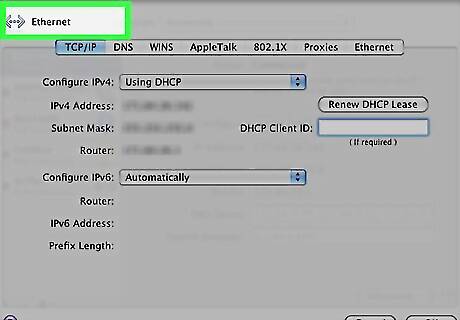
Start with a wired PC. Document your current network's IP address scheme. In this example, the existing router was 192.168.0.1. DHCP settings and subnet mask does not matter for this example. Substitute your network addresses in place of these settings if yours is different.
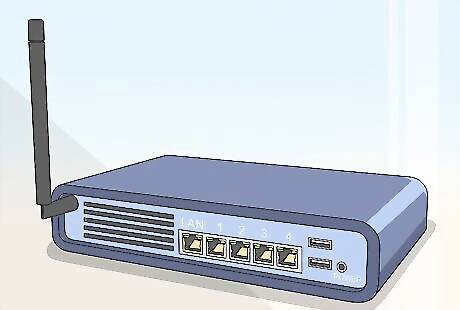
On the back of the router, remove the "Run CD First" tape. Do not connect any cable to the "WAN" port.... Ever. Put a new piece of tape over the "WAN" port socket to prevent you from trying.
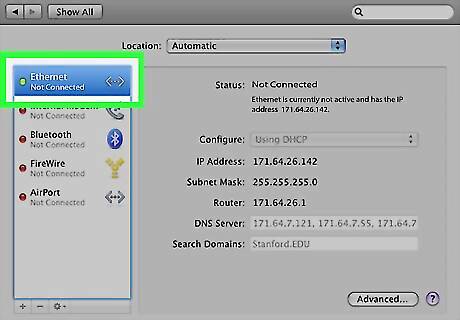
Disconnect the existing network cable from the network jack of your PC, set it aside for now. Take a new cable and plug into LAN port #2 on the new Linksys router and the other end into the network jack of your PC.
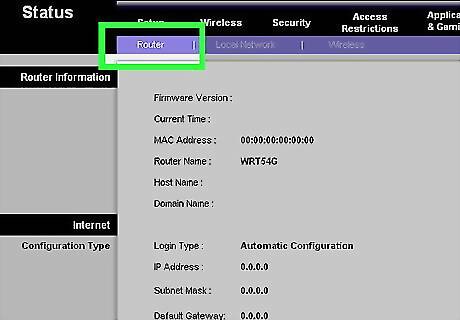
Power the router. Plug the power supply into the AC mains and the output cable and plug into the power jack on the rear of the router. One or more lights should become illuminated on the front to indicate it has been successfully powered up.

Press and hold the RESET button on the new router for 30 seconds. Resetting ensures that any customized settings are erased and the router is returned to factory defaults. This usually isn't required on a new router, but if you suspect the router was returned and resold to you, it may not function as expected without resetting first (this is also the only way to access the setup page if you forget the login username and password). Consult the manual for the location of the reset button, as it varies depending on model - but is usually found on the rear panel near the power jack.

Reboot your PC to make sure it gets a new address from the new router.
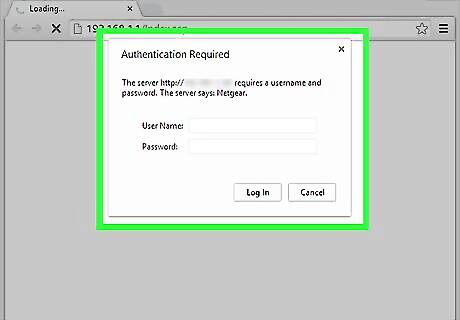
After reboot, start your browser and type in: http://192.168.1.1 - you will be asked for: Login ID = admin , and a Password = admin (Linksys defaults). If 192.168.1.1 will not load, try 192.168.0.1 or 192.168.2.1 instead. The manual will provide the default IP address for the router if the router fails to produce a login page. This can also indicate a router that has not been restored to factory defaults via reset procedure detailed above.
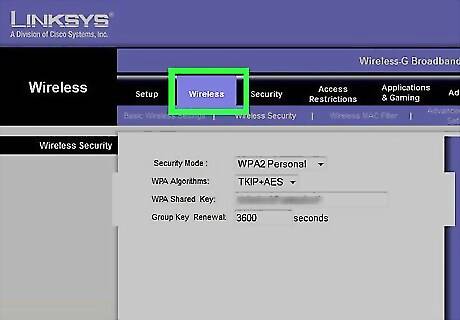
Go to the Wireless Configuration page and start configuring the wireless options, such as Wireless SSID - Do not use "linksys", pick something else, like "charlie". The SSID must match that of the primary router and the channel must be different than that of the primary router (Channel 1 for primary router and 6 or 11 for secondary router are good choices as they are separated enough by frequency).
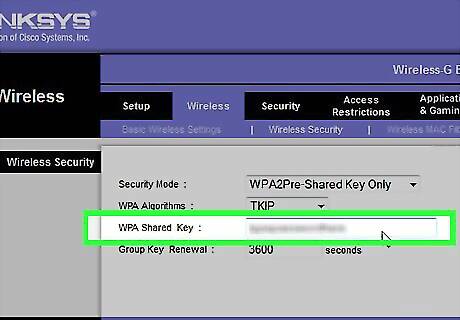
In the Wireless security settings page, use "WPA-Personal" level security at minimum, and a wireless security key at least 8 digits/letters long and you are done. Use of your cell phone number can be a good security key choice, as these numbers are not listed in any directory, etc. Save the settings.
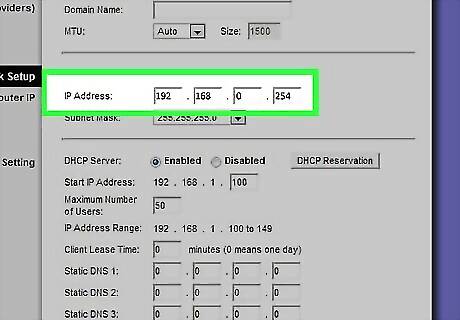
Go back to the main Router page, set the local IP address to an unused address on the original router's network. I set mine to the highest number in my network: 192.168.0.254. This puts the access point "out of the way", so to speak. Note: Some network routers are set by default to "start" in the high range (xxx.xxx.xxx.254), so if your network is like this, set the new wireless device to a lower unused number. 192.168.0.253 will do.
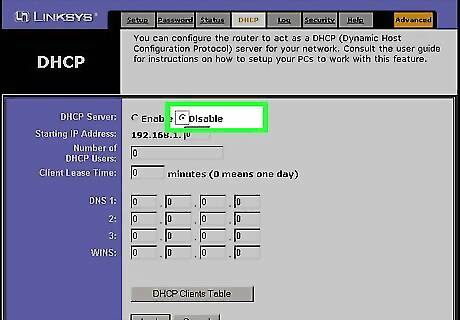
Set the "DHCP" Server to "Disable". There only needs to be a single DHCP server on most small networks or subnets. The original, main router (either a stand alone type or one built into your provider's cable modem or DSL modem) will provide IP addresses to all devices connected to it - including those that connect thru the access point just created.
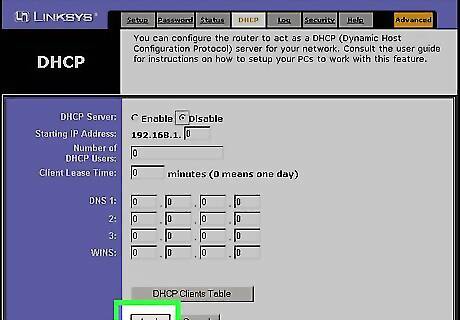
Save the settings, the router will restart.
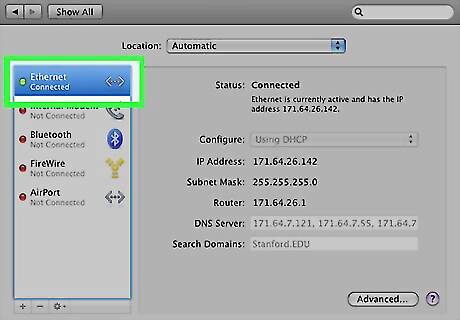
Connect the cable from your existing network (disconnected in Step 3) into the LAN Port #1, and reboot your PC.
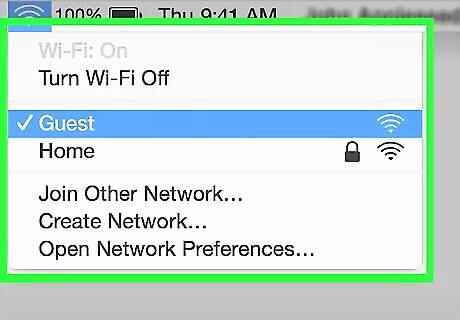
Go find your wireless laptop, and log into your new wireless access point, satisfied that 15 minutes saved you $50.


Comments
0 comment