views
Priming the Surface
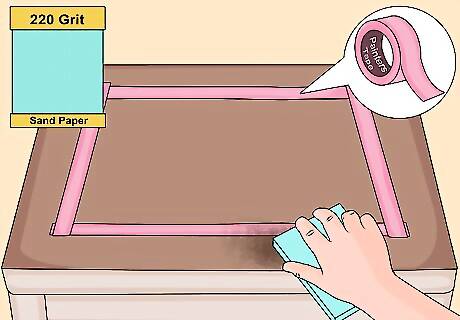
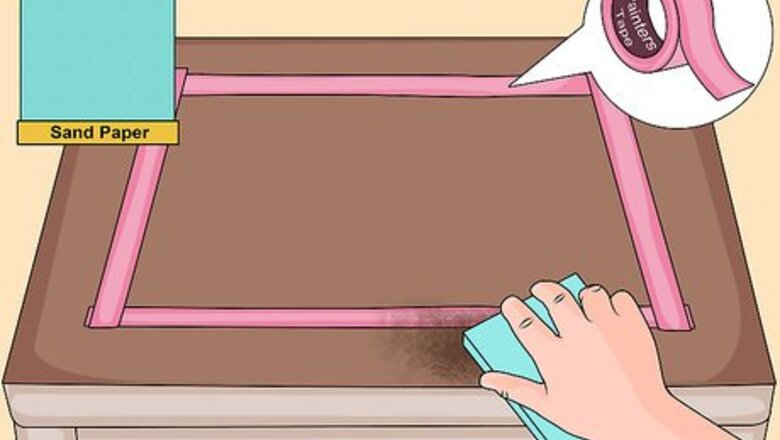
Mask and sand the surface. Put strips of low-tack painters tape on any areas of the surface you don’t plan to gild with copper leaf. This will “mask” these areas off and protect them during the process. Run your hand along the unmasked surface areas. If you feel a lot of roughness or surface blemishes, use 220 grit sandpaper to sand it to your desired smoothness. Roughness and blemishes will show through applied cooper leaf. Unless you are going for a rustic look, you’ll want to smooth these areas out first. Canvas, wood, Masonite, paper, glass, plastic, metal and any other surface that can be made non-absorbent can be used for copper leafing. Put down newspaper to protect the work area and floor as you work.
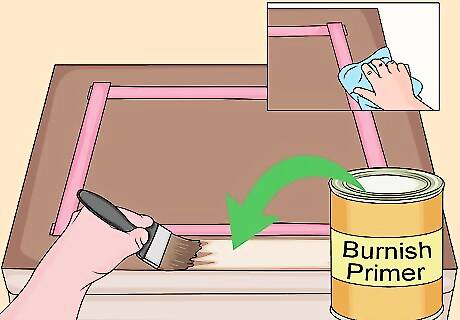
Prime the surface. Wipe down the surface with a tack cloth to remove leftover sanding dust. Use a paint brush to apply the primer of your choice. Common options for primer are gesso and various kinds of paint (acrylic, casein, egg tempura, latex, house, oil). Apply the primer slowly and carefully, since any brush strokes you leave behind will show through the copper leaf once it’s applied. Priming the surface makes it smooth and non-absorbent, both of which are necessary prior to copper leafing it. If you plan to burnish the surface, it must be made absolutely smooth first. Burnishing is when you polish metallic leaf until it's very shiny. Consider using a burnish primer created specifically for this process.

Apply the bole. “Bole” is paint that is applied to be the base color for the surface to be copper leafed. Use a paint brush to apply the base color of your choice. Applying a base color, or undercolor, can help enhance the finished look by slightly changing the overall color tone. Red, grey and ochre are popular choices for bole. After applying the bole, allow it to dry completely before moving on to the size application. A deep red bole can add warmth to the final look. Black and grey can create a colder, “hard” tone. Yellow ochre can even out the surface appearance and help to disguise cracks or blemishes.
Applying the Size
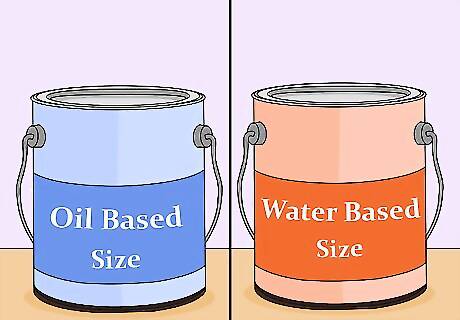
Choose the right size for your project. “Size” is the adhesive material applied to the surface that makes the copper leaf stick to it. There are two options available – water-based or oil-based size. Oil-based size is the most traditional choice. Quick-dry oil size reaches tack (the required “stickiness” to adhere the copper leaf) in about two hours. It is meant to be used for small projects or whenever you have a limited time frame to work within. Slow-set oil size will reach tack in ten to twelve hours. It is intended for larger projects that require a lot of work time. Water-based size is an alternative to the more typical oil-based size. It comes to tack within twenty minutes, and remains workable for about thirty hours. Water-based size is not burnishable. If you plan to burnish the surface, use oil-based size.
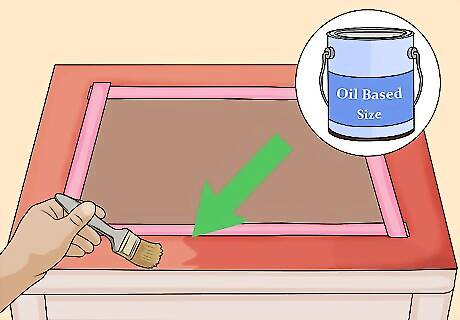
Apply the adhesive size. Adhesive size goes on wet. Use a paint brush to apply the size carefully to the surface. Even application is desirable for best results. Use the paint brush to work the size to an even coat as you spread it over the surface. Make sure you cover all areas that you want to gild. Copper leaf will not stick to a surface that does not have size on it.
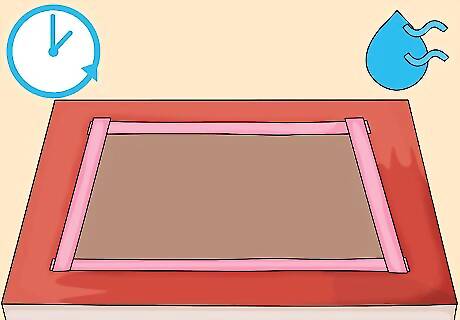
Allow time for tack to develop. Once applied, you must give the size the proper amount of time to reach tack before applying the copper leaf. Tack times vary based on which kind of size you use. Following the correct tack time procedure will greatly affect the final look of your project. For the most professional looking results, read and follow the tack time instructions precisely.
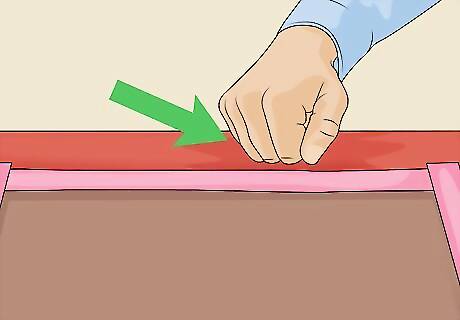
Test the tack. Gently run the back of your knuckle over a small area of the surface. Listen for a squeak sound, which indicates tackiness has been reached. If the size is still too wet to apply the copper leaf, it will come off on your skin. When it’s ready, it will feel sticky but will not come off on your skin. Monitor the size carefully and test the tack every half hour until it has been reached. Once the size becomes too dry, you will have missed your opportunity to apply the copper leaf. It must be applied to a surface with proper tack. If you live in a very warm or dry environment, keep in mind that tack time may be reduced.
Applying the Copper Leaf
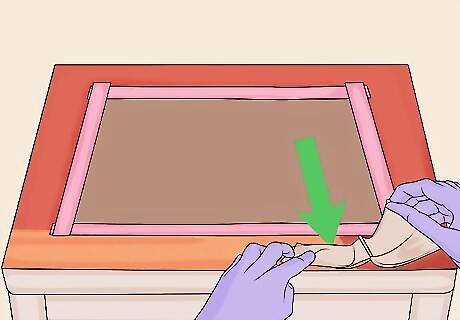
Fold back the tissue paper to expose the copper leaf. Copper leaf sheets come in booklets and are separated from one another by protective tissue paper. Expose your first sheet of copper leaf and carefully lay it onto the sized surface. It will stick immediately. Gently pull the booklet away and let the rest of the sheet fall flat onto the surface. Press down firmly to adhere the copper leaf. Wear cotton gloves so the copper leaf doesn't stick to your fingers. Work in a draft-free area. Copper leaf is extremely thin and can be easily disturbed by a draft.
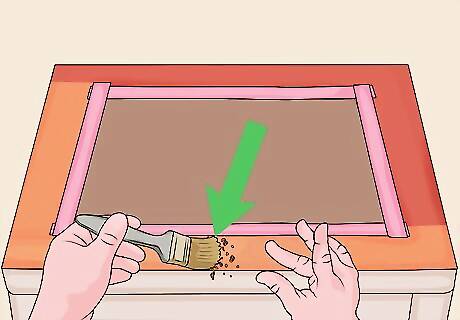
Remove the excess leaf. Use your fingers to tap down the copper leaf to ensure it is fully adhered to the surface. Then use a soft paint brush or cotton ball to brush away any excess leaf. Continue the same process of exposing the sheet, dropping it, tapping it down and brushing away the excess until you’ve covered the whole surface.
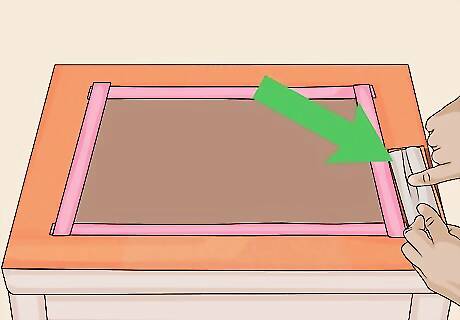
Look for and fix “holidays” on the surface. Once you've covered the entire surface of your project with copper leaf, inspect it closely. Holidays are places where the copper leaf didn’t adhere properly. Use more copper leaf to fill these "holiday" areas in. Try to avoid touching the gilded surface too much at this point, since your fingerprints can leave permanent marks on the surface of unvarnished copper leaf.
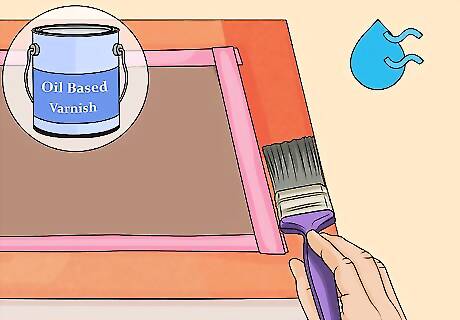
Seal and protect the surface. Surfaces gilded with copper leaf will tarnish easily and quickly. A protective sealer needs to be applied to protect from oxidation. Apply one coat of oil-based varnish or specially formulated acrylic topcoat with a paint brush. Allow the sealant to dry completely before handling your project. See the instructions provided with your varnish product for more information about curing times. You can obtain varnish or topcoat from most home improvement and craft stores. It also comes in spray formulas.





Comments
0 comment