views
Curving Text on PC & Mac
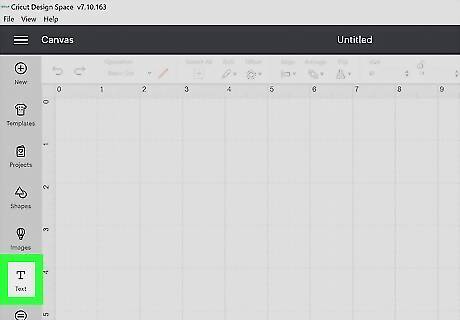
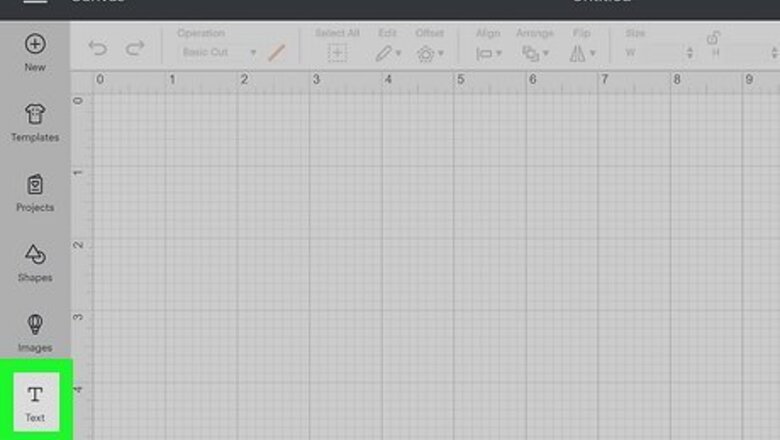
Click the Text tool. You'll see it in the left panel of Design Space.
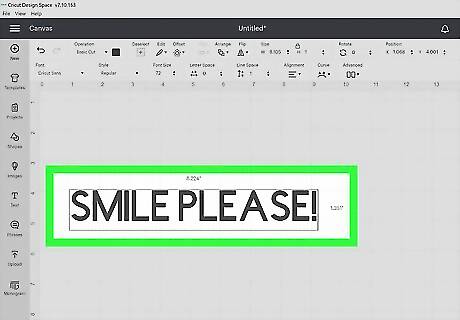
Type the text you want to curve. Choose a font face and style, then type the text you want to curve. To curve multiple lines of text, add the text for each line to its own text box. The Curve tool won't work if you have multiple lines of text in a single text box. If you already have multiple lines in one text box, select the text, click Advanced in the toolbar at the top, and select Ungroup to Lines.
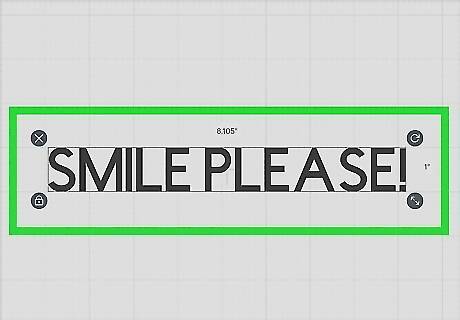
Select the text box you want to curve. This highlights the box around the letters.
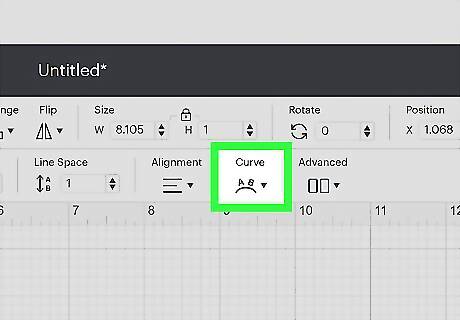
Click the Curve tool. You'll see it in the toolbar at the top of Design Space.
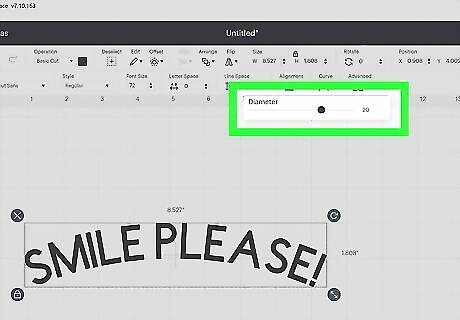
Drag the slider to curve the text. Dragging the slider left curves the text upward, while dragging right curves downward. The numeric value will change to indicate the curve. An upward curve's number value begins with a minus sign. If you want to curve another line of text to match this curve, copy the numeric value now—just highlight it and press Control + C (PC) or Command + C (Mac) to do so. You can make the letters closer together or further apart by clicking the arrows under "Letter Space" in the toolbar.
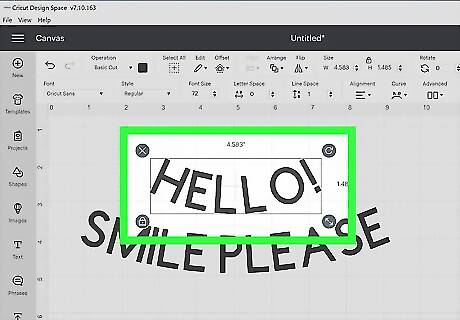
Curve a second line of text to match the first line (optional). If you want to make sure the curves are the same for multiple lines of text, select the next text box, choose the Curve tool, and then type or paste the same numeric value from the first curve into the box. To paste, highlight the current numeric value, right-click the highlighted area, and then select Paste. If you want to curve the second line in the opposite direction, add or remove the minus sign before the numeric value of the second line.
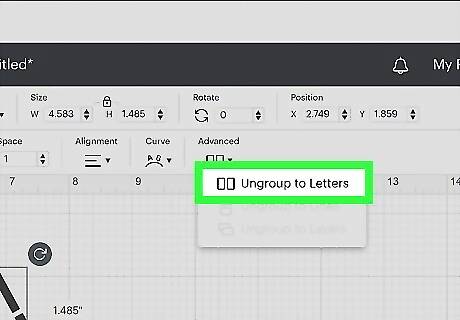
Adjust the curve of letters separately (optional). If you want some letters to curve in different directions (or if the font is uneven and the distance between the letters looks funny), you can separate the letters and curve them individually. Here's how: Select the text box. Click the Advanced menu in the toolbar. Select Ungroup to Letters. Now that each letter is in its own text box, you can select a letter, choose Curve, and apply a curve to that letter.
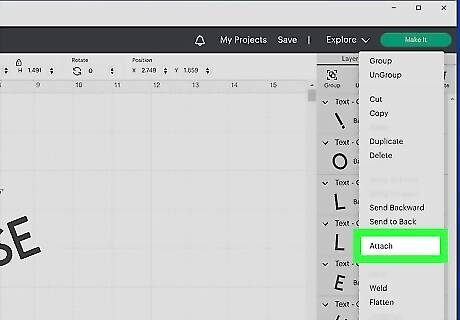
Reattach your letters and/or lines (optional). If you ungrouped your words into letters and/or lines, you can now attach them so you can hold your cuts in position relative to one another. Here's how: Select all of the text you want to group. Click the Layers panel. Click Attach.
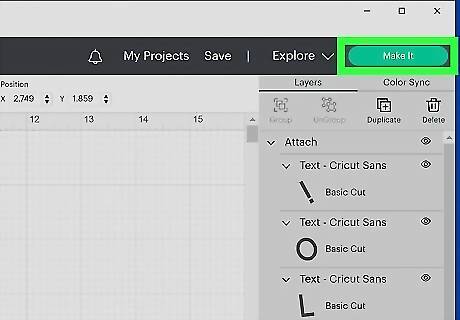
Save your image. Now that you've created curved text, you can easily save your image so you can send it to your cutter. Just click Save at the top-right, type a name for your project, and then tap Save.
Curving Text on iPad, iPhone, and Android
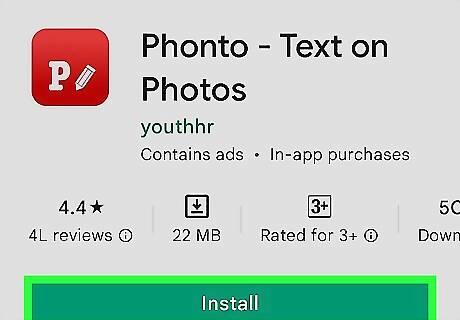
Install the Phonto app on your phone or tablet. Although the Cricut Design Space mobile app doesn't have an option for curving text, you can use a free app called Phonto to curve your text. After that, you can easily import the curved text into Design Space. If you have an iPhone or iPad, install Phonto from the App Store. If you have an Android, you can get Phonto from the Play Store.
Open Phonto to a plain white canvas. It's easy, here's how: Open the Phonto app. Tap the camera icon at the bottom. Tap Plain Images. Tap the white square at the top-right. Tap the Sharing icon at the top-right corner and choose Use.
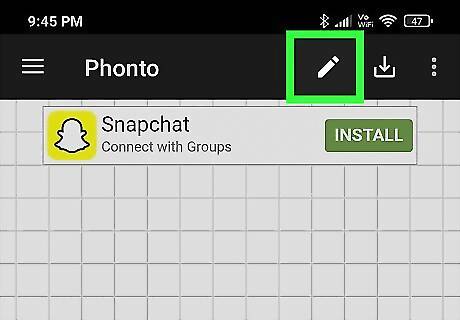
Tap the canvas and select the button with the pencil icon. This opens a window for typing and font selection.
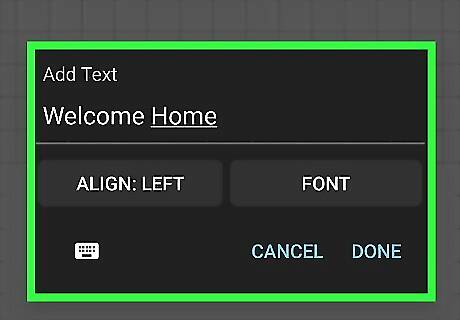
Create your text. You can tap Font to choose any of the fonts included with Phonto, and then type the text you want to curve. If you want to center the text, tap Align and choose Center. Tap Done to add the text to the canvas. If you need to change the color of the font, tap Style and choose a different color.
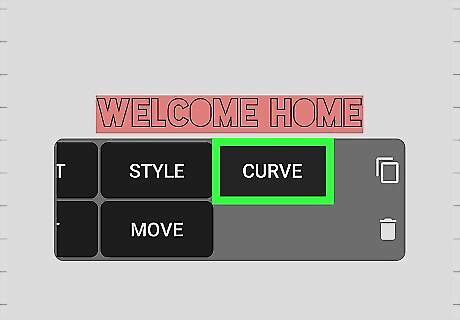
Swipe left on the black menu and select Curve. This enables the curve function.
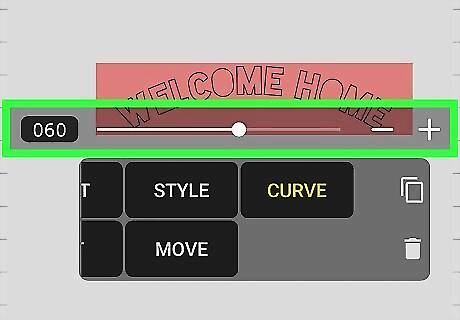
Drag the slider to curve the text. Dragging the slider left curves the text downward, while dragging right curves upward (the opposite of using Design Space on a computer). To move the text, just tap anywhere on the canvas, then tap and drag the text to the desired position. You can now add more text if you'd like by tapping a blank area of the canvas and selecting Text.
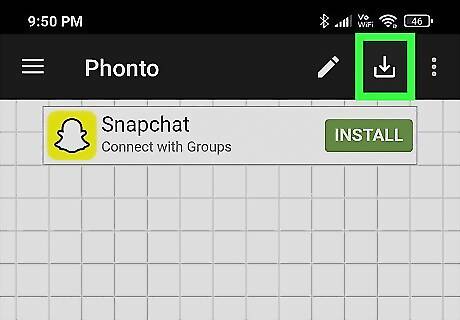
Tap the Sharing icon at the bottom-right and select Save Image. Depending on your platform, you might see Save Image as PNG instead. Either way, this will save the image to your camera roll.
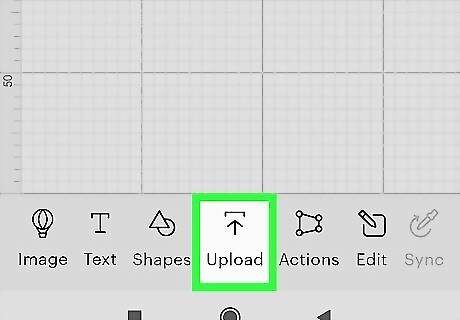
Open the image in Cricut Design Space. It's the white icon with a green "C" in your app list. Here's an easy way to open the image: Tap Upload at the bottom. Tap Select from Photo Library. Browse for and select the text you've created in Phonto.
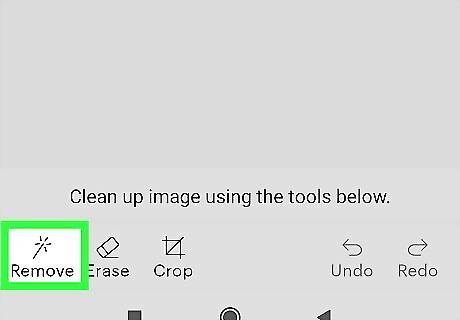
Tap the Remove tool. It's the magic wand icon at the bottom-left. This tool makes it easy to remove the white background from behind your letters.
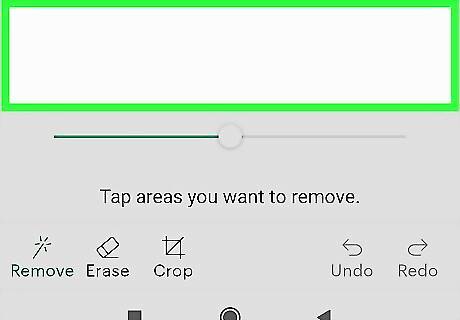
Tap the white areas to make them transparent. The white background will be replaced with the transparent background, which looks like a gray checkerboard. Don't forget to tap the centers of letters that have holes in them, like the letter O, lowercase e, and capital R. If you accidentally tap an area that you didn't want to make transparent, just tap Undo at the bottom.
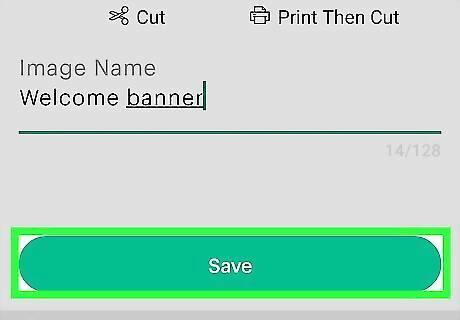
Edit and save the image. Now you have curved text in the Cricut mobile app! To save your design, just tap Next, and then Next to bring up the Save dialog. Type a name for your project. Choose Cut Image. Tap Save.


Comments
0 comment