views
Scoring and Snapping Thin Plastic
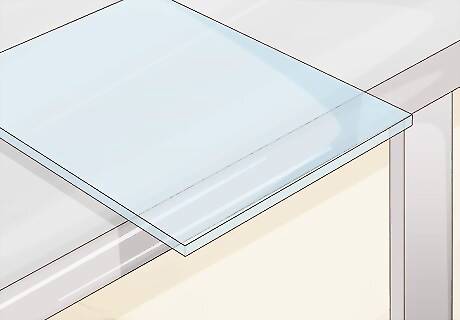
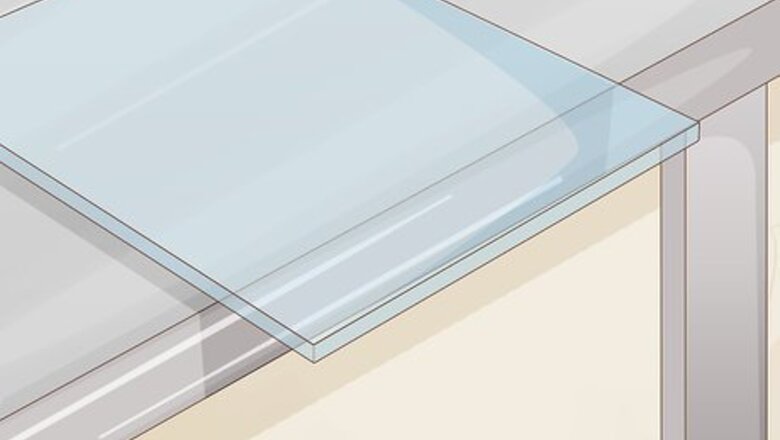
Lay your polycarbonate sheet over the edge of a flat surface. Take your plastic and lay it out on a table or saw station. Any surface can work as long as the surface is flat, stable, and has an edge. To score and snap an edge, you need to be able to hang a section of the plastic off of the edge to snap it. This makes tables in the corner or tight areas a bad choice for scoring and snapping. If your polycarbonate is thinner than 1 in (2.5 cm), you can score and snap it.

Put on some gloves and protective eyewear to protect yourself. When you snap the polycarbonate, there may be a few small pieces of plastic that fly off of the line that you cut. To avoid damaging your eyes or hands, throw on protective goggles and wear some thick gloves.
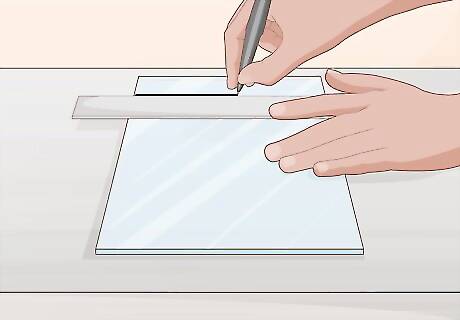
Mark the cut line with a straight edge and marker. Measure any cuts that you want to make with a measuring tape and use a straight edge to keep your line straight. Hold the straight edge directly against the line that you plan on cutting. Hold your marker at a 45-degree angle pointed down towards the junction where the straight edge and plastic meet. Run your marker along the line to mark your cut. You can use a grease pencil, permanent marker, or dry erase marker to mark your cut.
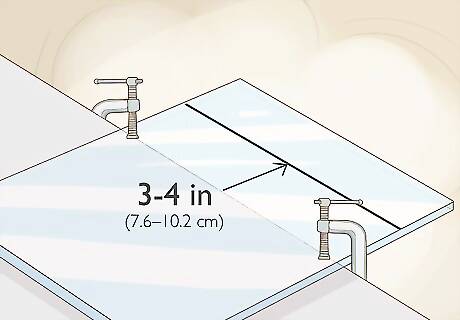
Place the cutting line within 3–4 in (7.6–10.2 cm) of the edge and secure it with clamps. Place the cutting line near the edge of the work surface. Secure the plastic to the table placing trigger or C-clamps around the edge where the plastic meets the table. Tighten trigger clamps by pulling the trigger on the handle or twist the bolt on top of your C-clamps. You can also just place a heavy object in the center of the plastic sheet instead.Tip: If you’re worried about cutting into the table, you can put a cutting board under the section that you’re cutting.
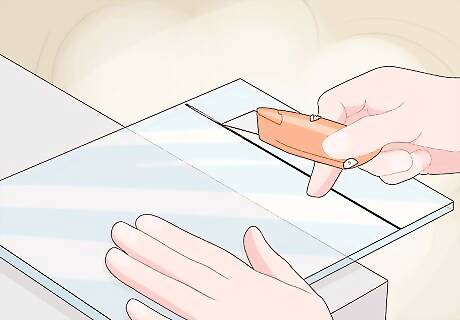
Score the line with a utility knife and a straight edge. Line your straight edge up with the cutting line. Hold the utility knife against the straight edge on the edge of your line at the top. Press down with moderate pressure and slide your knife’s blade at a 45-degree angle along the cutting line. Push it down the entire length of your cutting line while cutting roughly halfway through the plastic. You don’t need to press hard. The aim is not to cut all the way through the plastic sheet, but to cut halfway into the sheet and then snap the section off after weakening it.
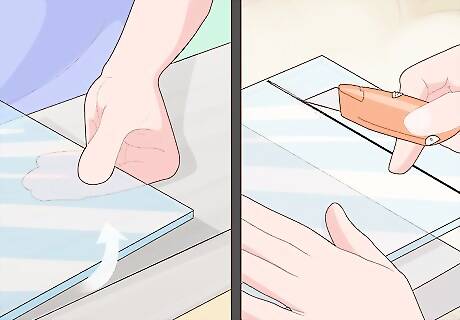
Flip the sheet over and cut the other side if necessary. After you score the cutting line once, release the clamps to free your sheet. Try pressing on the edge that’s hanging off of the table to see if it moves. If it doesn’t give at all, flip the sheet over and re-clamp it. Score the line that you cut from the other side the exact same way you cut the first side. If your sheet is really thin, you probably don’t need to do this.
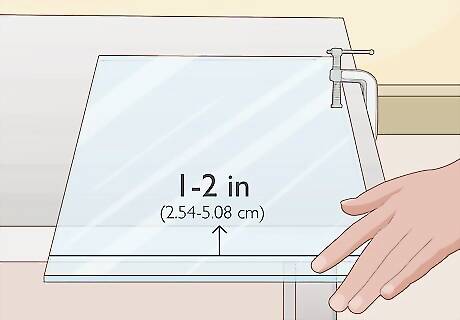
Secure the sheet so the line hangs 1–2 inches (2.5–5.1 cm) over the edge. Slide the sheet out and re-clamp it to the table so that it won’t move when you apply pressure to the edge. Inspect the clamps to ensure that they’re tight and make sure that the cutting line is floating out past the table.
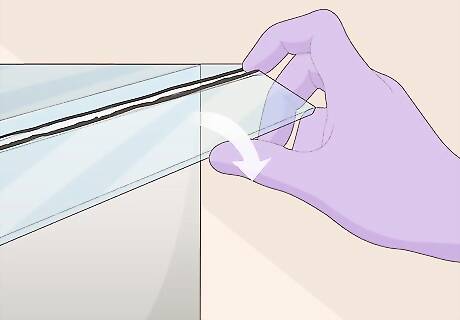
Snap the excess polycarbonate off by pressing down quickly. Brace the center of the sheet on the table by pressing down with your nondominant hand. Keep the sheet of plastic still and grip the excess section that you scored with your dominant hand. Lift it up a little bit and press down with firm pressure. The side that you’re pressing on should snap right off. Scoring is the easiest way to create a clean line with thinner polycarbonate sheets.
Using a Circular Saw to Cut Thick Plastic
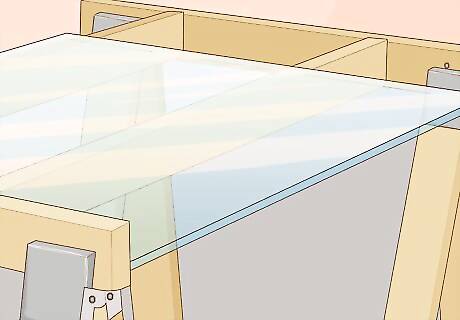
Set up your polycarbonate on saw horses or a work station. Place your plastic on your work station or saw horses. There will be some plastic dust from the cutting. So set your station up in a well-ventilated area, preferably outside. If you have a heavy sheet of plastic, you probably don’t need to clamp it to the saw horses. Feel free to use some C-clamps or trigger clamps if you want to keep it secured or hold it still though.
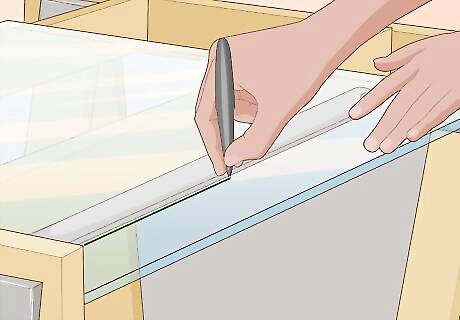
Mark the line that you’re going to cut with a marker. You can move at a slight angle when cutting with a circular saw, but straight cuts are easier to achieve. Use a ruler or yardstick as a straight edge to mark your cutting line with a grease marker, permanent marker, or dry erase marker. Measure the length you have to cut. If you want to cut multiple lines, mark all of them before cutting your first line. If you plan on cutting curved shapes or angles, your best bet is to use a jigsaw. If your polycarbonate is thicker than 1 in (2.5 cm), you probably can’t score and snap it. Use a circular saw for these thicker plastics.
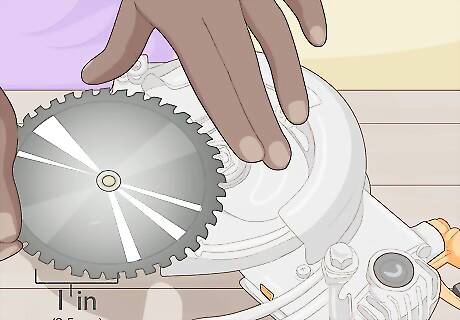
Attach a saw blade designed for cutting plastic to the saw. Unscrew the nut in the center of your circular saw and set it aside. Put on a pair of thick gloves and carefully lift your current blade off of the bolt in the center and set it aside. Slide a new blade over the center that is designed for cutting plastic. Re-screw the center bolt to tighten it in place. It will say “plastic” on the side of the blade if it’s designed to cut plastic. If you can, use a blade with 3-5 teeth for every 1 in (2.5 cm) on the saw. Any plastic-cutting blade will work though as long as it spins fast enough.

Put on your protective eyewear, earmuffs, and gloves. It can be dangerous to cut polycarbonate with a circular saw if you don’t take the proper precautions. Wear protective goggles to protect your eyes from any shards of plastic. Throw on a pair of thick gloves and put on some noise-cancelling, protective earmuffs if you have sensitive hearing.Warning: You’ll generate a lot of heat when sawing plastic. Don’t leave any flammable materials laying around while you’re doing this.
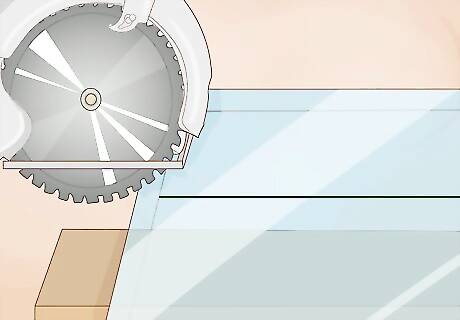
Line your saw’s base plate up with the straight edge. The base plate of your saw is the flat, metal plate with the guide line on it. Line the guide line on the front of your circular saw with the line you plan on cutting. Then, slide your straight edge against the edge of the base plate. Hold the saw’s handle with your dominant hand and then move your other hand aside and brace the straight edge to keep it still. If you have a steady hand, there’s no need to use a straight edge. Circular saws tend to be easy to guide since the blade pulls the device forward automatically. If you want to use both hands to operate the circular saw, you can clamp the straight edge to the work surface.
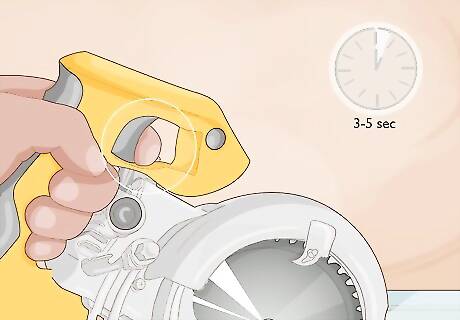
Pull the trigger on your saw to start cutting. Pull the trigger on your saw and wait 3-5 seconds to give the blade time to get up to speed. Slide your saw forward a little bit to let the teeth on your saw blade catch on the plastic. The saw will start to automatically pull itself forward. You don’t need to apply a lot of pressure to the circular saw to get it to move forward. Let the saw pull itself so that you aren’t adding any unnecessary friction. If you feel the saw buckle, or kickback, release the trigger. Pull it back a little bit. Press the trigger again and try to cut the line a second time.
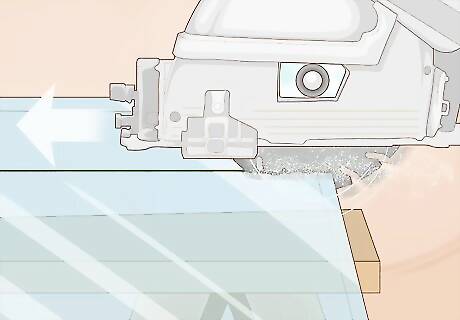
Slide the saw all the way through the end of the cut. Guide the saw as it slides all the way through the entirety of the cut. As you move forward, slide your free hand up the straight edge so that it follows the saw. Keep bracing the straight edge and slide the base plate against it until you’ve gone all the way through the line that you’re cutting. Let the excess piece fall to the floor. Release the trigger on the saw and unplug it when you’re done. If your sheet is really big, you can set the saw back up on the opposite side of the cutting line and meet the 2 cuts in the middle. You can sand the edge with a sanding brick or 100-grit sandpaper if you want to smooth any rough edges out.
Making Unique Cuts with a Jigsaw
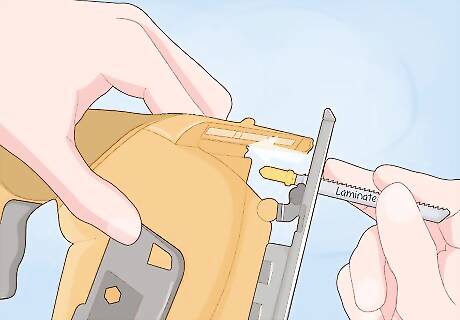
Attach a plastic-cutting blade to your jigsaw. Like circular saws, jigsaws have different blades for different materials. Get a blade designed for cutting plastic by reading the label on the blade’s packaging to see if it lists “plastic” under the cutting materials. Unlock the blade on your jigsaw by releasing the safety on the side. Carefully slide the blade out and insert your new blade. Lock in place by closing the safety clamp near the base of the saw. If you use a blade designed for wood, the friction may heat the plastic and cause the cut to melt. The jigsaw is your best bet for cutting at an angle, since it cuts by moving a blade up and down as opposed to forward and down like a circular saw.
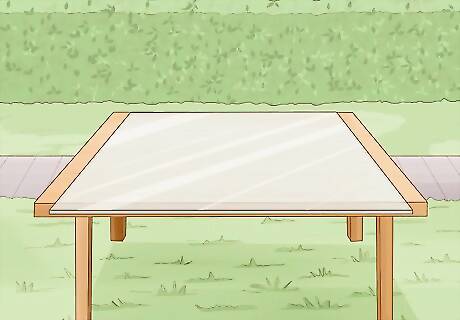
Set up your polycarbonate on a work station or saw horses. Take your materials to a well-ventilated and safe area, preferable outside. Set your sheet up on a sawing table or set of saw horses. Move any flammable objects to a safe area away from the area that you’re cutting.

Wear protective eyewear, earmuffs, and gloves. There will be small pieces of plastic that shoots off of the polycarbonate when you saw it. Protect your eyes and hands with goggles and thick gloves. If you have sensitive hearing, wear protective earmuffs.
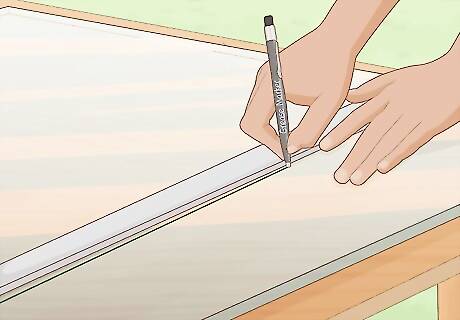
Add your cutting lines with a grease marker. To determine where you’re going to cut, draw each cut out on your plastic with a grease marker. For any straight lines, use a straight edge and drag your marker at a 45-degree angle against your edge to make a perfectly straight line. You can also choose to guide your base plate freely.
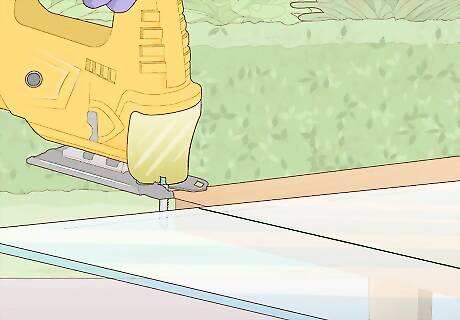
Line the base plate up with the edge that you plan on cutting. Line your base plate up at the edge where you’re going to start cutting. The jigsaw’s base plate has a guide line on the front that indicates where the blade is underneath it. Adjust the location of the plate so that the guide line aligns with the section that you want to cut.
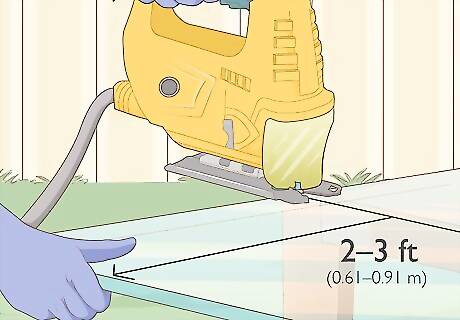
Brace the plastic with your free hand and pull the trigger on the jigsaw. The jigsaw’s blade will move up and down to cut, so you need to keep the plastic still while you’re cutting. Hold the edge of the plastic 2–3 ft (0.61–0.91 m) away from the spot that you’re cutting with your nondominant hand. Pull the trigger on the jigsaw and wait 3-5 seconds to let the blade get up to speed. You can clamp the plastic if you want instead of bracing the jigsaw, but you’re probably going to have an easier time moving the plastic at the same time that you rotate the jigsaw to make angled cuts.
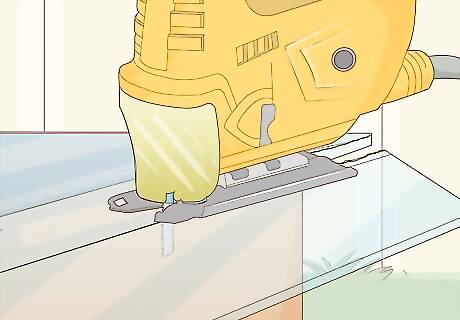
Move the jigsaw through each cutting line and let the excess plastic fall. Keep a firm grip on your jigsaw. Slide the jigsaw forward to propel it across the line that you want to cut. Move the jigsaw with your dominant hand while using your nondominant hand to turn the plastic to adjust the angle of the cut. If you aren’t turning your plastic to help cut it, use your free hand to brace it and keep it still.Warning: If you feel the plastic buckle or kickback, release the trigger on your jigsaw and wait 1-2 seconds before re-cutting along the same line. Release the trigger on the saw and unplug it when you’re done. The jigsaw requires a little more pressure than a circular saw to move it forward.


Comments
0 comment