views
- Use a tape measurer or framing square to measure your cut and before you get started, double check your measurements.
- To cut small pieces, simply use a utility knife to slice halfway through your cut, flip the flooring, and, using your knee for leverage, snap off the piece entirely.
- Lock your flooring in place using a clamp and then, making sure your jigsaw's teeth are facing away from you, make your slow, careful cut.
Measuring Your Cut
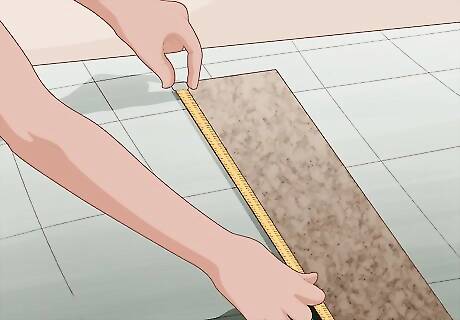
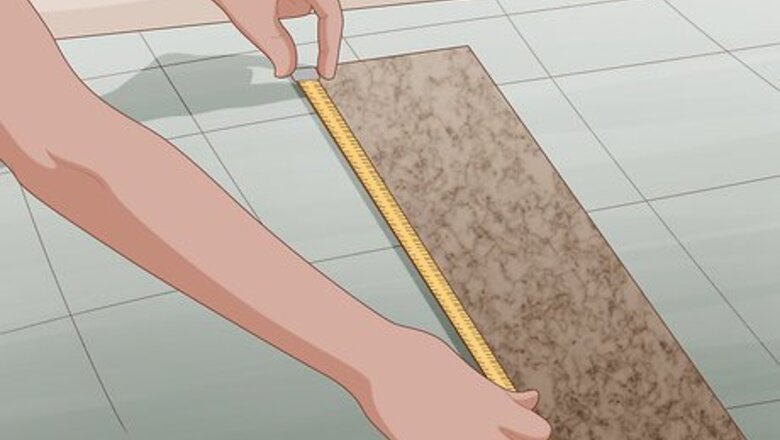
Use a tape measure to calculate your cut. You can use a cloth measuring tape if you want, but it’s easier to use a self-retracting tape measure, since they have a metal lip on the end to attach it to one end of your flooring. To do this, press the metal lip on the right angle where your vinyl plank ends and pull on your tape measure. Pull it towards the location where you want to make your cut and measure the necessary length by checking the measurements printed on the tape. You can use a foldable ruler instead of a measuring tape if you’d like. Foldable rulers are good for measuring cuts because they snap into place to create a straight edge.
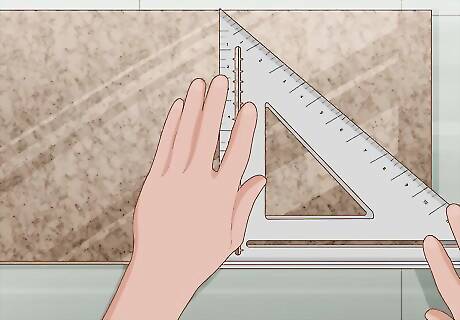
Calculate short 90-degree cuts with a framing square. A framing square is a triangular metal tool used to make perfect 90-degree measurements. To use one, hold your framing square flat against the plank that you wish to cut. Press the flared base against the bottom of the plank and hold it in place by applying a little pressure. To change the location of your angle, simply slide it across the bottom of your vinyl plank. A framing square is sometimes called a carpenter square.
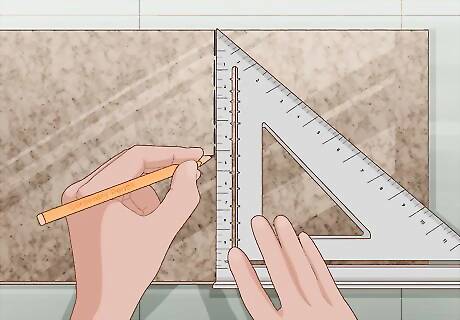
Mark the section that you need to cut with a grease marker or carpentry pencil. With your ruler or framing square firmly in place, mark the section where you want to cut with your marker or pencil. You can make small indicating marks or draw the entire line, based on your personal preferences. If your vinyl plank is darker in color, you probably won’t be able to use a carpentry pencil. You could opt for some white chalk though.
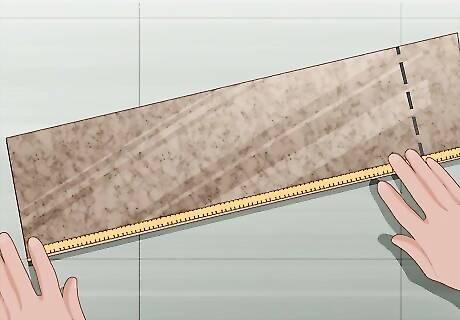
Remeasure your marks to ensure accuracy. The phrase “measure twice, cut once” exists for a reason. You can’t reattach material that you’ve cut too short, so double-check your measurements before cutting. If you can, remeasure the location that you plan on putting your plank as well. This will give you two independent measurements to confirm your calculations.
Scoring and Snapping Smaller Pieces
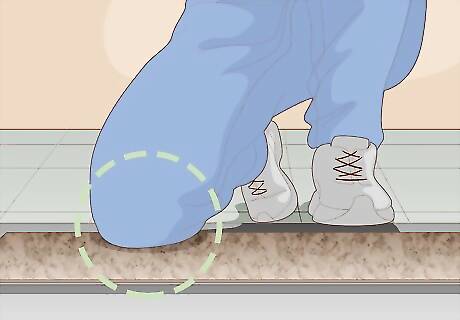
Lay your vinyl flooring flat on the floor or table. If you’re cutting your vinyl flooring on the floor, put an extra piece of flooring underneath the section that you’re cutting so that you don’t ruin the floor underneath. Keep your vinyl plank in place by resting a free knee on it. If it’s on a table, use clamps to secure it to the table. You can also use something heavy to weigh your plank down. You can only use this method to cut vinyl planks horizontally. If you try to use this method to make lengthwise cuts, you’ll struggle to snap it cleanly.
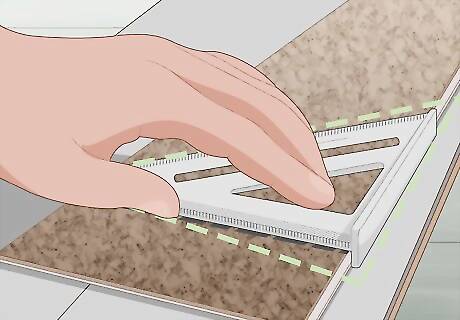
Place your framing square along the line you want to cut. Use your non-dominant hand to apply pressure to the top of your framing square. To keep your framing square steady, put your thumb on the section closest to the cutting line and put your remaining fingers against the top of the right angle.
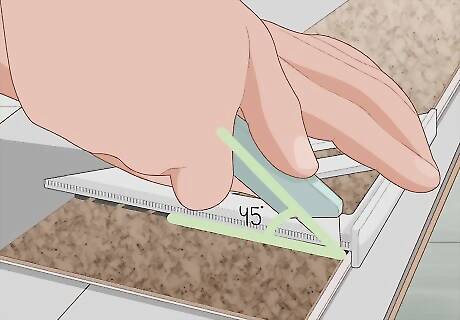
Use a utility knife to cut halfway through your vinyl plank. Using the framing square to guide your blade, begin cutting along the marked line at a 45-degree angle. You should apply a moderate amount of pressure to cut roughly halfway through your vinyl plank. Don’t worry about cutting all the way through the plank. You’re only making these cuts to create a wedge for the section you’re going to snap off.
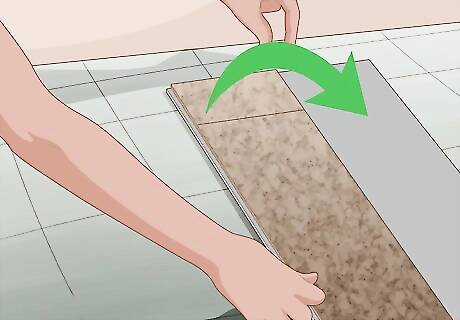
Flip your board over and secure it with your knee. Move your vinyl plank to the floor if it isn’t there already, and flip it so that the finished side is facing down. Set your knee over the bigger section of flooring to keep it in place. Your knee should be resting on the bigger section of vinyl to ensure that you aren’t applying too much pressure to a weaker section.
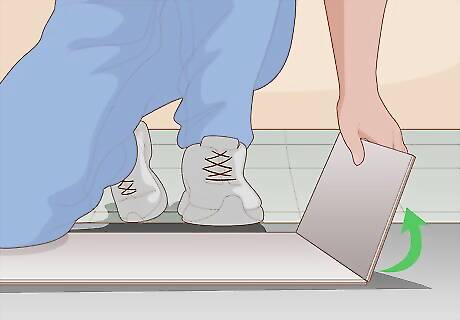
Snap the excess vinyl off by pulling it towards you. Grab the edge of the vinyl flooring that you’re removing and pull hard. It should snap off in place, leaving a clean edge behind. If you pull and the vinyl plank doesn’t snap off, stop immediately and flip it back over. You’ll need to make your cut deeper. Hold on to the section that you snapped off. You may be able to use it later when you’re installing your vinyl flooring if you run into a smaller area that needs to be filled in.
Cutting Lengthwise with a Jigsaw
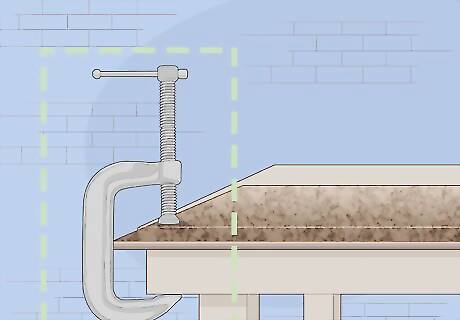
Secure your vinyl plank to your work surface with clamps. If you have a workbench designed for sawing, you can set your flooring there. If you don’t, place your vinyl flooring lengthwise along the edge of a table. Use clamps or a heavy weight to keep it in place. To secure your plank, put your clamps around the wood and work surface, and twist the clamps as tightly as they’ll turn. Wear your protective eyewear. A jigsaw is going to cause small pieces of vinyl flooring to shoot all over the place, so you’ll want to make sure that your eyes are protected. If you’re experienced with a jigsaw, you can hold the board in place with your nondominant hand instead of using clamps or a heavy weight.
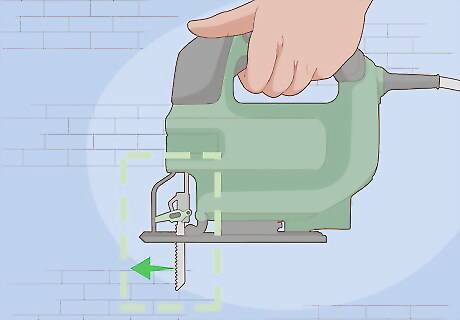
Check your jigsaw to make sure that the blade’s teeth are facing away from you. You’re going to be pushing your jigsaw away from you, so the blades have to be cutting in the opposite direction. To rotate your blade, unlock it from your jigsaw and flip it in place. Most jigsaws have a button that releases the blade. If you're using a saw, be aware that there will likely be a lot of dust. Instead of a jigsaw, you can also use a laminate flooring cutter. It has two blades that will cut the laminate off without sawing or sawdust.
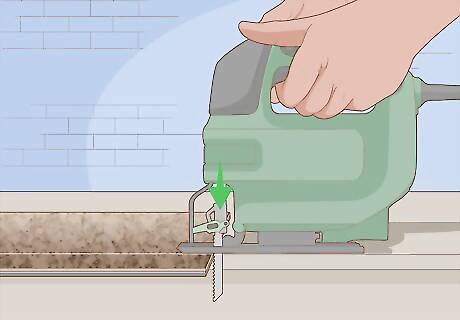
Place the jigsaw’s base plate over the line where you’re cutting. Lay your base plate against the edge of your vinyl plank near the area that you intend to cut. Line the jigsaw blade up with your guiding line. Place both hands on top of the jigsaw before pulling the trigger. If you’re making a smaller cut, you can use a framing square or thick ruler as a straight edge to guide the base plate of your jigsaw.
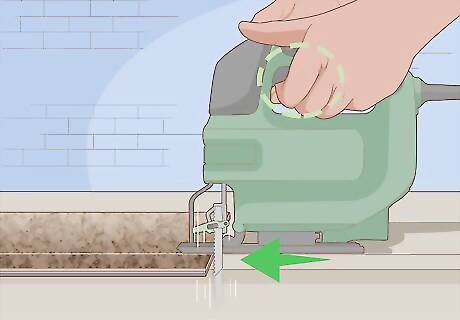
Pull the trigger and begin moving your saw. A jigsaw simply fires a blade up and down, so you’ll have to push it to get it to move forward. Be careful not to shove your jigsaw too hard though, as this will disrupt the cleanliness of your cut. Your vinyl plank isn’t fully secured if it bounces up and down while you’re cutting. Add pressure to the plank by adding a heavier item, tightening your clamp, or holding it more firmly with your off-hand. You can wrap the jigsaw’s power cable around your forearm to keep it from flying around.
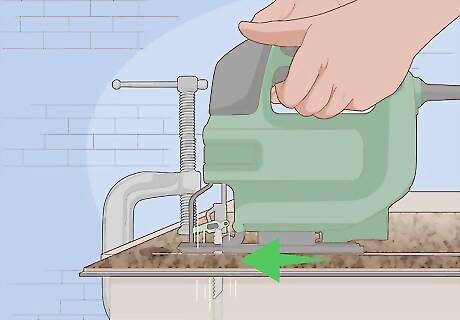
Guide your jigsaw all the way through your guiding line slowly and carefully. With your hand on the handle, steady the blade by applying pressure to the base. Push it all the way across your vinyl plank. There shouldn’t be any rough sections or loose shards of vinyl along your line. If there are, use a utility knife to shave them off. This is the preferred method if you want to control your cut, since you have the most freedom to move the blade cutting the board. You can use a circular saw if you’d like, but the base plate is probably too big for a standard vinyl plank. Circular saws also have issues with kickback when working with thinner materials. Wood-cutting circular saws also can’t use metal-cutting blades, which is a problem for some vinyl planks. A vinyl plank flooring is a great choice. It is very economical and durable. You can use it in any room. For example, you can use it in the kitchen because it does not get spoiled due to spills.


Comments
0 comment