views
Using a Highlighting Kit
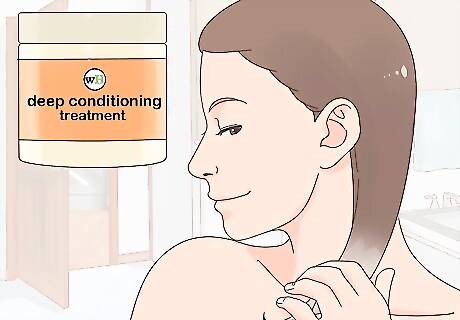
Do a deep conditioning treatment the day before you highlight. Highlighting can dehydrate your hair, which can damage it over time. Help protect your hair by doing a deep conditioning treatment 1 or 2 days before you apply the highlights.
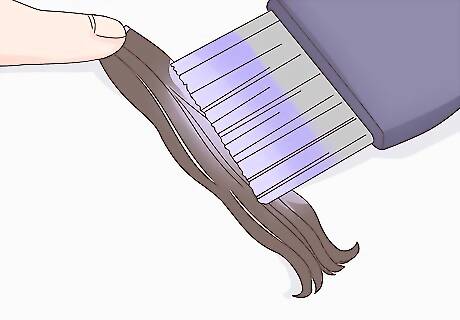
Test your highlighting solution on a small strand of hair. Before you begin highlighting, it’s a good idea to do a strand test and make sure you like the color. Follow your kit’s instructions to mix up a small amount of the highlighting solution and apply it to a small strand of hair towards the back of your head. Fold a piece of aluminum foil around it to keep the bleach away from the rest of your hair, and wait for the amount of time listed in your kit’s instructions before washing it out. A strand test also lets you see how long you’ll need to leave the bleach on to get the color you want. You may want to wait at least a few hours after doing the strand test to make sure you like the color. Hair color can change slightly after washing and drying.
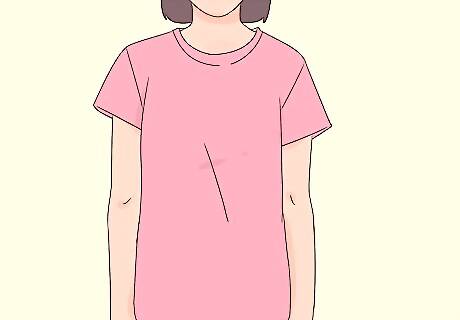
Put on some old clothes you don’t mind getting bleach on. No matter how careful you are, it’s very likely that some highlighting solution will end up on your clothes. You should also protect the area around you by putting down old towels or newspapers to keep bleach from getting on floors, carpets, or furniture.
Protect your skin with lotion or petroleum jelly. While you should try not to apply the highlighting solution anywhere near your scalp, drips or loose strands may bring the bleach into contact with your skin, which can be damaging. Apply a thick layer of moisturizing lotion or petroleum jelly around the edges of your face, your neck, and your ears before you begin highlighting.
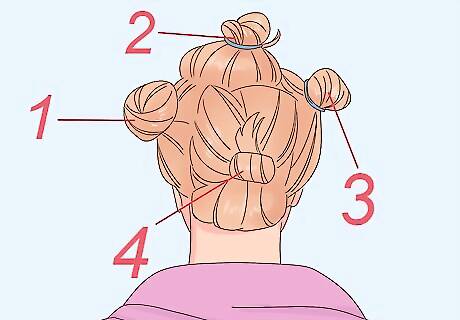
Use clips to divide your hair into fourths. If your hair is more than a few inches long, you may want to divide it into front, back, and side sections and secure each section with rubber bands or clips. This will keep loose strands from getting mixed in with the highlighting solution when you don’t want them to. If you have very thick hair, you can divide it further into eighths.
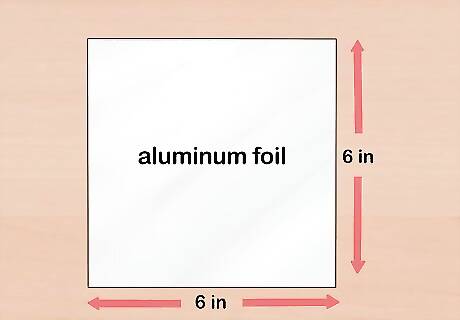
Cut several pieces of aluminum foil 4 to 6 inches (10 to 15 cm) wide. You will be using this foil to separate your hair into sections and keep it moist while the color develops. Its best to cut the foil out ahead of time rather than after you’ve prepared the highlighting solution, which should be used as soon as possible after mixing.
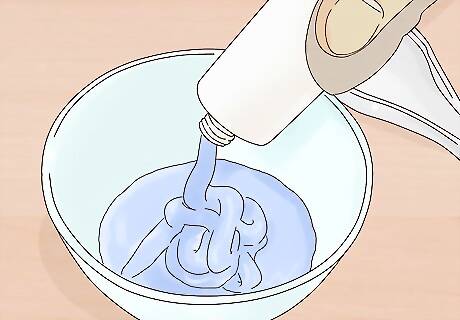
Prepare the highlighting solution according to the kit’s instructions. Preparing the solution will most likely entail mixing powder with developer. However, you should read the instructions that come with your kit thoroughly before beginning the process.
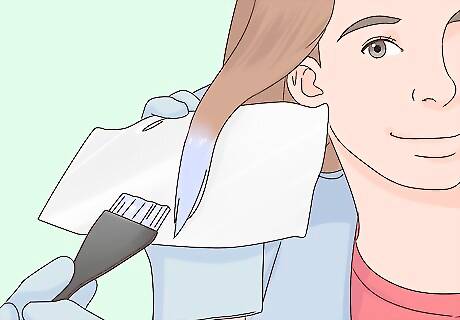
Lay a thin section of hair on top of foil and apply the highlight. Start with the part of your hair that is least visible, such as the back or the bottom layer, since that will develop the longest and therefore be the brightest. Use an applicator brush and start by applying the solution to the ends of your hair. Then brush the solution up towards your roots, making sure to stop about half an inch from your scalp. If your hair is extremely short, you may want to hold the ends of your hair in place while you brush the solution upwards, but be sure to put on rubber gloves first. For a natural look, it’s generally best to do very small, alternating sections. Each section should be no thicker than a few strands, and about 0.25 to 0.5 inches (0.64 to 1.27 cm) wide, or slightly wider in the front. You can also weave the sections together to get the same natural look.
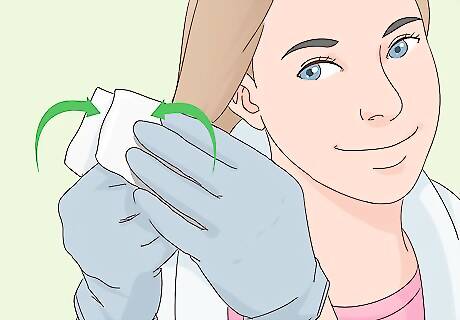
Fold the foil around the highlighted section. Once the highlighting solution has been applied to a section, take the foil that you laid it on top of and gently fold it around the section so that it is enclosed in foil. Fold the edges another 1 or 2 times so that it stays secure. If your hair is short enough that you have trouble securing it with the foil, you can use bobby pins or plastic hair clips to help keep the foil in place.
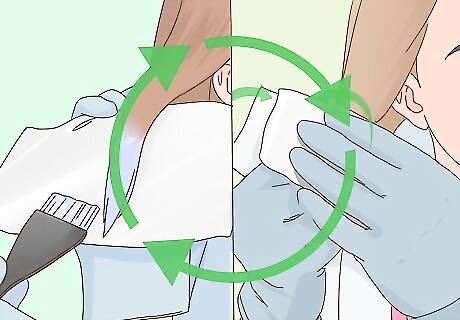
Repeat this process on alternating sections. If you divided your hair into fourths, work on one fourth at a time, keeping the other three fourths secured with clips. You’ll get the most natural effect by spacing small highlighted sections out between larger un-highlighted sections. Don’t worry about spacing the highlighted sections out evenly -- it will look more natural if they are slightly uneven.
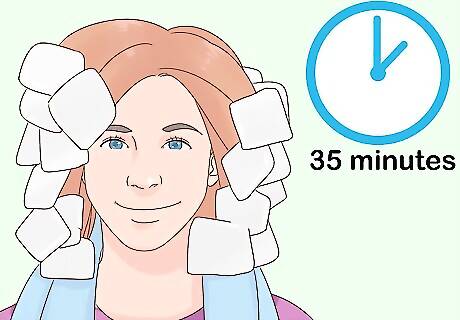
Wait 35 minutes or as long as the instructions suggest. Check the instructions that came with your kit to find out how long it should take to develop. Check on your hair every 15 minutes or so to see if the color is starting to show. If it seems to be lightening quickly and has reached the color you want before the time is up, you can rinse it out early. Stay in a well-ventilated area while you wait for your hair to develop, and be careful not to touch anything with your hair, as the highlighting solution may stain fabrics and other surfaces.
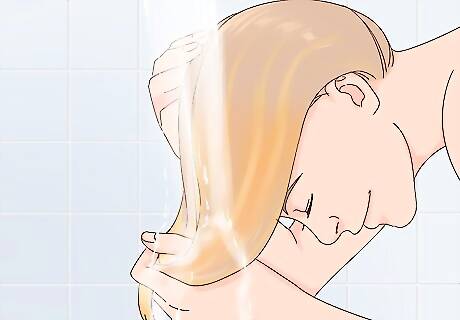
Rinse your hair thoroughly and apply toner if necessary. Once you’ve removed all the foil and rinsed the highlighting solution out of your hair, let it dry and look at the color that’s resulted. If the color appears a little too bright, brassy, or orange, you can purchase toner or a blue or purple shampoo to modify the color. Toner is available at most hair care suppliers, and you will be able to choose one that is designed for the type of color treatment you want. Use an old towel the first 1 or 2 times you wash your hair after highlighting. There may still be some bleach residue in your hair, which can stain fabrics.
Highlighting Hair with Natural Products
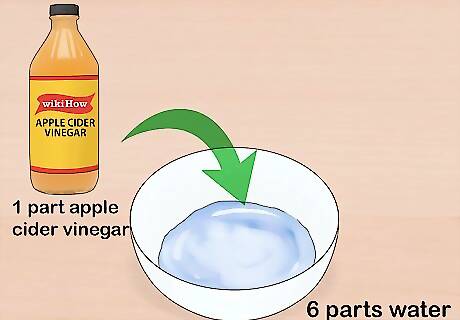
Mix 1 part apple cider vinegar and 6 parts water for a subtle highlight. Apple cider vinegar is a good way to clean your hair by breaking down oils as well as lighten it naturally in the sun. You can put this solution in a spray bottle and coat your hair thoroughly before going out in the sun for a subtle, all-over highlight. You may find that your hair has a slight vinegar smell after you apply this solution. This will go away once you rinse out the solution and condition.
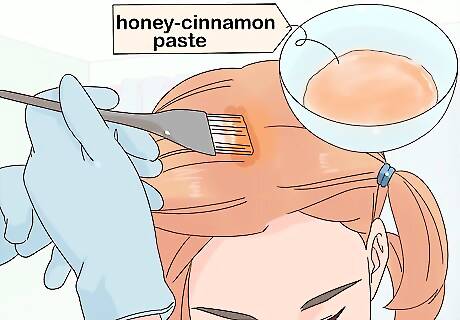
Apply a honey-cinnamon paste for natural highlights. Cinnamon activates the trace amounts of hydrogen peroxide in honey, making it work as a natural bleach. Combine 2 tablespoons (30 mL) of honey with 1 tablespoon (15 mL) of cinnamon and 1 tablespoon (15 mL) of olive oil and let it sit for about 30 minutes. Apply the paste to the pieces of your hair you want highlighted, using foil to separate and secure the hair if necessary. Leave it on for at least 4 hours.
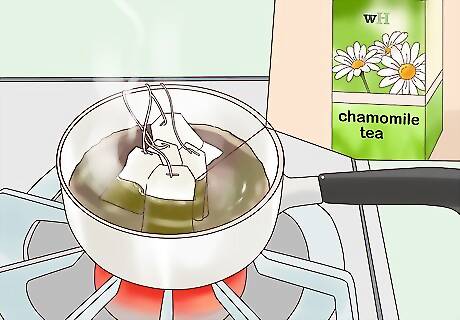
Brew chamomile tea to make a lightening rinse. Steep 2 chamomile tea bags in about 3 cups (0.72 liters) of hot water. Wait until the water has cooled enough to be comfortable to the touch, then use it as a rinse after washing your hair. This will create a natural all-over highlight when your hair is exposed to the sun. You may find it easier to put the tea in a spray bottle, which will distribute it more evenly than pouring it over your hair.
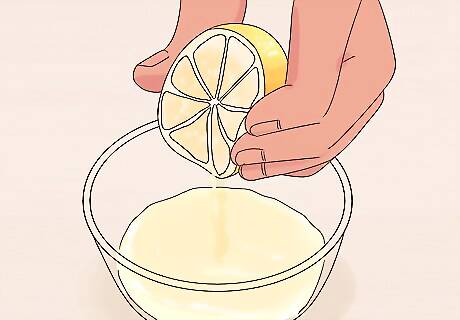
Squeeze lemon juice into leave-in conditioner to lighten with the sun. Lemon juice is a common natural method of highlighting hair. You can squeeze lemon juice into water to make a rinse or spray, but if you want to apply the highlight only in specific areas, you can add 3 parts lemon juice to 1 part leave-in conditioner and apply the mixture to the sections you want highlighted. Lemon juice can cause your hair to dry out over time, so it’s a good idea to use a moisturizing conditioner. In addition to being a useful way to naturally highlight short hair, lemon juice can also be used to lighten highlights created using other methods if they're too dark for your taste.
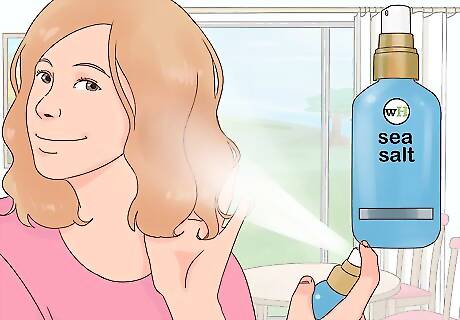
Use a sea salt spray to lighten your hair. Mix about 1 teaspoon (4.9 mL) of sea salt in 1 cup (240 ml) of water and put the solution in a spray bottle. Coat your hair with the spray before you go out in the sun to create natural all-over highlights. Sea salt spray can also add texture and body to your hair.





Comments
0 comment