views
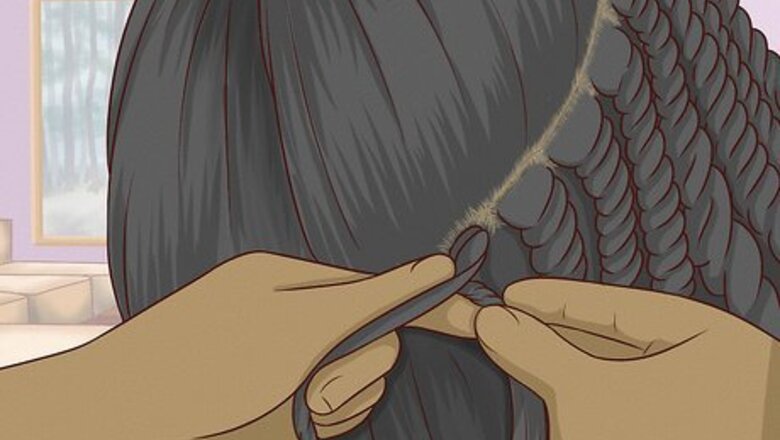
- To do single-strand coils, coat a 1×1 in (2.5×2.5 cm) section of hair with gel. Simply twist the hair starting at your roots until you reach the ends.
- Or, make two-strand coils by grabbing a 1-2 in (2.5-5 cm) section of hair and dividing it in half. Then, twist the pieces over each other.
- To make a three-strand coil, divide a 1-2 in (2.5-5 cm) section of hair in thirds. Cross the outside piece to the opposite side and repeat down your hair.
Single-strand coils
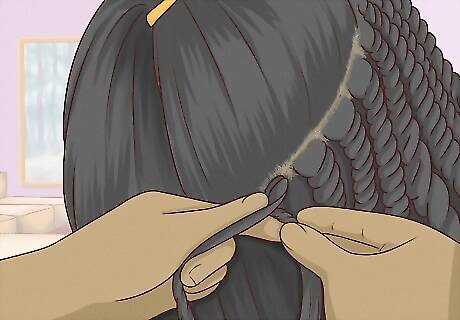
This easy-to-do coiled look is perfect for hair of any length. Apply a generous amount of gel to a small area of your hair, then separate out a section of hair that's no bigger than 1 in × 1 in (2.5 cm × 2.5 cm). Start twisting that section at the root, then continue twisting all the way down to the ends of your hair. Once you've done that, keep separating and twisting sections until you've done all of your hair. If your hair is longer, use a rat-tail comb to separate it into sections, then clip all of the sections out of the way except the one you're working on. If you have shorter hair, you can just use your fingers to separate out each coil if you prefer. You can twist either toward or away from your face, depending on what you prefer. However, if you coil the hair in the direction your hair naturally curls, it's likely to hold better. If your hair starts to dry out as you twist, spritz it with water to keep it damp.
Two-strand twists
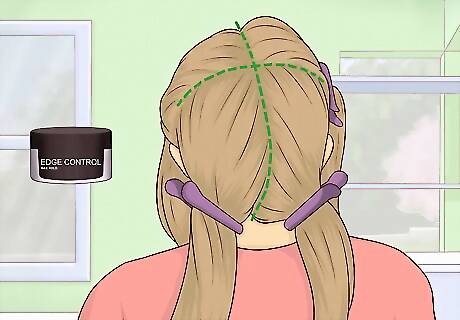
These twists are fast, easy, and stylish. Divide your hair into 3-4 large sections and clip all of them out of the way except one. Separate out a 1–2 in (2.5–5.1 cm) section of hair and coat it in curling cream or hair gel. Divide the section in half, then criss-cross the two pieces over each other again and again until you get to the end of your hair. Then, coat the ends in a little extra gel to help the twist hold. Continue twisting sections until you've done all of your hair. Stop twisting about 1–2 in (2.5–5.1 cm) before you get to the ends for a slightly undone look. Try pulling just the top half of your twists into a ponytail for a pretty take on this 'do! Wear your twists as-is, or take them down after they dry overnight for bouncy, well-defined curls.
Three-strand twist-outs
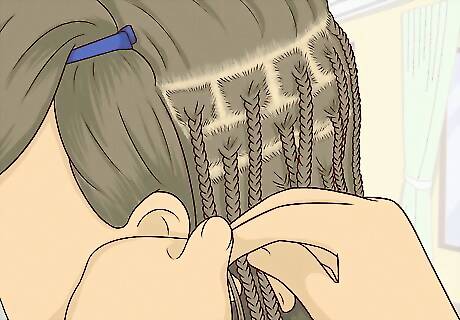
Try this for a fun alternative to a traditional braid. Start by picking up a section of hair that's about 1–2 in (2.5–5.1 cm) thick. Divide that into 3 even sections, but don't criss-cross the pieces like you would for a normal braid. Instead, take one of the outside pieces and cross it all the way over the other two, so it's now the opposite outside piece. Then, go back to the side you started on, take that piece, and cross it all the way to the outside again. Keep doing that all the way down the strand of the hair. If you're doing smaller braids, smooth a little gel over the ends to help it hold. For larger braids, you may need to use a small rubber band so it doesn't unravel.
Flat twists
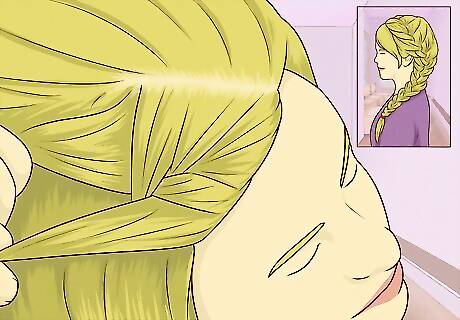
Get creative with these versatile twists. Divide out a long section of hair in the direction you want your twist to go. Take a small piece at the very top of the section and divide that in half, then criss-cross the pieces over each other. Before you cross them a second time, though, pick up another piece of hair from the section and add it to the twist, just like how you'd do cornrows or a French braid. Keep adding hair each time you twist until you've added all the hair from that section, then do a two-strand twist to the ends. Your sections can go from side-to-side (like from your part down to your ear), from front-to-back (like cornrows), or even in swoops to create a unique pattern! You can even divide your hair in a center part, then do two large twists for a style similar to a Dutch braid.
Senegalese twists
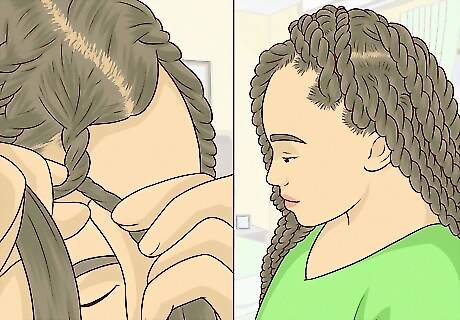
Show off your extensions with Senegalese twists. Divide out a section of hair that's 1 in × 1 in (2.5 cm × 2.5 cm) or smaller. Split that in half evenly, then twist each section of your natural hair—this will help the twist look neat and smooth when it's finished. Then, take a section of your extensions and fold it in half. Place the U-shaped fold at your scalp so one end of the extension is draped over each section of your natural hair and coil each section of the natural hair and extension together. Once you've done that, do a regular two-strand twist to the ends of your hair. Finish twisting all of your hair in this way, then seal the ends by dipping the very tips of the braids in boiling water for about 15 seconds. This protective style will add extra volume and drama to your twists!
Nubian twists
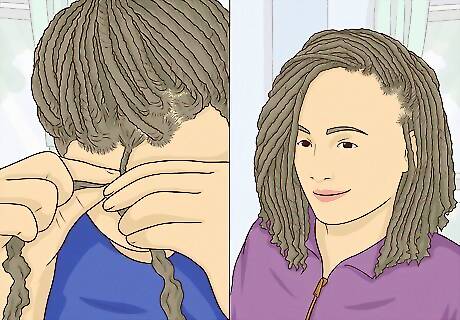
Use tightly-curled extensions to create Nubian twists. Take a small section of a Nubian hair extension and fold it in half, then place the U-shaped fold over a small section of your natural hair. This will create 3 sections. Braid these together about 3 times to secure the extension, then bring all of your natural hair and the extension into one large section and divide it in half. Continue with a two-strand twist all the way to the ends of your hair. Nubian twists are similar to Senegalese twists, but the hair is much curlier, so the twists usually end up being tighter and shorter. Use your fingers to separate the curl on the extension first so the twists will have a more natural look. Other twists, like Havana and Marley twists, use this same braid-in method—just start with different types of extensions.
Rope braid
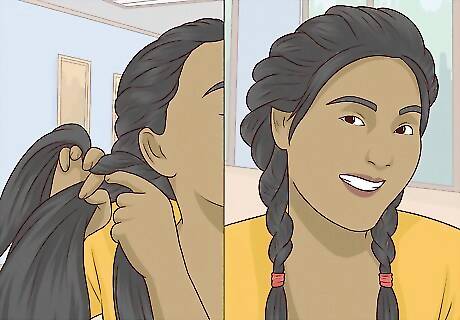
Create one big twist with a super-easy rope braid. If you're in a hurry, it doesn't get much easier than a rope braid. Part your hair in half, then twist each of the sections as tightly as you can before the hair starts to coil on itself. It doesn't matter if you twist to the left or the right, as long as you do it the same on both sides. Then, crisscross the two twists over each other in the opposite direction of how you twisted them, and secure the ends with a ponytail holder. For instance, if you started twisting to the left, you'd criss-cross the strands from right to left.
Triangle twists
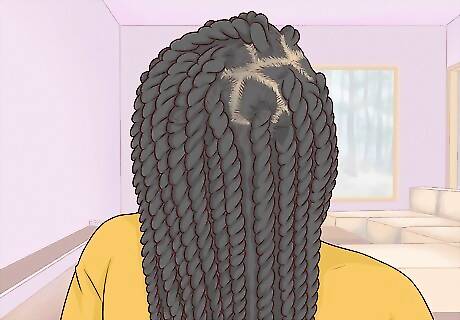
Create visual interest by experimenting with your parts. For a fun take on a two- or three-strand twist, use a rat-tail comb to carefully part each section in a neat horizontal row. As you divide out the hair for each section, make alternating angled parts to create a triangle shape. Then, twist the hair the way you normally would. When you're finished twisting all of the pieces, the angles will give your 'do a cool geometric look. This takes a lot of precision, so it might be easier to have someone else do this style on your hair!
Twist hairstyles
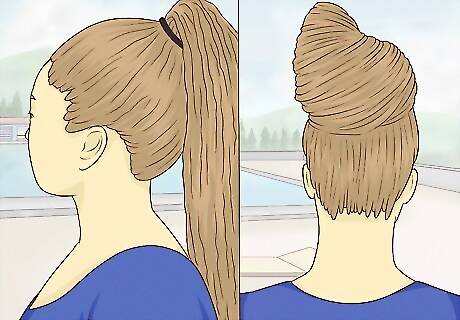
Wear your twists in an up-do to change your style. Twists look great on their own, but that doesn't mean you have to wear them the same way every day! Experiment with different styles, like wrapping them into a bun on the top of your head, pulling them into a low pony, or styling them in a half-up 'do. For an even more intricate look, try braiding your twists! The texture of the twists will add extra dimension and interest to even a basic three-strand braid.
Embellishments
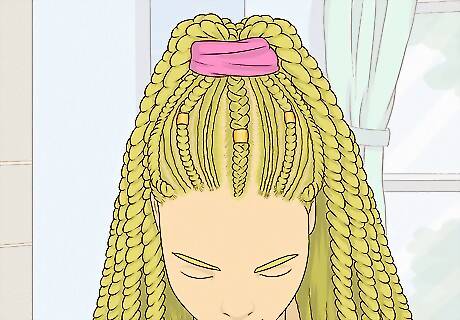
Add colorful extensions or pretty clasps to your twists. Try experimenting to make your twists your own! If you're using extensions to do your twists, for instance, consider using a bold color like bright red or deep purple on one or two of the twists. The pop of color will add extra dimension to your look. For an elegant look, clamp gold clasps around your twists—the hair jewelry will really elevate your style!





Comments
0 comment