views
- 4K Video Downloader+ is a simple video downloader app for Windows, Mac, and Linux.
- You can also screen record a video to save a copy of it to your computer.
- Some video services allow you to download a copy of a video for offline viewing.
4K Video Downloader
Go to 4K Download's website. 4K Download has several products, but 4K Video Downloader+ allows you to download videos from most major video-sharing sites, including YouTube, TikTok, Instagram, and more.
Click the Download button at the top of the screen. This will show you all of 4K Download's products.
Click on 4K Video Downloader+. 4K Video Downloader+ is available for Windows, Mac, Linux, and Android.
Download the installer that matches your operating system. Click the Download button next to the installer that matches your OS and click through any popups that appear on the screen asking for permission or where to download the file.
Install 4K Video Downloader+. Run the installer once downloaded to begin the installation process, and follow the on-screen instructions to install the program. You can use 4K Video Downloader+ for free, though you are limited to 30 downloads per day, and there will be ads. 4K Download offers various licenses for 4K Video Downloader+ that range from $15 to $45, which gives you more features, such as unlimited downloads.
Copy a video link. You can copy a video link from YouTube, Twitter, TikTok, Instagram, Vimeo, Dailymotion, or many other popular video sites to download. You can copy the video link (or URL) from the address bar at the top of your browser. If you're on Android, you may need to copy the video link by tapping the Share button first, then selecting Copy link or Copy video link.
Open 4K Video Downloader+. If you have a link in your Clipboard, the Paste Link icon in the upper-left will be active.
Click Paste Link. 4K Video Downloader+ will open a popup with various options. Select the options you want for your video, or leave it on the automatic settings.[
Click the Choose button near the bottom of the screen to select a download location. You can navigate to your Videos folder, Downloads folder, or any other location on your computer where you want to save the video.
Click the Download button. 4K Video Downloader+ will begin downloading your video, showing you a progress bar. You can also download an entire playlist or YouTube channel by copying the playlist or channel link and pasting it into 4K Video Downloader+.
Navigate to the location where you saved your video. Your video will be there, ready to rewatch or use for the project you need.
OBS Studio
Understand the limitations of screen recordings. Screen recording is a solution to wanting to download a protected video (e.g., something on Netflix). OBS Studio will also record your mouse cursor and any pop-ups or buffering that may occur during video playback, however you can edit these options. You'll also need a subscription to the service in question to be able to access these videos. Be aware that screen recording video from a paid streaming service may violate the terms of service for that service provider. It may also be illegal in your country.
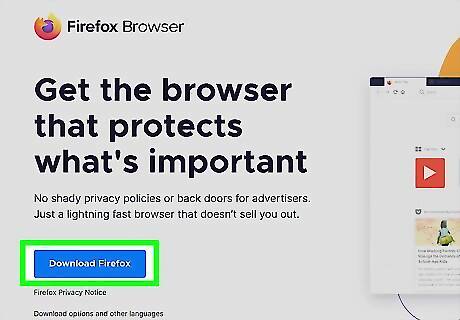
Download and install Mozilla Firefox. Most video streaming services like Netflix and Hulu have copyright protection in their videos. When you try to screen capture videos from these services, you will see a black screen when viewing the recorded video. To get around this, you need to use Firefox as your web browser when streaming these videos. Use the following steps to download and install Firefox: Go to https://www.mozilla.org/en-US/firefox/new/?redirect_source=firefox-com Click Download Firefox. Open the installer file in your web browser or Downloads folder. Click Yes (on Mac, drag the Firefox icon to the Applications folder).
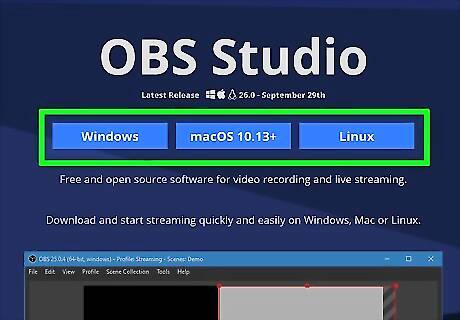
Download and install OBS. OBS is a free app for recording and streaming software. It is available for Windows, Mac, and Linux. Use the following steps to download and install OBS: Windows: Go to https://obsproject.com Click Windows. Open the Install file in your web browser or Downloads folder. Click Next. Click I Agree. Click Next. Uncheck the plugin box if you like. Click Install Click Finish when prompted. Mac: Go to https://obsproject.com Click MacOS 10.13+. Drag the OBS app to the Applications folder. Open the Install file in your web browser or Downloads folder.
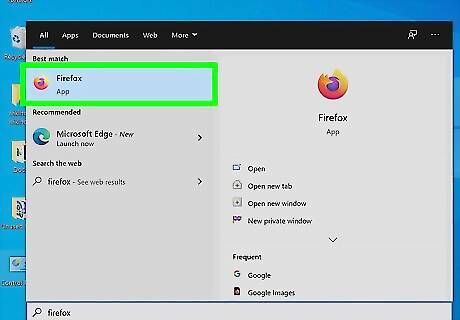
Open Firefox. It has an orange and purple icon that resembles a fox in the shape of a flame. Click the icon in the Window Start menu, Dock, Desktop, or Applications folder.
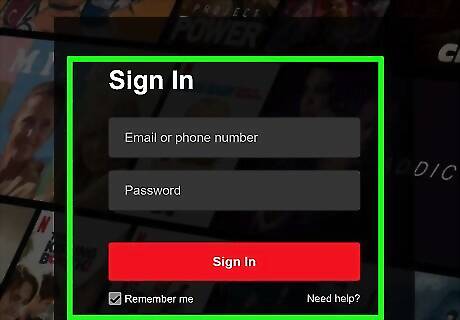
Go to a video streaming website and sign in. Enter the web address for a video streaming site like Netflix, Hulu, or others in your web browser. Then, sign in using the username and password associated with your account.
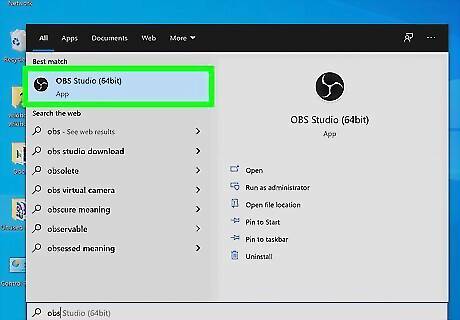
Open OBS Studio. OBS has a black round icon with three cycles on it. Click the icon in the Windows Start menu or Applications folder on Mac to open OBS.
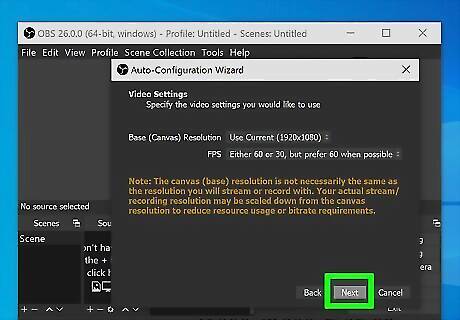
Click OK if prompted. This will accept the terms of use and bring you to the main OBS Studio window.
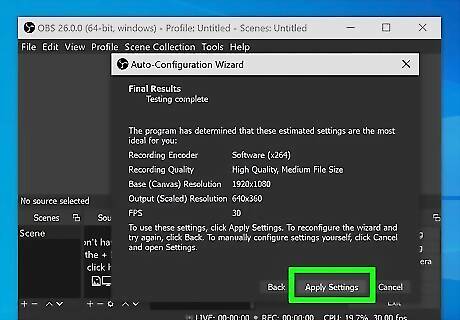
Click Yes on the "Auto-Configuration Wizard" window. This will bring up a window. To complete the setup wizard: Check the "Optimize just for recording" box. Click Next. Click Next. Click Apply Settings. If you prefer to set your own settings, click No instead.
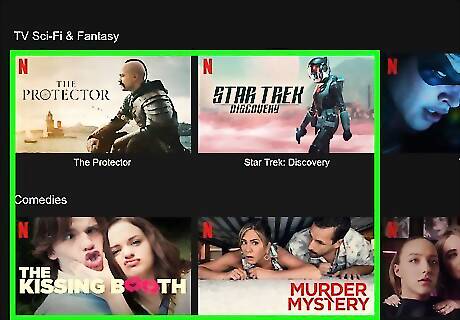
Open a protected video. Go to a site like Netflix or Hulu and sign in with your account credentials. You can also use this technique to capture live streaming video from YouTube, Facebook, or Twitch as it happens.
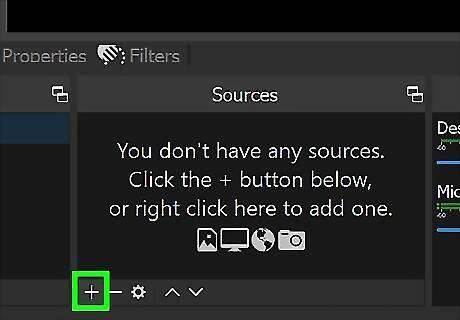
Click + in OBS. It's at the bottom of OBS in the "Sources" panel.
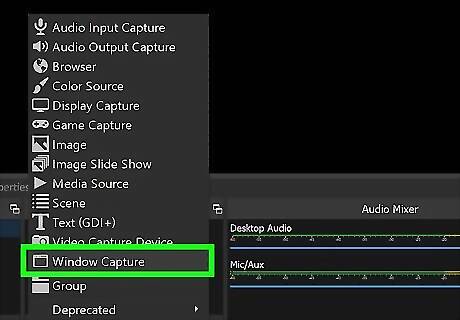
Click Window Capture. It's at the bottom of the list of capture sources.
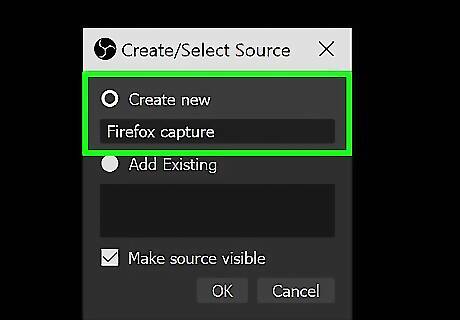
Type a name for the source. You can name it after the app you are capturing video from to make it easier to reference. It doesn't really matter what you call it.
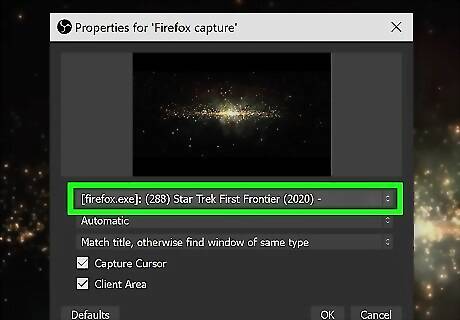
Select "Firefox" as the Window. Use the drop-down menu next to "Window" to select Firefox. It will be listed along with the website you have open. Select Firefox to use it as the capture display.
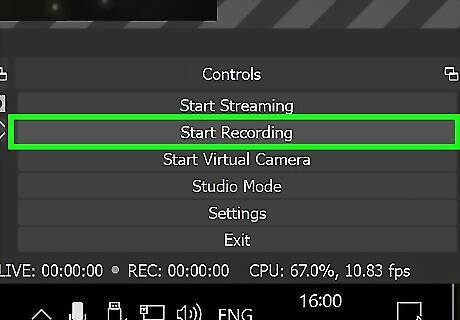
Click Start Recording in OBS. This will start recording the source you have selected.
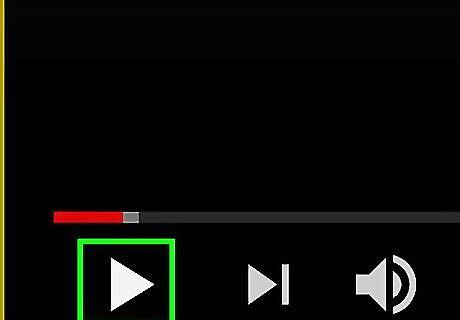
Play the video in Firefox. Now that you have the streaming app recording, click the play button on the video to start the playback. OBS will record the entire video as it plays. It's recommended you do a short test recording of a video to make sure everything is working properly before you try to record an entire movie or TV show.
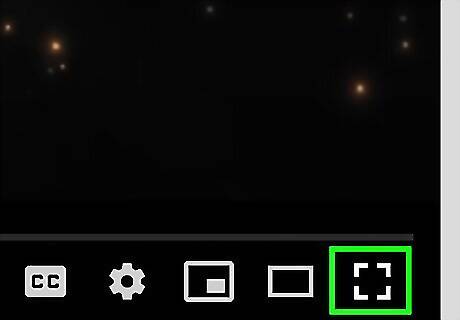
Full-screen the video. Click the "fullscreen" icon at the bottom of the video player. In some cases, you can also press "F11" to full-screen the video.
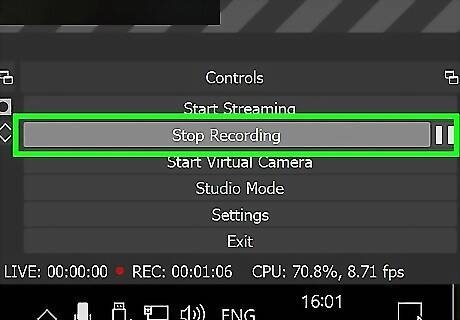
Click Stop Recording in OBS when the video is over. This will stop recording and save the video. You can go to your video by clicking File and then clicking Show Recordings in the drop-down menu. By default, video recordings can be found in your Videos folder.
Xbox Game Bar (Windows)
Understand the limitations of screen recordings. Screen recording is a solution to wanting to download a protected video (e.g., something on Netflix). Game Bar will also record your mouse cursor and any pop-ups or buffering that may occur during video playback. You'll also need a subscription to the service in question to be able to access these videos. Also be aware that screen recording video from a paid streaming service may violate the terms of service for that service provider. It may also be illegal in your country.
Download and install Mozilla Firefox. Most video streaming services like Netflix and Hulu have copyright protection in their videos. When you try to screen capture videos from these services, you will see a black screen when viewing the recorded video. To get around this, you need to use Firefox as your web browser when streaming these videos. Use the following steps to download and install Firefox: Go to https://www.mozilla.org/en-US/firefox/new/?redirect_source=firefox-com Click Download Firefox. Open the installer file in your web browser or Downloads folder. Click Yes
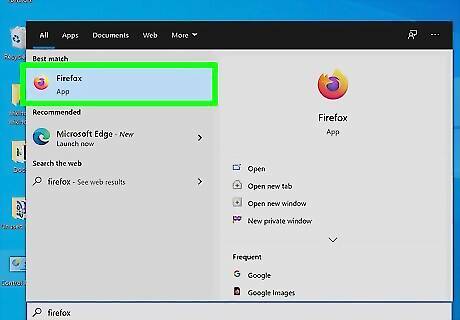
Open Firefox. It has an orange and purple icon that resembles a fox in the shape of a flame. Click the icon in the Window Start menu to open Firefox.
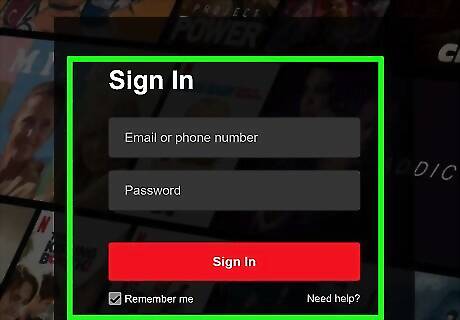
Go to a video streaming website and sign in. Enter the web address for a video streaming site like Netflix, Hulu, or others in your web browser. Then, sign in using the username and password associated with your account.
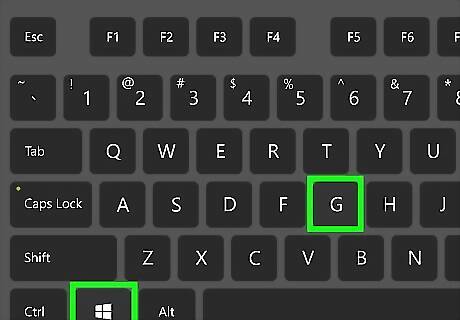
Press ⊞ Win+G. This opens the Game Bar on Windows. This can be used to record screen captures
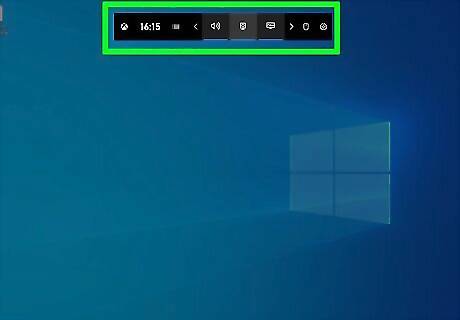
Click the widgets menu. It's the icon that has four lines with four dots next to them. It's at the top of the game bar.
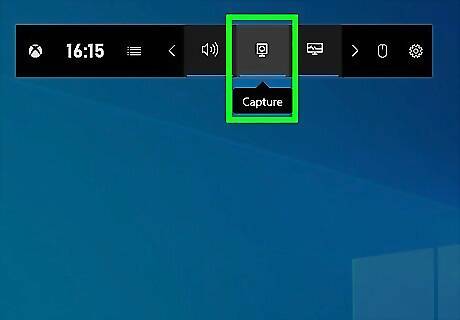
Click Capture. This displays the screen capture controls.
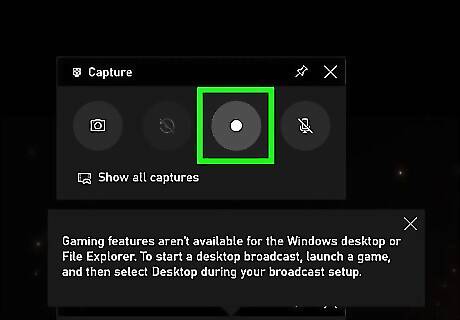
Click the "Record" button. It's the button with the circle in the capture controls. This starts a screen recording. You will see the timer and stop button appear in a separate panel to the right.
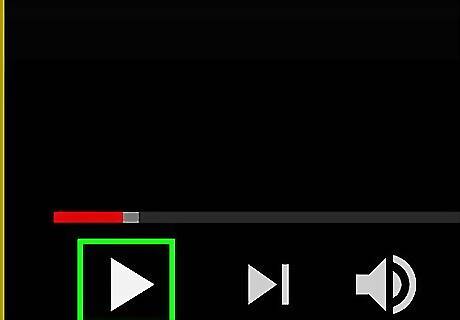
Play a video. Use the web interface in Firefox to navigate to a video you want to watch and click it. Click the Play button in the video to begin the video playback. Game Bar will record your video as it plays. Try to ensure there are no other windows or disturbances on the screen as the video playback plays. Game Bar will record any other windows that open, your mouse cursor, and any sounds from any other apps.
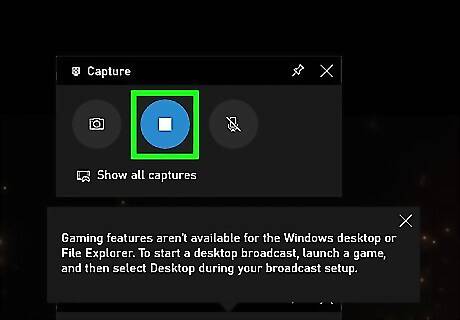
Click the "Stop" button. It's the red button next to the panel with the timer. This will save your video recording. By default, your video captures can be found in the "Capture" folder inside your "Videos" folder. If you don't see the "Stop" button on the side, press "Win + G" to display the Game Bar again. Click the record button in the capture bar to display the Stop button. To make sure everything is working properly, it is recommended a short test video of a captured video. If everything works properly, you can record a full-length movie or TV show.
Quicktime (Mac)
Understand the limitations of screen recordings. Screen recording is a solution to wanting to download a protected video (e.g., something on Netflix). QuickTime will also record your mouse cursor and any pop-ups or buffering that may occur during video playback. You will also need to download an additional audio plug-in to capture your computer's audio during screen recording on your Mac.
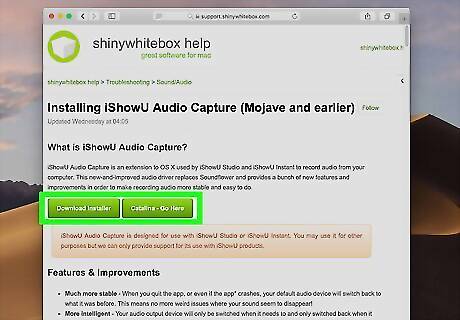
Download the IShowU audio capture plug-in. Or you can try Soundflower or BlackHole to record screen video with internal audio on Mac at the same time. Normally, when you use QuickTime to capture a screen recording on a Mac, it cannot capture your computer's audio. IShowU is a free audio capture plugin that lets you capture audio from your Mac. Use the following steps to download and install IShowU audio capture. Go to https://support.shinywhitebox.com/hc/en-us/articles/204161459-Installing-iShowU-Audio-Capture-Mojave-and-earlier- Click Catalina - Go Here if you use MacOS Catalina or Mojave. Click Download Installer for earlier versions of MacOS. Open the Installer ".dmg" file in your Downloads folder or web browser. Double-click the IShowU Audio Capture.pkg file. Click Ok Click Continue Click Continue. Click Install. Enter your Password. Click Install Software. Click Restart or Close.
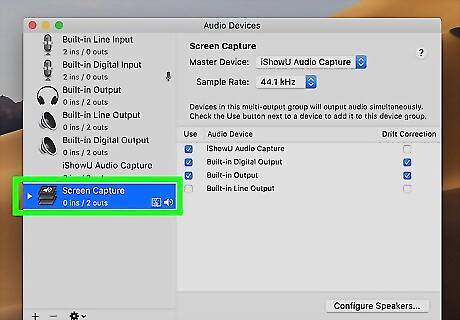
Configure your audio output device. To capture audio from your Mac, you need to configure an audio device that takes the audio from your Mac and routes it to both your speakers and the IShowU Audio Capture device. Use the following steps to do that: Click the magnifying glass icon in the upper-right corner. Type audio MIDI setup and press Enter. Click the Plus icon (+) at the bottom of the "Audio Devices" menu. Click Create Multip-Output Device. Check both "Built-in Audio" and "IShowU Audio Capture." Double-click "Multi-Output Device" and change the name to "Screen Capture."
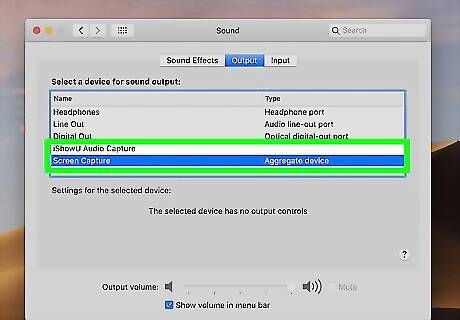
Set the "Screen Capture" device as your primary audio output. To use the Screen Capture audio device you just created, you need to set it as your primary audio device in System Preferences. Use the following steps to set the Screen Capture device as your primary audio output: Click the Apple icon in the upper-right corner. Click System Preferences. Click Sound. Click the Output tab. Click Screen Capture.
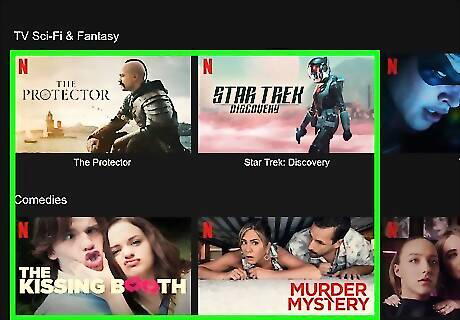
Open a protected video. Go to a site like Netflix or Hulu, sign in with your account credentials, and select the video you want to record.
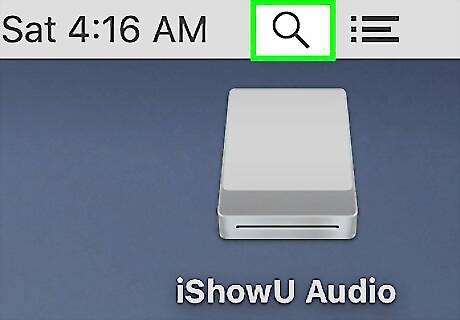
Open Spotlight Mac Spotlight. Click the magnifying glass-shaped icon in the top-right corner of the screen.
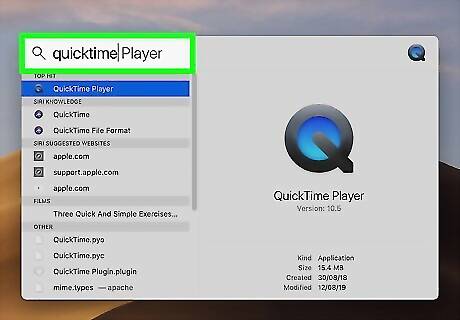
Type quicktime into Spotlight. This will search your Mac for the QuickTime app.
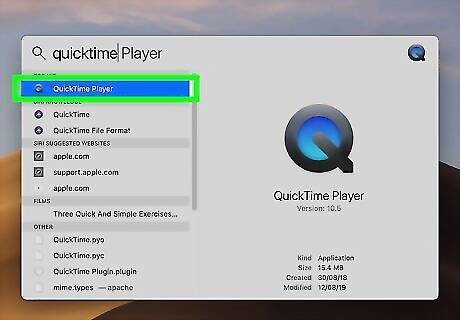
Click QuickTime. It should be the top search result in the Spotlight search. Doing so will open QuickTime.
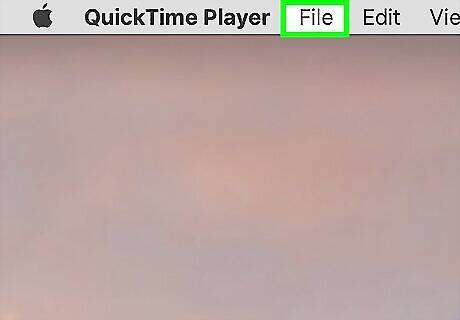
Click File. It's a menu item in the top-left corner of the screen. A drop-down menu will appear.
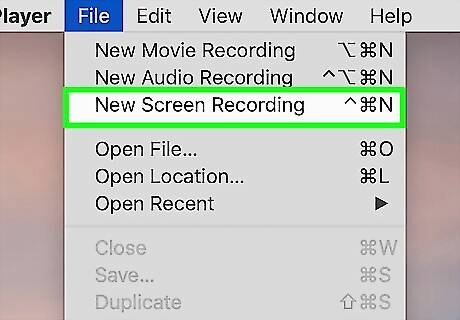
Click New Screen Recording. It's near the top of the File drop-down menu.
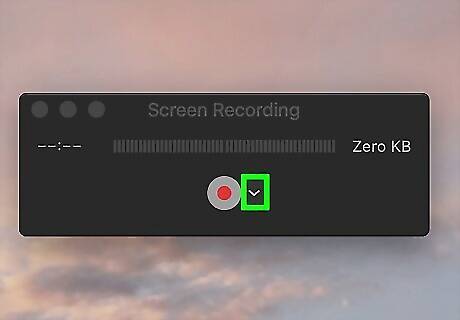
Click Options. It's next to the "Record" button at the bottom of the screen. If you are using an older version of MacOS, click the arrow icon next to the record button in the playback controls.
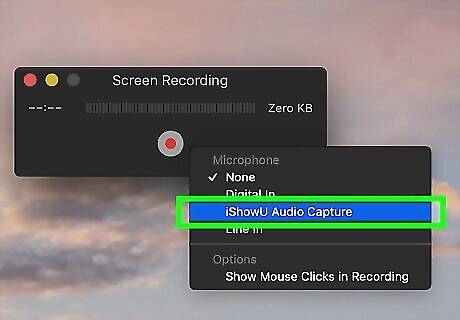
Select "IShowU Audio Capture". This selects the IShowU Audio Capture device that allows you to capture audio while screen recording with QuickTime.
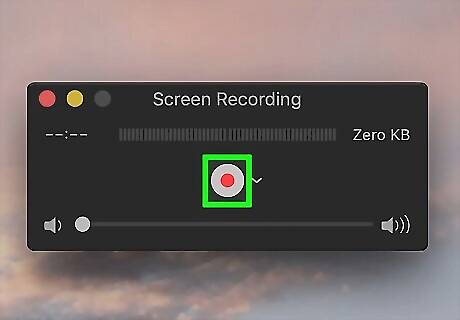
Click the "Record" button. It's a button on the left of the bar at the bottom of the screen. This starts screen recording your video. If you are using an older version of MacOS, click the button with the red circle in the playback controls.
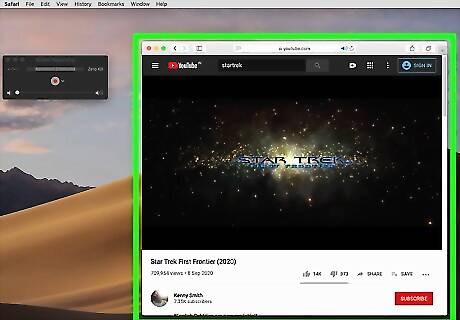
Go to a paid streaming service website in your web browser. This can be Netflix, Hulu, Amazon Prime Video, or any other service you want. You should do a test screen recording before capturing an entire movie. If the video shows a black screen or if there are any other issues while streaming, it's recommended you use Firefox as your web browser.
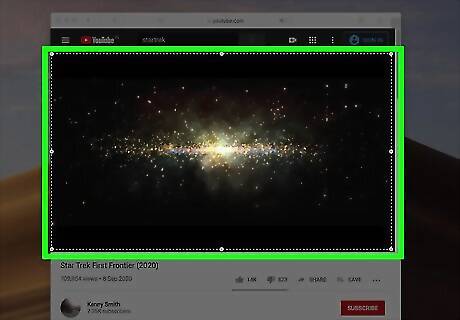
Select the video. Click and drag your mouse from the video window's top-left corner to the window's bottom-right corner.
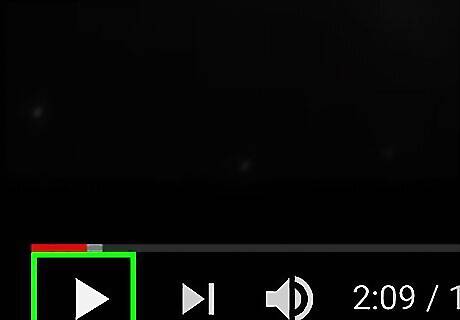
Click the "Play" button. Your video will begin playing. Try to ensure there are no other windows or disturbances on the screen as the video playback plays. Quicktime will record any other windows that open, your mouse cursor, and any sounds from any other apps.
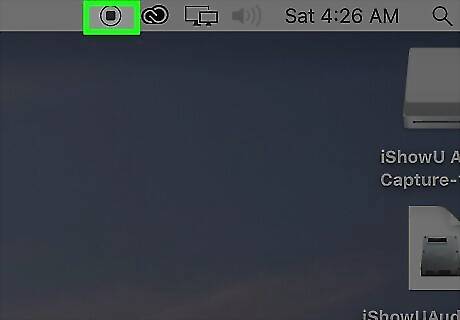
Stop recording when the video concludes. Click File, then click Stop Recording in the drop-down menu. Alternatively, you can right-click the QuickTime icon in the Dock and click Stop Recording. This will save your video and display a video preview.
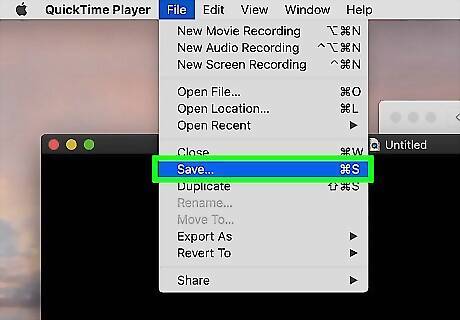
Save the video recording. Use the following steps to save the video file once it is finished recording: Click File in the menu bar. Click Save. Type a name for the video next to "Export as." Click Save.
Downloading a Video From Streaming Apps
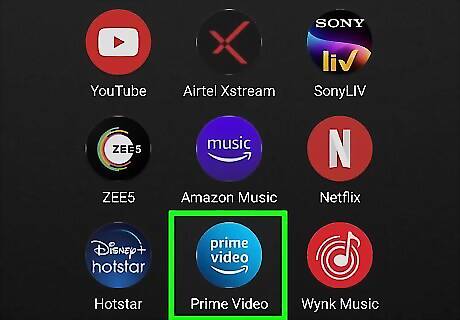
Open a Streaming app. Paid video streaming apps like Netflix and Amazon Prime Video let you download videos and play them offline. This includes the Microsoft Store on Windows, the App Store on iPhone, iPad, and Mac, or Google Play Store on Android phones and tablets. You need a subscription to access and download videos for these apps. Sign in with your username and password if you haven't already. You can only view downloaded videos within the app. Downloaded videos may have a time limit before they expire. Downloaded videos that are no longer available on the app cannot be played.
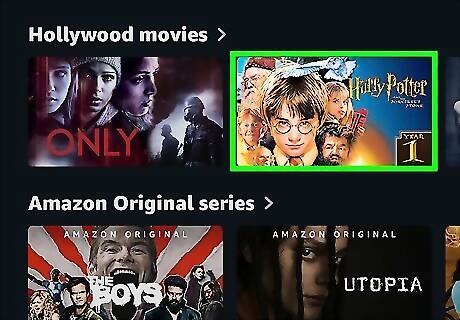
Navigate to a video you want to download. You can use the search feature to browse videos for a video you want to download. Click or tap the video image when you find a video you want to download.
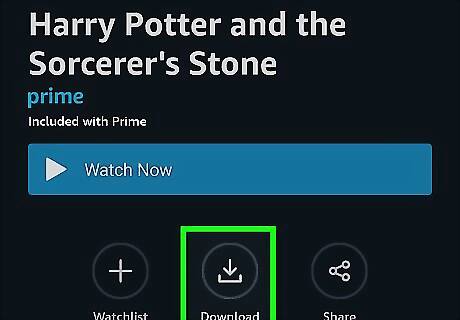
Click or tap the download icon Android 7 Download. It typically has an icon that resembles an arrow pointing down over a line. It may be below a movie title or next to an episode of a TV show.
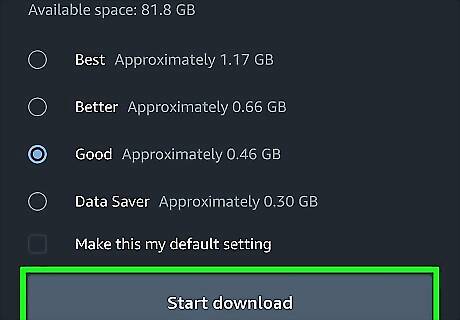
Click or tap Downloads. This is where you can access all your downloaded videos. It's located in different places depending on the app you are using. It may be at the bottom of the screen on your smartphone or in the menu to the left on the desktop app. You may need to tap the icon with three lines (☰) in the upper-right corner, or the icon that resembles a person in the lower-right corner.


Comments
0 comment