
Sketching the Heart
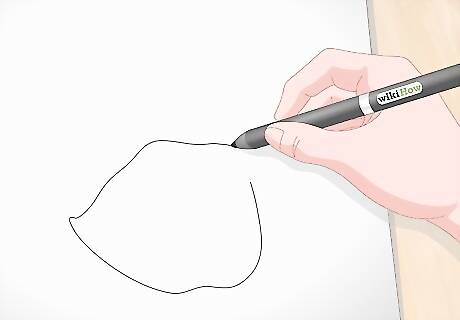
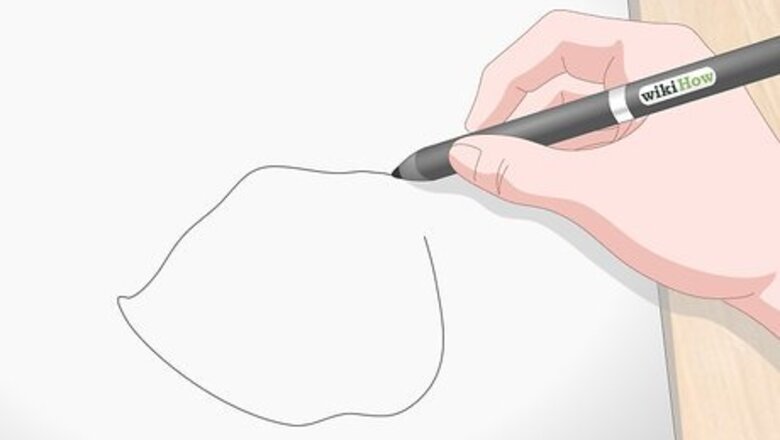
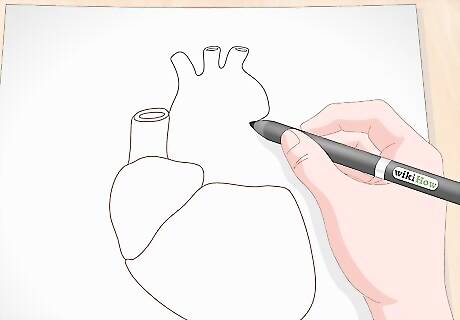
Draw a tilted and irregular curved shape in the center of your page. Use a pen or pencil to draw the heart's main body. Create a curved shape similar to an acorn or apple’s bottom half. Angle the slightly tampered end of the shape to the left about 120 degrees. The main shape will be the basis for the left and right ventricles. Look up a picture, anatomical diagram, or X-ray image of a human heart for reference. If you’re unsure how to draw the irregular shape, lightly sketch a right triangle with the right angle in the upper right corner. Then, make an oval that touches each point of the triangle.
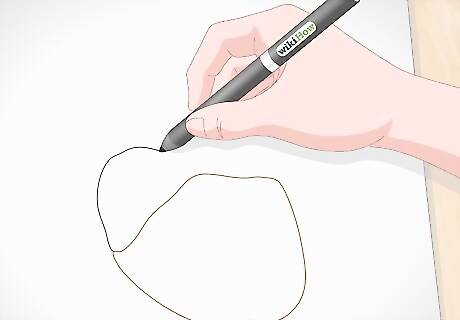
Make a rounded bump at the top of the heart. Draw a half-circle that extends from the top left corner of the heart to the middle and is about ⅓ of the size of the heart's body. This represents the right atrium chamber. The right and left sides of the heart may look switched, but that's because you're drawing the heart from the opposite direction. If you like, draw a line between this bump and the main part of the heart. This line runs horizontally and can represent the tricuspid valve that separates the right atrium and ventricle.
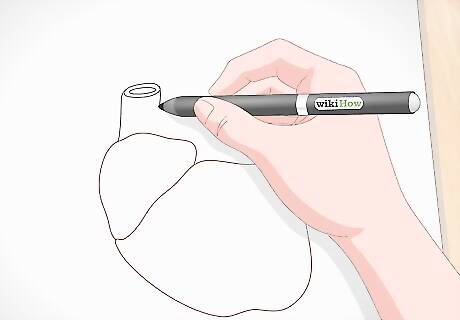
Sketch a tube with 2 openings extending from the top of the rounded bump. Draw a cylinder tube coming from the top of the right atrium to represent the superior vena cava. Make the tube roughly the same size as the right atrium. Create a second smaller tube extending from the left side of the first tube to form a 2-pronged fork shape. Blood enters the right atrium through the superior vena cava.
Draw an upside-down “J” with 3 tubes on the other side of the bump. Start your sketch at the edge of the superior vena cava, and work the shape down to the top edge of the heart’s body. Create a “W” on top of the “J” shape to form the narrow tubes. This shape represents the aorta. Make the aorta wider than the superior vena cava for a more accurate drawing.
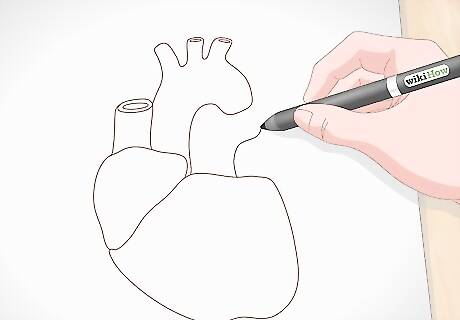
Draw a wavy line connecting the heart’s body to the end of the aorta. This line will fill in the remaining empty space between the aorta and body and represents the tubular pulmonary artery. Simply bring your pen or pencil from the top right edge of the heart’s body to the curve on the tip of the aorta’s “J” shape.
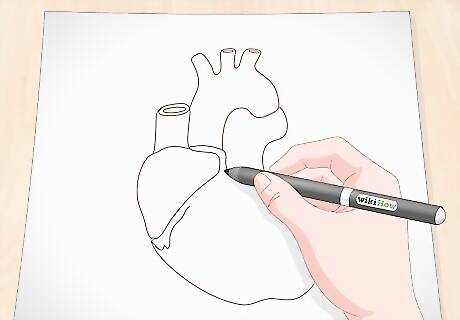
Pencil in small gaps between the tubes and main body. Now that you've drawn all the main features of the human heart, draw small curved lines to show gaps between the segments. Make a tiny curve between the aorta and pulmonary artery tubes, and darken the space between the right atrium and body.
Shade in veins and details to make the heart more realistic. With the entire heart outlined, consider shading each part of the heart to add depth and dimension. Use a fine black ink pen or a darker charcoal pencil to create light and dark shadows on the heart. Focus the darker shadows along the segments’ edges and the lighter areas in their centers. To determine which parts of the heart to make the darkest, decide where light is shining on the heart. The closer a part is to the light, the lighter it’ll be. If you'd like to make a colorful heart, shade with a burgundy or rusty red colored pencil. Try shading with a cross-hatching technique for a more illustrated look.
Adding to Your Drawing

Use markers or crayons to color the heart realistically. Generally, hearts on anatomical or medical diagrams are sectioned into 2 colors: red and blue. The red represents blood going into the heart, whereas the blue represents blood leaving the heart. Split the heart in half and color the left section, superior vena cava, and pulmonary artery blue, and then color the right section and aorta red. Who says the heart has to be colored anatomically? Consider adding a mystical or fantastical element to your drawing by coloring the heart all colors of the rainbow.
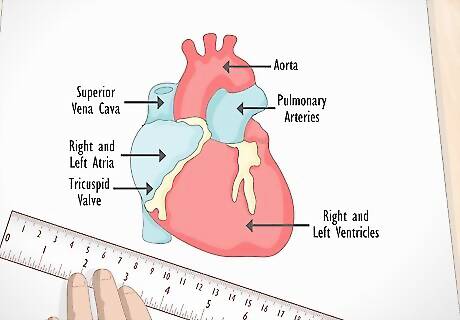
Label the parts of the heart to reference it for anatomy. If you're trying to identify parts of the heart for a class or just for fun, consider adding the names of each segment. Neatly print the names around your drawing and then use a ruler to draw an arrow to the corresponding part. Refer to anatomical diagram to double-check your work. Here are the parts we’ve included in this tutorial: Tricuspid valve Aorta Superior vena cava Right and left atria Right and left ventricles Pulmonary arteries

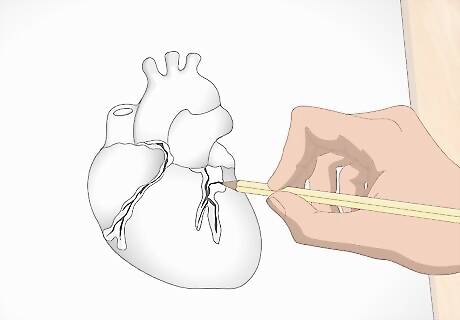
Put arrows inside your drawing to show the circulation of blood. If you’re learning about how blood moves through the heart, try adding tiny arrows in each of the heart’s segments. This way, you can reference your homemade diagram whenever you’d like! Use an anatomical heart diagram to guide you or try to map the circulation from memory to help you study (just make sure to double-check your work). Use a blue writing utensil to represent blood flowing through the superior vena cava, right atrium, and pulmonary arteries, and a red utensil to show blood going through the left atrium and aorta. Blood first flows into the right atrium, through the right ventricle, and then into the pulmonary valve to the lungs. The left atrium gets blood from the lungs, which flows to the left ventricle before going through the aorta to the rest of the body.


Comments
0 comment