views
Using Google Photos for Android
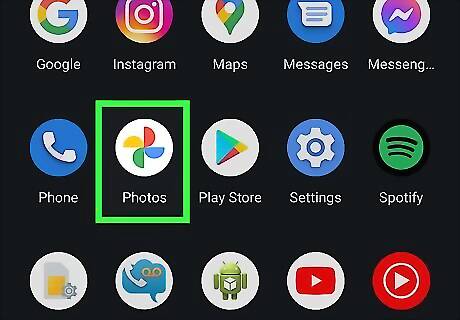
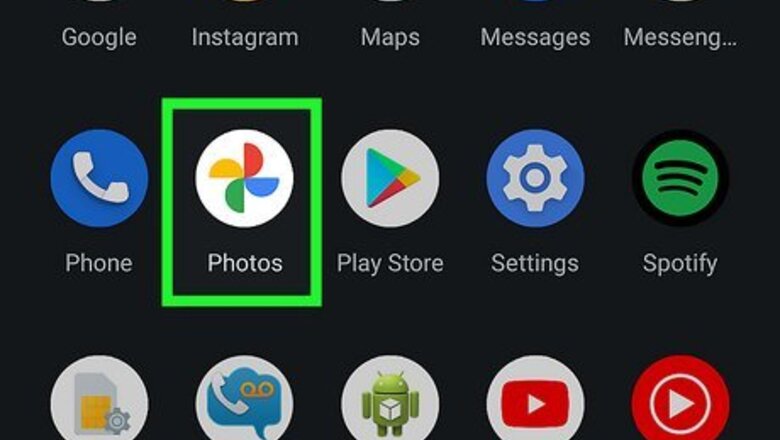
Open Google Photos. This app looks like a multi-colored pinwheel. You can find it on one of your home screens, in the app drawer, or by searching.
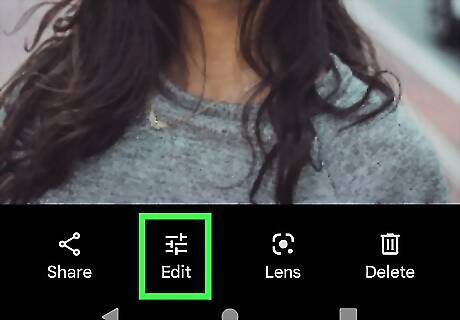
Tap Edit. This button is at the bottom of your screen with a filter icon. If you see a multicolored "1" in the corner of a thumbnail, you'll need a Google One subscription to access it.
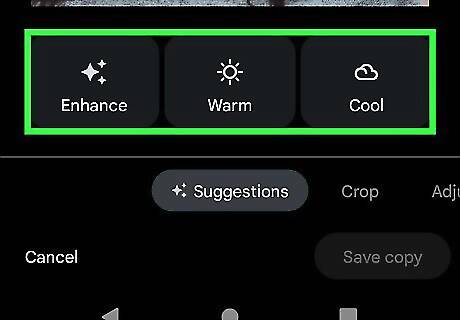
Tap through the suggested filters. The one that's applied to your photo will highlight blue. The Suggested filters are displayed immediately by default once you tap Edit. If you don't see the suggested filters, tap Suggested near the bottom of your screen.
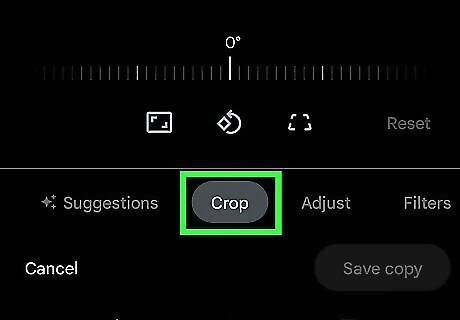
Tap Crop. It's next to Suggestions near the bottom of your screen and will allow you to crop, tilt, or rotate your photo. Tap Done when you adjust the setting to your liking.
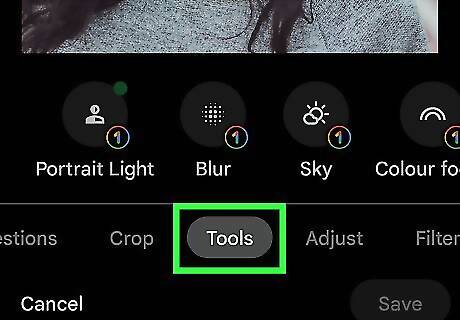
Tap Tools. The different tools available to you here depend on your phone, but you may have the option to edit Portrait light, Blur, Sky, and Color focus. Each of these adds a little artistry to your photos, but if you don't have one, you may be able to achieve a similar effect by adjusting other settings. Portrait light adjusts the brightness and position of the light on portraits of people. Blur adjusts the background blur. Sky allows you to pick from different sky pallets and adjust the color/contrast of the sky. Color focus lets you desaturate the background but keep color in the foreground, to add a dramatic effect. Tap Done when you adjust the setting to your liking.
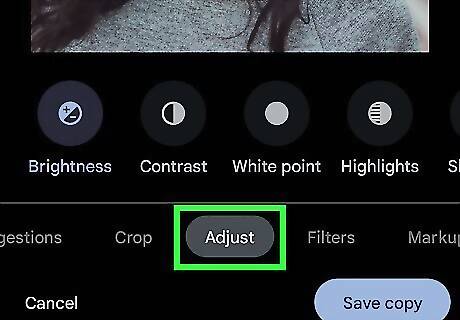
Tap Adjust. Depending on your phone, you may be able to adjust Depth, Brightness, Contrast, White point, Black point, Highlights, Shadows, Saturation, Warmth, Tint, Skin tone, Blue tone, Pop, Sharpen, Denoise, Vignette, and HDR. The icon with the text will change blue to indicate that the default settings have been changed within that adjustment tool. Depth allows you to change the depth of the picture and blur out other areas that aren't in focus. Brightness, Contrast, White point, Black point, Highlights, and Shadows all allow you to alter light settings that can increase or decrease how dramatic a photo looks. Saturation, Warmth, and Tint are settings for how much color you want to pop out in your photo. Skin tone lets you adjust the saturation of skin-colored tones. Blue tone changes the saturation of blue tones, like water or the sky. Pop, Sharpen, and Denoise allow you to increase or decrease the outlines of objects in your photo, to make them clearer or harder to see. Vignette lets you reduce the brightness around the edges of the entire photo, similar to an older photo appearance. HDR allows you to enhance the brightness and contrast of the entire image for a more balanced look. Tap Done when you adjust the setting to your liking.
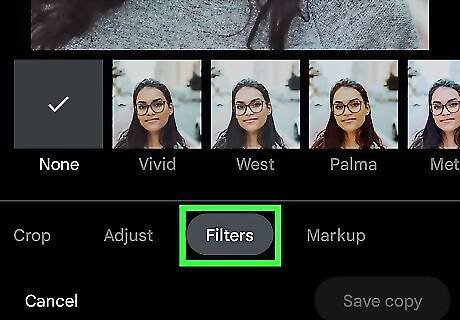
Tap Filters. Tap a filter to see your photo with those settings, then tap it again to change the strength of that filter. Finally, tap Done to save your changes and continue.
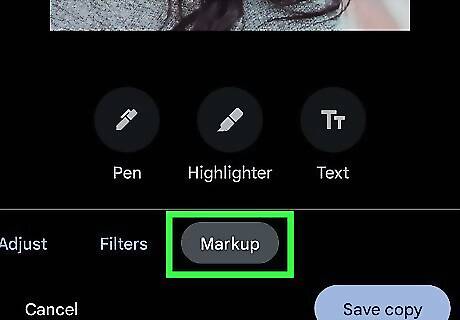
Tap Markup. This area lets you draw, highlight, or add text to your photo. Tap Done when you adjust the setting to your liking.
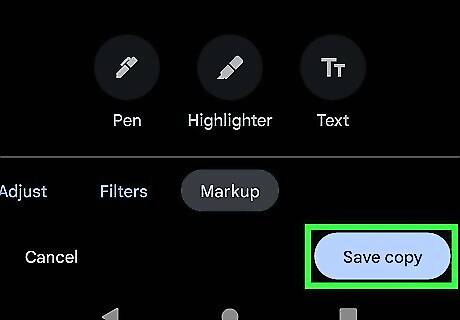
Tap Save. Tapping this will save your edits. For more editing tools, tap More to see other apps that you can download and use to further edit your photo.
Using Photos for iPhone or iPad
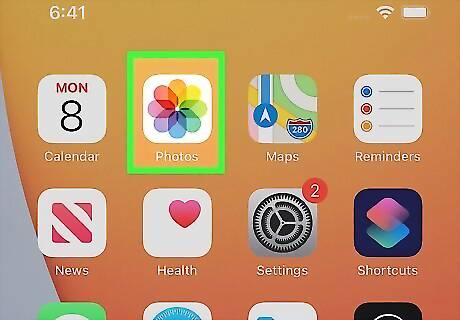
Open Photos. This app icon looks like a multicolored flower that you'll find on one of your home screens.
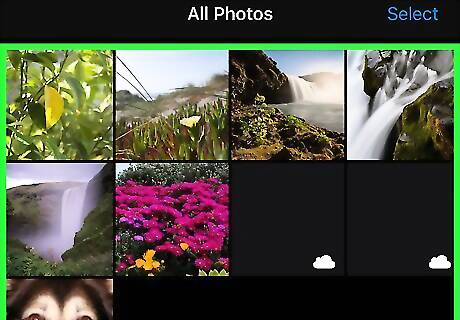
Tap the photo you want to edit. It will open in a full-screen view.
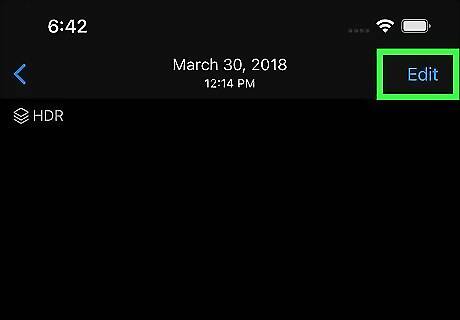
Tap Edit. It's in the top right corner of your screen.
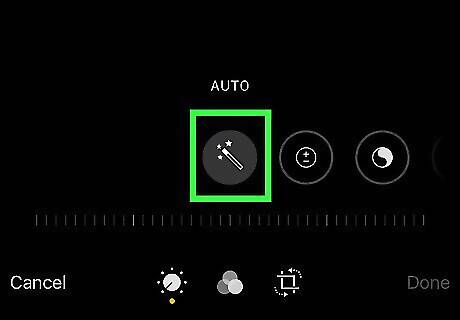
Tap iPhone Wand Button. You'll see this wand icon below the preview of your photo. After you tap this icon, your iPhone or iPad will try to automatically enhance your photo.
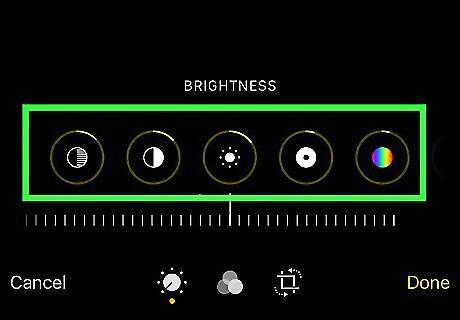
Swipe through the icons below your photo preview and edit as needed. These will change settings for your photo's exposure, brilliance, and highlights. After you tap an icon, drag the slider left or right to increase or decrease the effects. Brightness allows you to alter light settings that can increase or decrease how dramatic a photo looks. Highlights allows you to change how much detail you can see in the dark and light spaces of the photo.
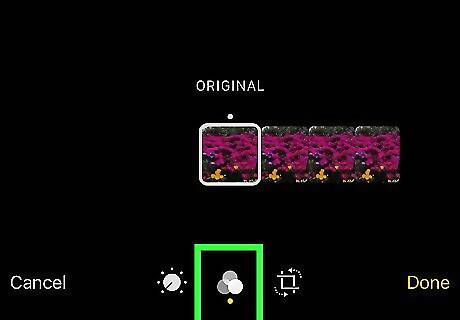
Tap iPhone Filter Button. This three-circles icon is centered at the bottom of your screen and will show you the different filters you can apply to your photo.
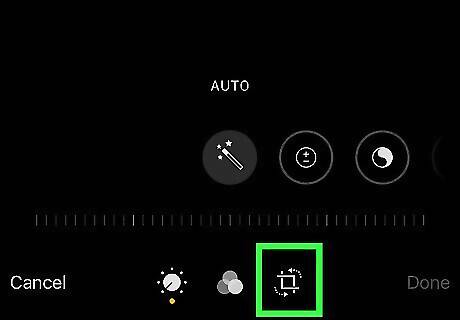
Tap iPhone Photo Crop Button. You'll see this crop icon near the lower right corner of your screen. This will let you crop, rotate, and flip your image.
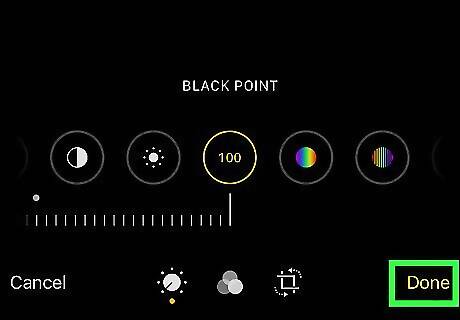
Tap Done. This will save your edits. If you don't like the changes you've made, you can tap Revert to undo all your edits.
Using Snapseed on Mobile

Download an app that edits JPG images. There are plenty of free editing applications available in the Google Play Store or App Store, including Snapseed, PicsArt, VSCO, and Adobe Photoshop Express (which has a limited amount of free features).
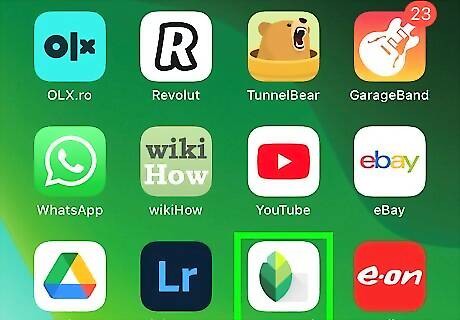
Open the photo editing app. After you download and install a photo editing app from the App Store or Google Play Store, tap the app on your Home screen or apps menu to open the app. For some apps, you may need to permit it to access your phone or tablet's storage before continuing.

Open your JPG image. Most of these apps should have a clearly marked + for you to tap and access your camera roll. Once you open your camera roll, tap your JPG image to open it in the photo editor.

Edit the JPG image as much as you'd like. Since each app usually has a different setup or slightly different ways to do things, your best bet is to tap around the app and explore the variety of menus it offers. While most of the basic editing tools are free to use, any feature you see with either a lock icon or a dollar sign on it means you'll have to pay to unlock it. Cropping a photo is a good way to add more focus on the subject in the image by cutting out some background. The crop tool usually has an icon that resembles two right angles forming a square. To crop an image, select the crop tool and then drag the corners of the image inward so that the light part of the image is centered around the subject in the image. Then tap the icon that confirms the changes you made. Using the Snapseed app, you'll find this and many other editing features under the Tools tab. Some apps allow you to adjust the saturation, or intensity of color, in a photo. Increasing the saturation of a photo can make the colors pop and make the photo more eye-catching. Too much saturation, though, can make the photo look harsh and almost cartoon-like. You can adjust the saturation to highlight certain areas of an image, so use the sliders available to increase or decrease the saturation levels. In photography, exposure refers to the amount of light that falls on a photo. If the photo is too dark, then you might need to increase the exposure. If you want the photo darker, then lower the exposure. Drag the available sliders to increase or decrease the exposure levels.
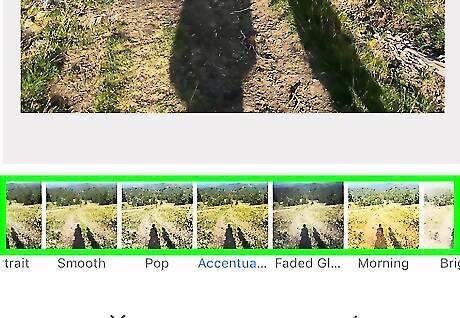
Test the filters and lenses (instead of adjusting everything manually). Many of the photo editing apps available have a variety of filters or lenses to choose from, which essentially do all of the editing for you. Look for tabs or icons at the bottom or top of the photo preview to see what adjustments you can make with the app you are using. Most photo editing apps display filters as thumbnail previews at the bottom of the screen. Tap a thumbnail image to see a preview of how it will affect your image. Look for slider bars or an icon with slider bars that you can use to adjust the intensity of the filter. In Snapseed, these are located in the Looks tab.
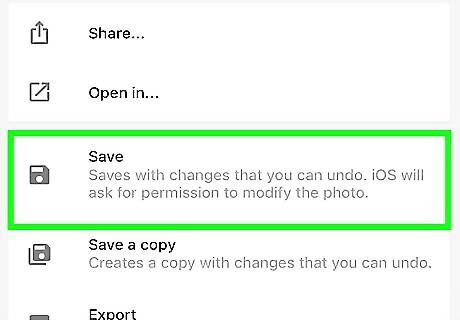
Save your work. Tap the checkmark or Done button to save your work. In Snapseed, you can also tap Export and share your edited JPG image with others.
Using Software for Computers (like GIMP)
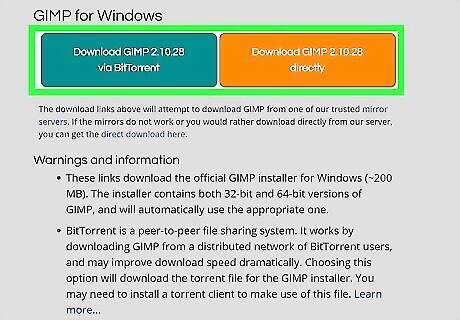
Get photo editing software. You can do basic edits with programs like MS Paint or Photos (Windows only) and Photos (Mac only), but if you want to make your photos look amazing, you should get a program specifically designed for serious editing. Adobe Photoshop is the industry standard for professional photo editing, but you don't need to pay for an Adobe subscription to do professional photo editing. GIMP is a free and open-source photo editing program that has many of the same tools as Photoshop and can be downloaded for free.
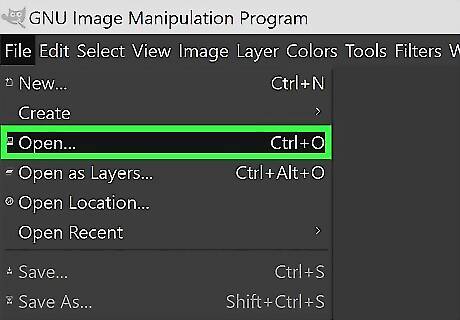
Open your JPG image in your editing software, like GIMP. If the software doesn't offer an Import or Open button clearly, you can always go to File > Open. This should lead you to your file manager where you can browse for and open your JPG image.
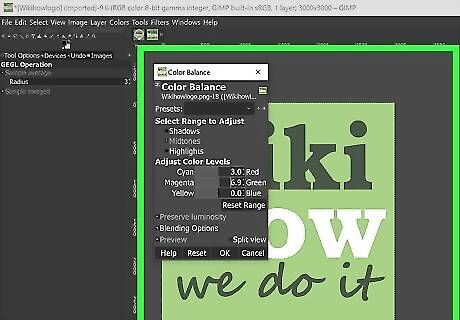
Edit it as much as you'd like. Since each software has different menu setups and a different interface, your best bet is to click around the menus to familiarize yourself with that software. Cropping a photo is a good way to add more focus on the subject in the image by cutting out some background. The crop tool usually has an icon that resembles two right angles forming a square. To crop an image, select the crop tool and then drag the corners of the image inward so that the light part of the image is centered around the subject in the image. Then click the icon that confirms the changes you made. If you want to resize the image instead of cropping it, the resize feature is usually in the Edit menu and will let you adjust the overall size of the image. Increasing the saturation of a photo can make the colors pop and make the photo more eye-catching. Too much saturation, however, can make the photo look harsh and almost cartoon-like. You can adjust the saturation to highlight certain areas of an image, so use the sliders available to increase or decrease the saturation levels. In photography, exposure refers to the amount of light that falls on a photo. If the photo is too dark, then you might need to increase the exposure. If you want the photo darker, then lower the exposure. Drag the available sliders to increase or decrease the exposure levels.
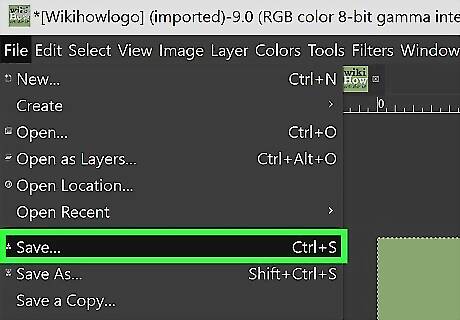
Save your work. You can either press a keyboard shortcut Ctrl/Cmd + S or you can click File > Save/Save As.





Comments
0 comment