views
Connecting the Digital Multimeter
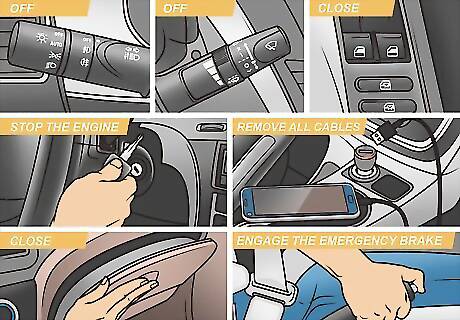
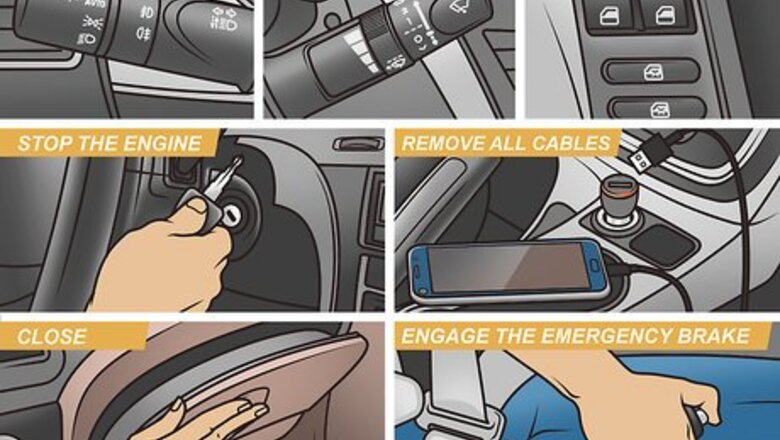
Unplug all devices from your vehicle and make sure no electrical components are on. Turn off the radio, heat or A/C, lights, windshield wipers, etc. and close your glovebox and lighted mirror covers. Engage the emergency brake, turn your vehicle off, and remove the key from the ignition if you haven't already. Then, close all of the doors and the trunk or back hatch so that none of the circuits are activated. Be sure to remove any cables that may be plugged into your vehicle, like a GPS unit or phone charger, as well.Tip: In some cases, you may need to input a security code when you turn on the vehicle after disconnecting the battery, so check your owner’s manual for the code before you get started.
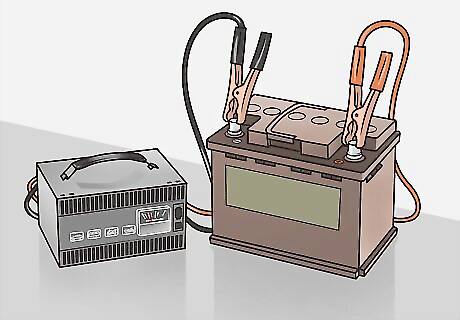
Charge your battery fully. In order to accurately detect the parasitic draw, you need to begin with a fully-charged battery. Pop the hood and locate your vehicle’s battery. Use a vehicle battery charger to charge the battery to 100%. Many car batteries are 12.6 volts. You can check the power with a multimeter to ensure the battery is fully charged. If your battery is old or damaged or isn’t reading 12.6 volts when fully charged, you may want to replace it before moving on.
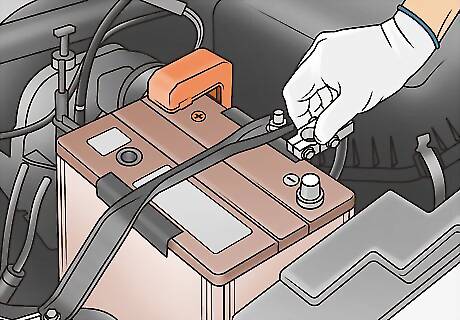
Remove the negative battery cable from the negative battery terminal. Find the negative cable, which will be marked with a minus sign (-) and may have a black cover over it. Remove the cover, if applicable, and use a wrench to unbolt the negative cable from the terminal. Be sure to use the negative, not the positive, cable to test for the draw to prevent electrical shorts! Generally, a 10-mm open-ended wrench is the tool you'll need to remove the cable.
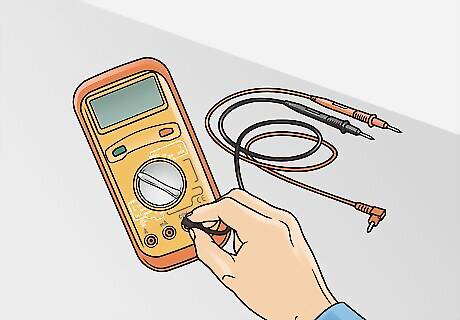
Set up a digital multimeter. The multimeter has both a black wire and a red wire attached to it as well as several different input slots. Connect the black wire to the "com" (common ground) input and plug the red wire into the highest amp input (usually 20A). Set the dial on the multimeter to measure amps. Choose a digital meter than can read up to 20 amps and down to 200 milliamps.
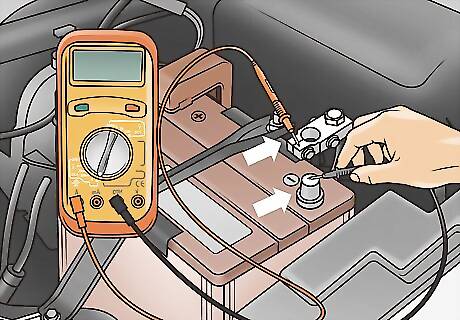
Attach the multimeter to the negative battery cable and terminal. Place the red lead through the metal circle at the end of the negative battery cable. Touch the black lead to the negative battery terminal. You can use plastic clamps to secure the leads in place so your hands are free and the meter continues to operate.
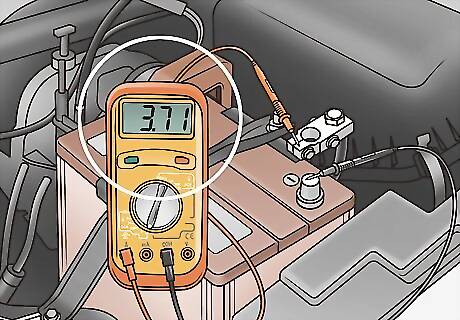
Note that you have a parasitic draw if the reading is more than 50 milliamps. There are a few things that constantly draw power in a vehicle, such as the clock on the radio, so it’s normal to have a reading between 20 and 50 milliamps. If your reading is higher than that, it means there’s a draw and something is using too much power.
Checking the Fuses
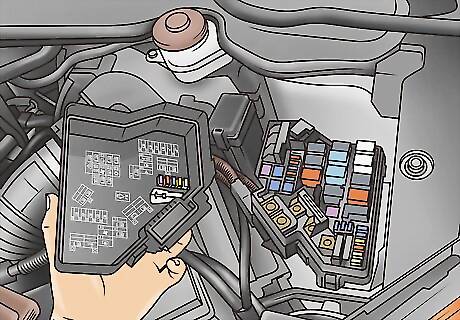
Pull out the fuses one at a time while watching the multimeter reading. Locate the fuse box under the hood. Use a fuse puller to remove the fuses, starting with the ones with the smallest amp ratings and working toward the ones with the highest amp ratings. After you pull a fuse, check the multimeter to see if the reading changes. If it doesn’t, replace the fuse and move onto the next one. Once you’ve worked through all of the fuses in the fuse box under the hood, check the fuses in the fuse box(es) under the dash. It’s best if you have a friend help you with this so one person can pull fuses while the other person watches the reading on the multimeter. If you don’t have anyone to help, prop the meter against the windshield so you can read it from inside the vehicle.Warning: Disconnect the multimeter before you open the door to check the fuses under the dash. Disable the door switch by clamping a piece of scrap wood over it so it remains depressed. Then, reconnect the multimeter.
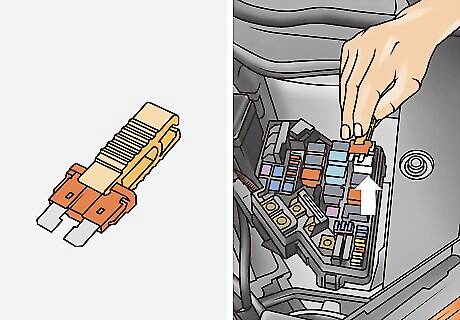
Stop when pulling a fuse makes the reading drop significantly. Removing a fuse may cause the multimeter reading to drop a few milliamps, which is normal. What you’re looking for is a significant drop, such as if the reading goes from 3.03 amps to 0.03 amps. When this happens, you’ve found the electrical circuit that’s creating the parasitic draw!
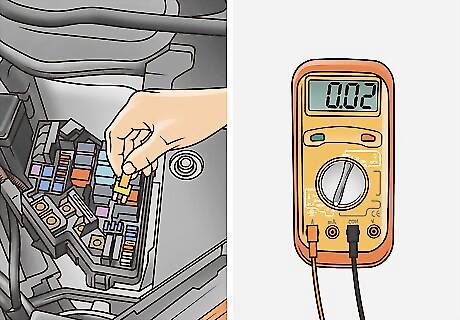
Find out what’s running on the affected circuit. Consult the chart on the fuse box and/or the owners' manual to find out what components are powered by the fuse that’s causing the drain. You can also check the wiring diagram for the particular circuit to help you narrow down the problem. Usually, you can find digital copies of the manual and wiring diagrams online.
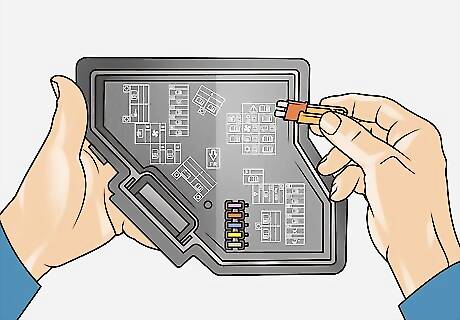
Check each device or component on that circuit. Replace the fuse and disconnect each lamp, heater, or electrical device one at a time. Flip all of the switches that correspond to the components as well. Watch for the reading on the multimeter to drop to find out which component is causing the drain. For instance, say the offending fuse controls the power antenna as well as the radio. Unplug the radio and see if the draw goes away. If it doesn’t, unplug the antenna and watch for the reading on the multimeter to drop.
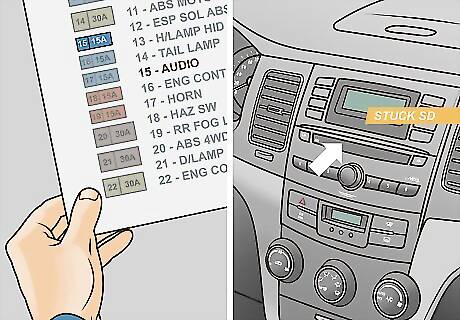
Repair the component causing the draw, disconnect the multimeter, and reconnect the battery. The repair process will vary widely depending on what the problem is, so if you’re not sure how to fix the component, hire a certified mechanic to make the repair or replacement. If you can make the repair yourself, check it by ensuring the reading on the multimeter is less than 50 milliamps. Once you’re done, disconnect the multimeter and reconnect the battery cable. You may be able to simply flip a switch into the "off" position to eliminate the draw, or you might be facing a more complex problem, such as an issue with a wiring harness.




Comments
0 comment