views
Installing the Widget
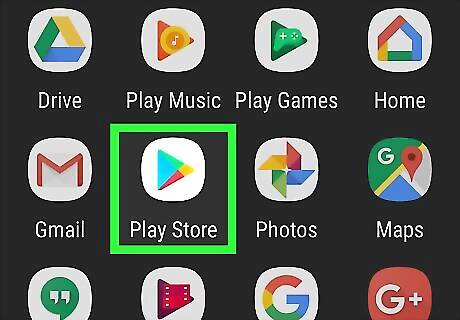
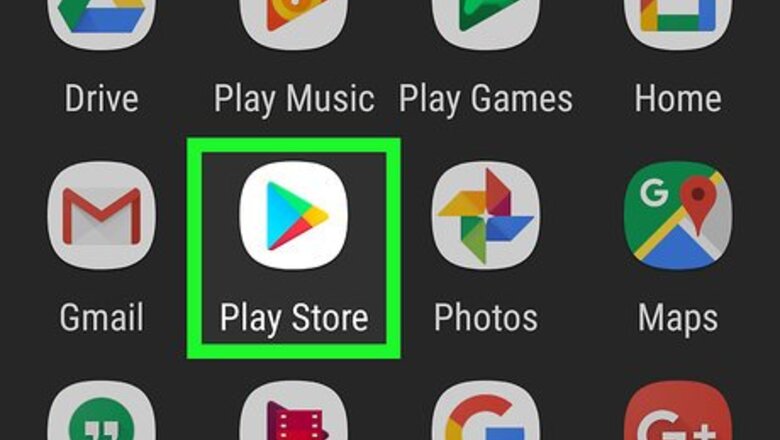
Open the Play Store. Tap on the Play Store app icon on your home screen or application drawer. It is the icon with the white shopping bag with the play icon in the middle.
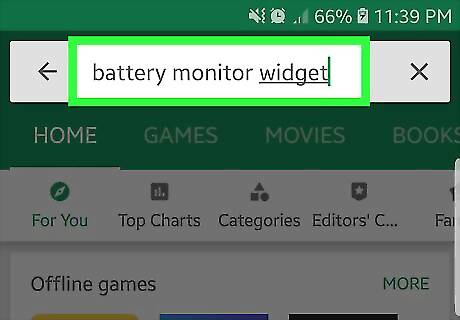
Search for Battery Monitor Widget. Tap the Magnifying glass icon at the upper right corner to show the search bar. Then, type “Battery Monitor Widget” without the quotes and tap on the magnifying glass icon again to search.
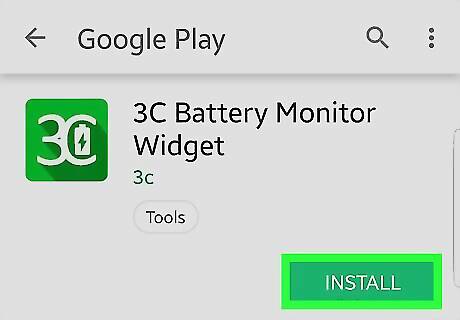
Install the app. The results should show the app name, made by the developer 3c. At the right of the app name, tap on the three vertical dots and tap “Install” when it comes up.
Accept the permission. The permissions window should appear. Tap on “Accept” to begin downloading and installing.
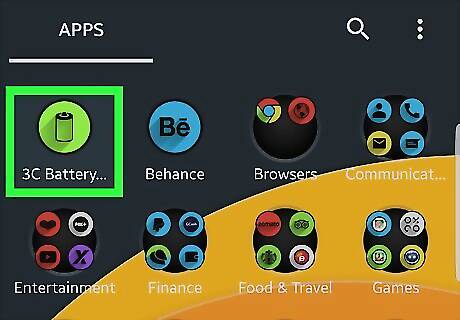
Open the app. Once installed, open Battery Monitor Widget in the app drawer, or on your home screen with a tap.
Monitoring the Charging Rate
Charge your Android device. Grab your device charger and plug it into a vacant wall outlet. Use the smaller end to plug into the device’s charging port.
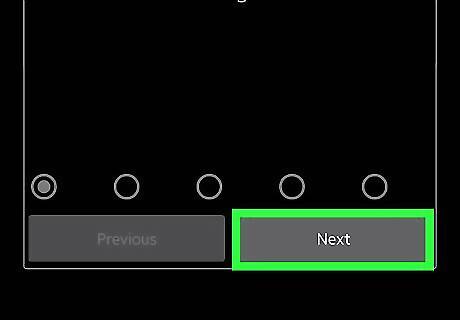
Go through the setup wizard with the Battery Monitor Widget open. The app automatically detects most of the essential parameters, so just keep hitting “Next” on the wizard window.
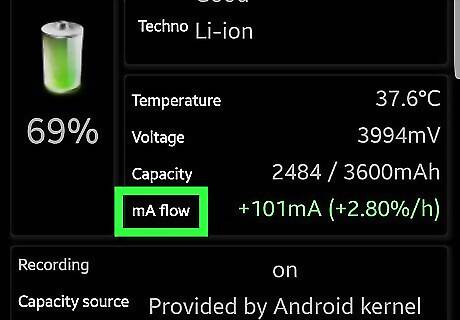
Look at the line that says “mA flow” on the main screen. This is the data you need to look at.
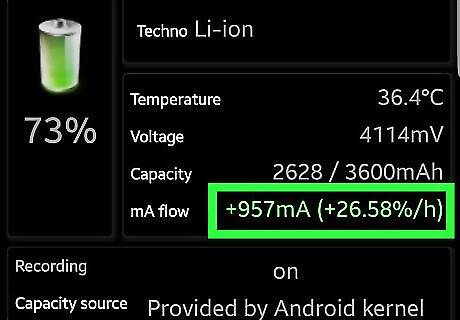
Leave the device charging for about 10 minutes, and you will get a reading. The app determines the charging rate per hour for your device. At the right of mA flow, you will see that the there is a mA reading, and a percentage reading at the right. This is the percentage your battery currently charges per hour.


Comments
0 comment