views
Sanding Your Wood
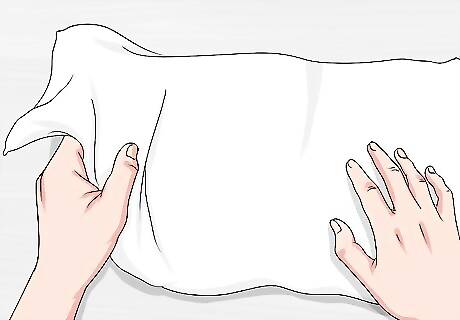
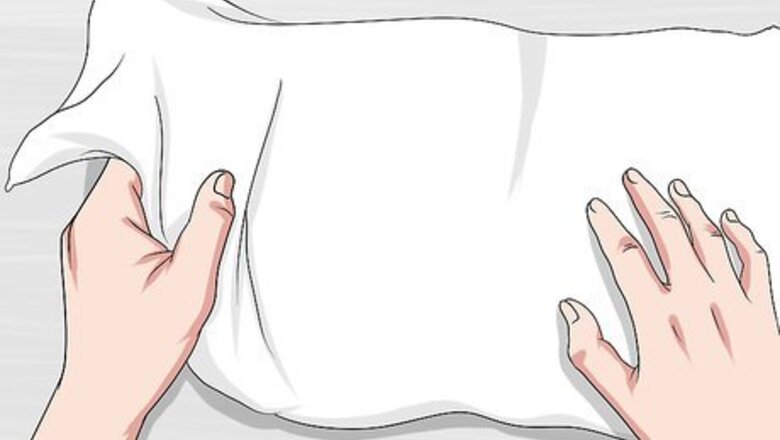
Cover your work surface with a drop cloth or piece of cardboard. Use a painter’s drop cloth or a piece of cardboard large enough to set your piece of wood on. Make sure your entire work area is covered so you don’t accidentally spill any oil or stain. Set the piece of maple you want to finish on top of the cloth before you start working. Be sure to set up in a well-ventilated area since the oil or stain could create harmful fumes.
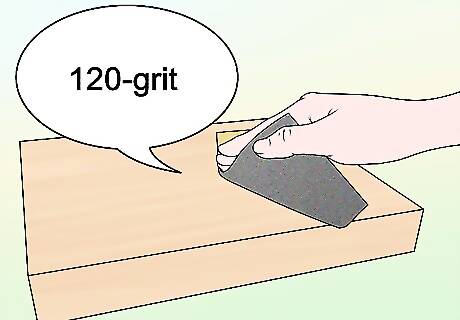
Use 120-grit sandpaper to smooth out your wood. Follow the wood grain while you’re sanding so you don’t add any additional marks to the wood. Focus on any areas where the wood feels rough or has burrs sticking out. Keep sanding across the entire surface until it feels smooth to the touch. You can use an electric sander if you want, but you should still sand by hand afterward to make sure there aren’t any marks on the wood.
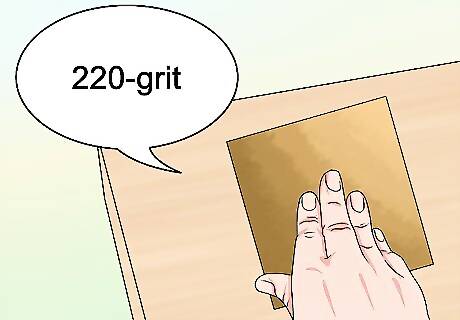
Go over your maple again with 220-grit sandpaper. Once you’re finished using 120-grit sandpaper, go over the wood again with a sheet of 220-grit paper. This will help smooth the wood out more and create fewer abrasions on the surface. Work along the wood grain in short back and forth strokes to smooth it out completely.
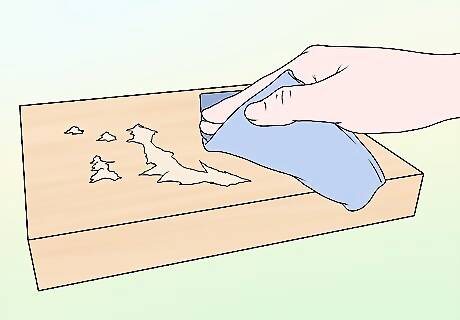
Wipe any sawdust off of the wood. Use a clean shop cloth to clean any sawdust off of the wood. Make sure the cloth you’re using is lint-free or else it could leave residue on the wood that will show through the finish. Once the sawdust is removed, feel the surface of the wood to see if there are any more areas that are rough. Keep a vacuum nearby so you can suck up the sawdust as you work.Tip: You may also use an air compressor to blow the sawdust off of the maple.
Working with Linseed Oil
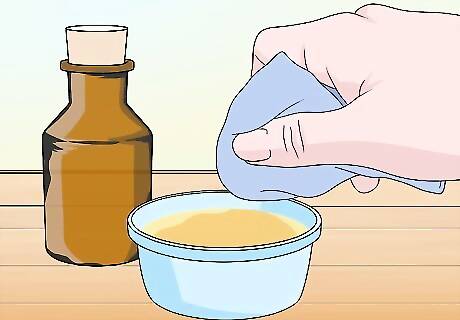
Dip the end of a rag or brush into linseed or tung oil. Pour the oil into a small bowl that you can dip your tools into easily. Dip the corner of a rag into the oil and let it soak into the fabric. If you’re using a natural bristle brush, only dip the ends of the bristles into the oil so you don’t oversaturate them. You can buy tung or linseed oil from your local hardware store. Wear gloves while working with the oil to protect your hands from any chemicals. Make sure the rags you use are lint-free so they don’t leave any residue on the maple.Tip: You can also try using Dutch oil if you want to add color to your maple. Dutch oil also contains varnish to help protect your wood.
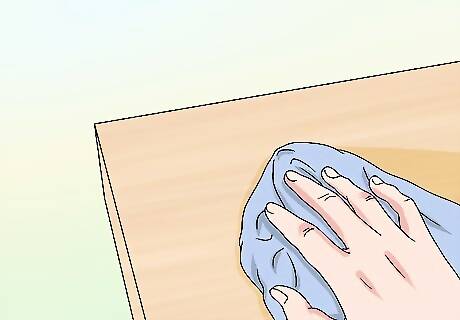
Rub the oil onto your maple following the grain. Start from the center of the wood and work toward the edges so it doesn’t drip down the sides as much. Follow the direction of the wood grain while you spread the oil over the maple. After you’ve coated the entire piece of maple evenly, leave the oil to absorb into the wood. Reapply more oil to your brush or rag if you need to. Aim to use long back and forth strokes so the oil doesn’t pool up and create blotches on your wood.
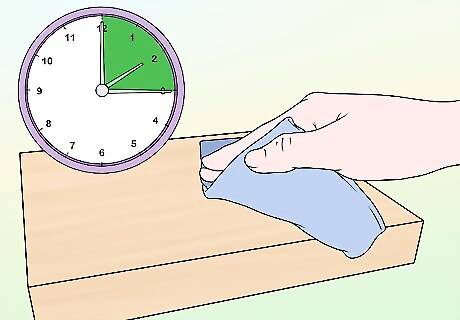
Wipe the oil off after 10-15 minutes. Let the oil absorb into the wood so the grain changes color. Once 10-15 passes, use a clean shop cloth to remove any oil that’s still sitting on the wood surface. Don’t apply too much pressure while you wipe or you could create blotches in your wood. The longer you leave the oil on the wood, the more color it will absorb.
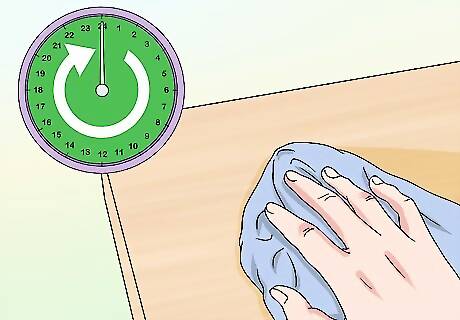
Wait 24 hours before applying a second coat of oil. Put your piece of maple aside and leave it alone for about a day. After a full day passes, look at your wood to see if you’re happy with the color. If you like how it looks, you can leave it. Otherwise, you can apply a second coat of oil to make the wood grain more pronounced. You can add as many or as few coats of oil as you want to the maple.
Using Wood Stain
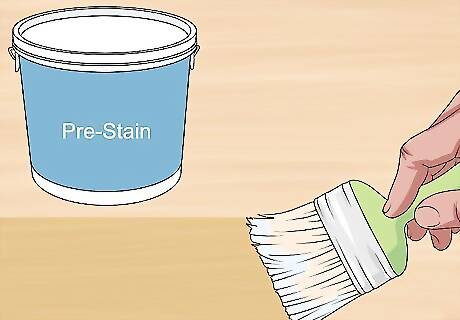
Apply a pre-stain to the wood to help the wood absorb the color. Since maple is a hardwood, the stain could be blotchy or not absorb well unless it’s pretreated. Use a natural bristle brush to apply a thin layer of pre-stain to your piece. Leave the pre-stain to soak into the wood for about 10-15 minutes before wiping off any excess with a clean shop cloth. Pre-stain is available from your local hardware store. You can start staining immediately after you wipe off the pre-stain.
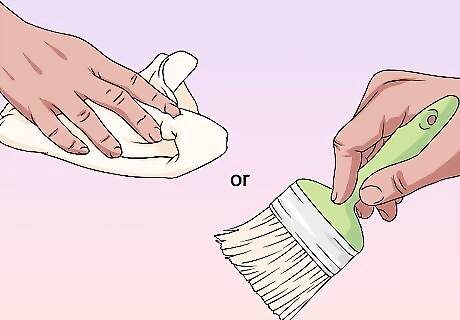
Put the stain on with a natural bristle brush or a rag. Stir the stain before using it to mix in any pigment that settled in the bottom of the can. Dip the end of a rag or bristle brush into the stain and wipe it onto the wood. Follow the direction of the wood grain so the stain can easily absorb into it. Work from the center of the piece toward the outer edges to reduce how much it drips over the side. Wood stain comes in many different colors. Choose a shade you like or one that matches other wood pieces in the room you’re using it. Wear gloves if you don’t want to stain your hands while you’re working. You can buy wood stain from your local hardware store.
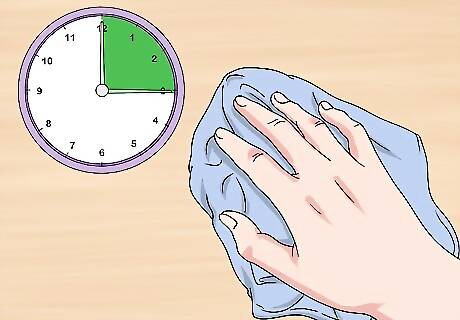
Clean off any stain the wood doesn’t absorb after 5-15 minutes. You can leave the stain on for up to 15 minutes to darken your maple. Use a clean shop cloth to wipe the stain off of the wood along the wood grain. If you notice any areas on your wood that aren’t stained, rub any excess stain over them.Tip: The color of the wood will get darker the longer you keep the stain on. If you want your wood to stay a lighter color, wipe the stain off sooner.
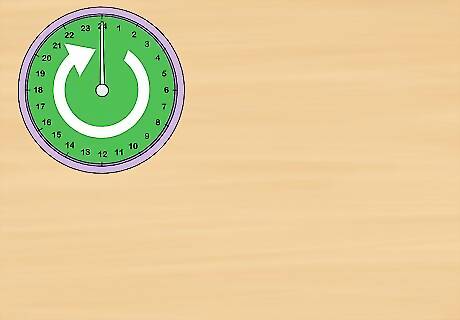
Allow the stain to dry for 4 hours. Set the piece of stained maple aside and leave it to dry in a cool place. Check the stain after 4 hours to see if it feels tacky when you touch it. If it still feels a little sticky, let it dry for longer. Otherwise, the stain is set and you can continue working. The stain will take longer to dry in more humid climates.
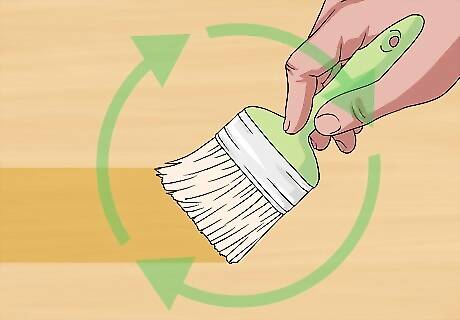
Apply another coat of stain if you want the wood darker. Once the first coat of stain is dry, you may choose to put on another layer to make the maple even darker. Apply the stain with a brush or rag along the wood grain and let it set for up to 15 minutes. When you’re happy with the color, wipe the stain off with a shop cloth and allow it to dry again. You don’t need to apply another layer of stain if you’re happy with the color of your wood.
Applying a Protective Clear Coat
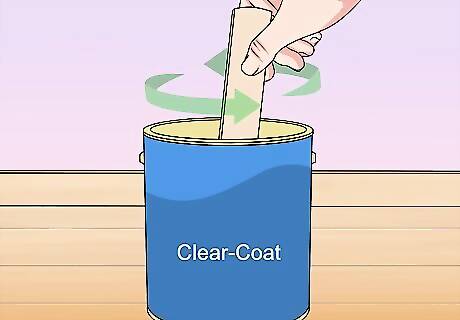
Stir the polyurethane clear coat with a stir stick. Open the can of clear coat and use a stir stick to mix it up. Be sure not to shake the can since it could form bubbles and ruin how the clear coat applies to your piece of maple. Keep stirring the clear coat until it’s thoroughly mixed. You can buy polyurethane clear coat from your local hardware store.
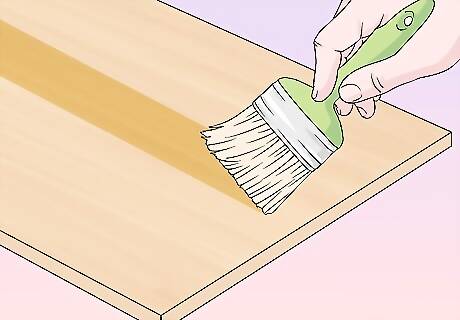
Paint a thin layer of polyurethane onto your maple. Dip a paintbrush into the polyurethane so just the tips of the bristles are coated. Start from the center of your piece of maple and follow the direction of the wood grain with your brush strokes. Keep working toward the edges of the piece so the clear coat doesn’t drip over the sides. During the last stroke, drag the brush from one side to the other to smooth it out. Be sure to work in a well-ventilated area while you apply the polyurethane since it may produce harmful fumes.
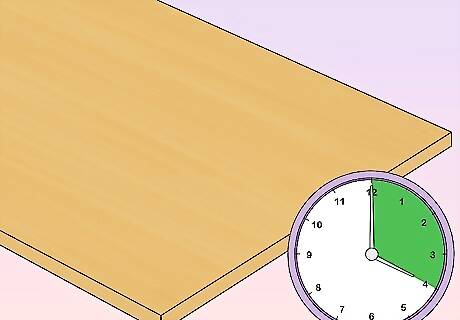
Let the polyurethane dry for at least 4 hours. Once you’re finished with the first layer of polyurethane, set it aside in a dry place for at least 4 hours so it can dry. After 4 hours passes, touch the surface lightly to see if it feels sticky. If it does, then allow it to dry until it feels smooth. The polyurethane may take longer to dry if it’s cool or humid.
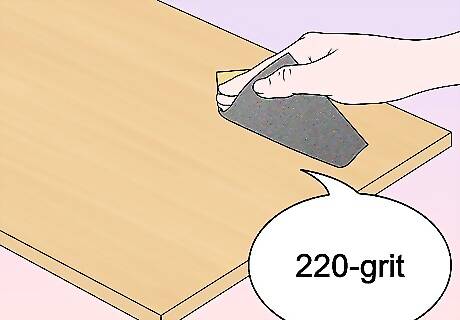
Sand the finish with 220-grit sandpaper. Apply light pressure with 220-grit sandpaper to smooth the surface of the polyurethane. Work along with the direction of the wood grain so you don’t leave any noticeable abrasions. After you sand it, wipe off any dust with a clean cloth. Don’t use lower-grit sandpaper since it will scratch and damage the finish.
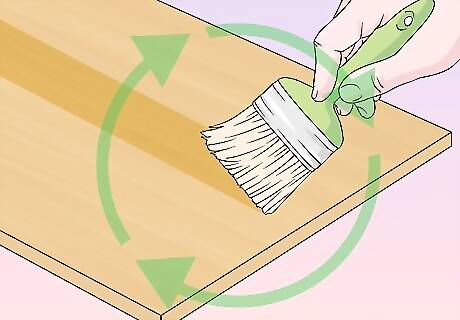
Apply a second coat of your finish and let it dry. Put another thin coat of the polyurethane on top of the first coat. Make sure you still follow the wood grain and work out from the center of the piece. When the second coat is applied, leave it for another 4 hours so it can harden. You can apply as many coats of polyurethane as you want to make your maple glossy. Just be sure to sand in between each layer.Warning: Glossy wood will show more damage than wood with a matte finish.


Comments
0 comment