views
Getting a Great Tan Outdoors
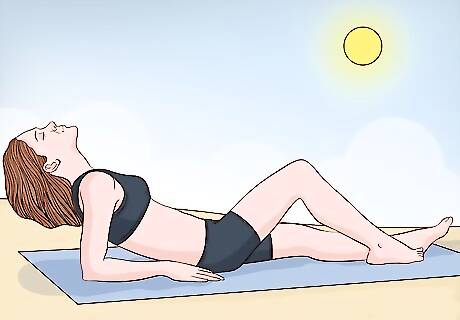
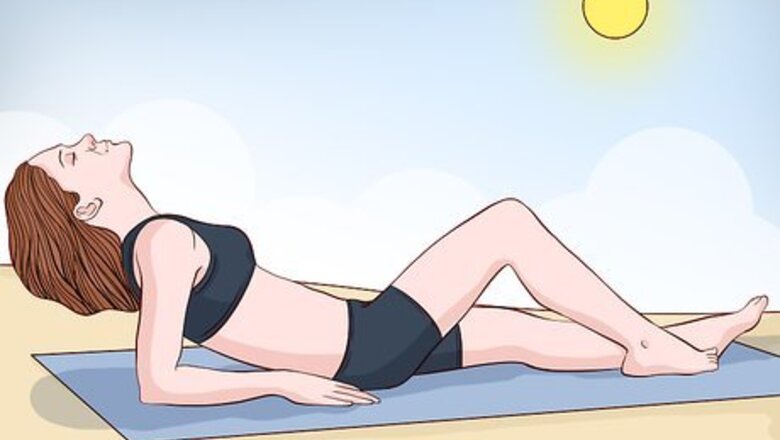
Increase your sun exposure gradually. First and foremost, when you begin laying out in the sun, only get 1-2 hours of exposure at a time. Skip a day or two before laying out again. Melanin, the pigment in your body that colors your skin, is activated when UVA and UVB rays from the sun hit your skin. When this happens, more melanin is produced as a form of sun block, or protection from sun damage. In this process your skin gets darker, producing a tan. The melanin in your body is not in unlimited supply, however, and takes a couple of days to reproduce enough to protect you from getting burned. So, when developing your base tan, take it slowly, and don’t tan every day. Getting just one blistering sunburn while growing up doubles a person's chances of getting melanoma, the deadliest form of skin cancer. And a person's risk of melanoma also doubles by getting more than five normal sunburns throughout their life. Typically, everyone reaches a plateau in his or her tanning. They simply don’t get any darker.To maintain your tan, continue to regularly lay out and follow the steps discussed below.
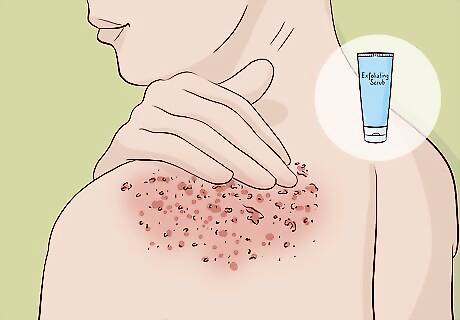
Exfoliate regularly while tanning. Exfoliating will remove dead skin, which blocks the sun’s rays. It also reduces your skin’s dryness, and dry skin doesn’t soak up the sun well. When exfoliating, use a loofah, a sponge or a fine-grade exfoliating bar of soap and scrub lightly all over your body while in the shower or bath. Apply a moisturizer after you dry off. Don’t use harsh and abrasive exfoliators, or you’ll end up rubbing off some of your tan or end up with splotches on your body. Don’t exfoliate after getting out of the sun. If you shower after going to the pool, for instance, exfoliate the next morning when you bathe. And don’t exfoliate every day. Twice a week is sufficient. Much more will strip away natural oils, leaving your skin overly dry.
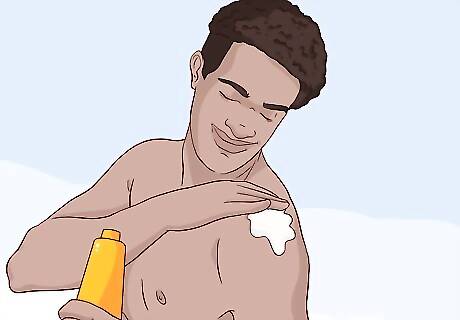
Use sunscreen. Applying sunscreen before stretching out on your beach towel might sound counterproductive, but using sunscreen will let you tan more gradually and, therefore, make your tan last longer. About 20-30 minutes before you get in the sun, apply a sunscreen of SPF 15-45 when you first start tanning. The SPF you use depends on your skin type, or how easily you burn. Once you get a base tan, you can reduce your SPF but not below 10. If you plan to get in the water, make sure you use a water-proof sunscreen, or reapply it after you get out. Using sunscreen is also beneficial because it will keep you from burning, which can cause serious damage to your skin (not to mention cancer) and almost always results in peeling and flaking. If this happens, you have to start all over again. Don’t forget to use a lip balm with sunscreen, too.

Protect your eyes. When tanning outside, it’s important to protect your eyes by wearing a hat or sunglasses with UV protection. Your eyes can get burned, too, causing serious and lasting damage.
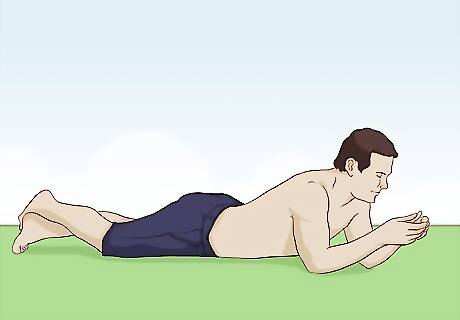
Switch positions when laying out. Flip from your front to your back regularly so you get an even tan. When tanning your back, lay your arms palm-side up and vice versa. If it’s the beginning of the summer and you’re just starting to tan, you won’t (or shouldn’t) be out in the sun for more than two hours at a time. Remember, a gradual tan is a lasting tan. So, switch sides every 15-30 minutes. You'll also want to raise your arms above your head off and on to tan the undersides of your arms and your armpits. If you start to feel drowsy, it’s time to get out of the sun. Or, if that’s not possible, get in the shade to avoid sunburn.
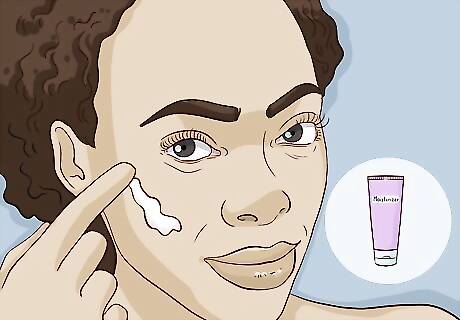
Moisturize at least once every day. Moisturizing your skin may be one of the most crucial elements of getting and extending the life of your tan because it keeps your skin from drying out, which is intensified by UV rays. Moisturize more than once per day, especially before you go to sleep and after showering. Apply a lighter moisturizer to the majority of your body during the day, and lather on a thick moisturizer before bed and on those body parts that move and bend a lot, such as your hands, elbows, ankles, knees and feet. Carry a smaller bottle with you to reapply to these “problem” areas frequently throughout the day. If you’re prone to acne on your face, use a moisturizer that is oil-free and says “noncomedogenic,” meaning it won’t clog your pores.

Stay hydrated. Here again, you want to avoid letting your skin become too dry so that it can absorb the sun’s rays. It also helps your body get rid of toxins, which will make your skin healthier and help your tan stick around longer. One way to do this is by staying hydrated from the inside. Drink plenty of fluids every day, and increase your water intake if you feel excessively thirsty or if your urine is a dark yellow in color. Regular moisturizing and drinking plenty of fluids is killing two birds with one stone when it comes to keeping your skin hydrated and tan-ready.

Increase your blood circulation. Finally, another trick to getting a great tan is to work out before you lay out. Doing so increases your blood circulation, which then stimulates melanin production. So instead of driving to the public pool, jog or run there before diving right in. There are also “tingle” tanning lotions you can apply before tanning that claim to bring more oxygen to the surface of the skin, thereby increasing circulation and exciting melanin to darken your tan.
Bronzing in a Tanning Bed

Choose a good tanning salon. Tanning salons offer a variety of packages, specials, prices, products and use a variety of tanning beds, making it difficult to know which salon to choose if you don’t have a personal recommendation. Here are a few things to look for when deciding. Ask for a detailed breakdown of their pricing before any specials, so you can see if you can afford their services when the special is no longer offered. Think about convenience factors, such as how close it is to your home or work, whether or not you have to schedule appointments or if your gym already has tanning beds. Ask if they use high-efficiency bulbs and how often they are changed. Ask if you can see the beds to get a look at how well maintained they appear. Look around – is everything spick and span? Do you see employees going in and out of the booths cleaning beds between customers? If the reception area is dirty, for instance, that’s probably not a good sign. Talk with the staff. Well-trained professionals should help you determine your skin type, which they’ll use to create a tanning schedule so you tan fairly quickly but without getting scorched.
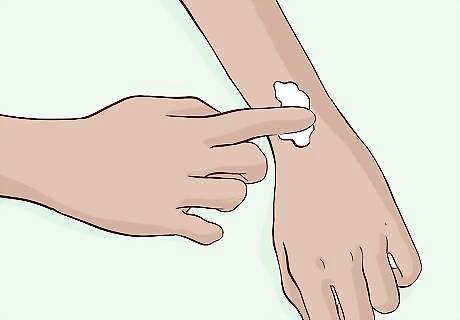
Decide how to build your base tan. Getting a base tan will occur with consistent and incremental increases in tanning sessions, tanning times and tanning bed levels. This will all be determined by the schedule you’ve created with the salon you’ve selected. A general rule of thumb is that at first you will only tan every 2-4 days for about 5 -7 minutes and then build from there. Don’t assume that if you have light skin you just need to tan longer. The likely result of doing this will be a bad burn.

Consider using special lotions. Salons will try to sell you all kinds of lotions designed to make you tan faster and darker, to make your tan last longer and so forth. Many of these lotions – accelerators, maximizers, bronzers, intensifiers – are quite expensive and reviews on how well they work are mixed. Go online and see what others have to say. If you decide to experiment, try one at a time. If you use more than one, and you find you’re getting the results you hoped to achieve, you won’t know which lotion was responsible. Trying one at a time, then, is the less expensive way to go. They can also often be purchased much less expensively online than in the salons. Wait to shower if you use a bronzing lotion. After you tan in a tanning bed, wait 3-4 hours before you take a shower if you use a bronzing lotion that you find is working for you. Also, it is a myth that showering after using a tanning bed will somehow wash away your tan. It won’t.
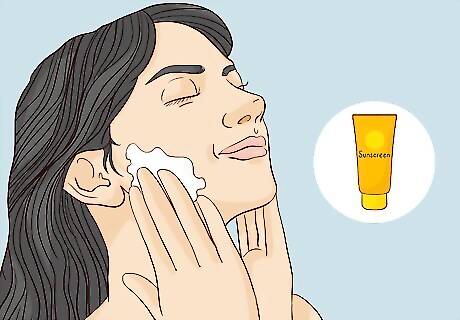
Wear sunscreen. Just as with tanning outside, tanning beds expose your skin to UV rays. If you decide to use a tanning lotion, see if it has SPF protection and a factor of at least 15. If not, get and apply one 20-30 minutes before you bed in the bed.
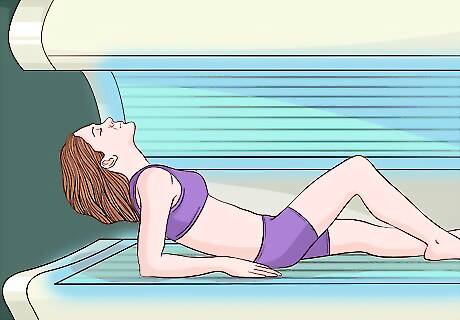
Decide what or what not to wear in the bed. Some people prefer to go nude, while others decide to wear the bathing suit they plan to wear in the summer. Either is fine. Using different bathing suits, however, will leave your tan uneven, and perhaps even with a variety of tan lines jig-jagging across your body. You will also want to wear the goggles they provide to protect your eyes, or purchase your own. Closing your eyes or putting a towel over them won’t protect them from UV rays, which can cause significant damage to your retinas. Also, to avoid raccoon eyes, move the goggles around on your eyes throughout each tanning session.
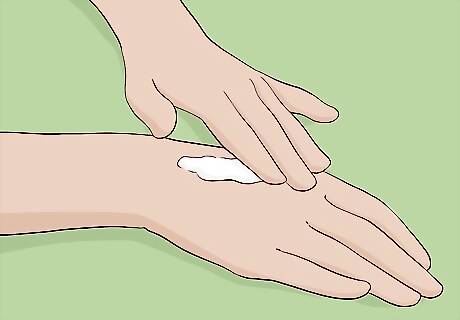
Prep your skin before tanning. Like tanning in the sun, always make sure you exfoliate prior to tanning in a tanning bed or booth. Moisturize after exfoliation as well.
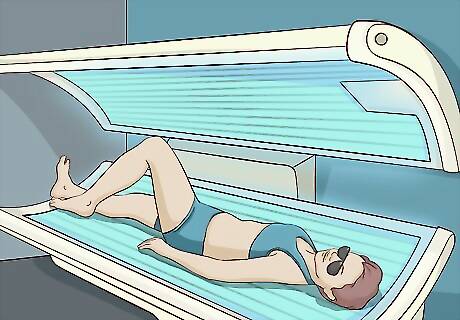
Move around in the bed. Just as you would when laying outside in the sun, you want to adjust your body so that all parts are being exposed to the light for about the same amount of time. In a tanning bed, you don’t have to flip from front to back because the lights are both above and below you, and to one degree or another around you. So twist in different directions occasionally. Think about the places where your body is bent (like in the crook of your arms or at the base of your neck), or where your skin is bunching up. If you don’t readjust often enough, this will create tanning wrinkles.

Maintain your base tan. Once your base tan is established, you will likely drop to tanning just 2 days per week. A good salon won’t try to convince you that you need more than that. Also, continue your regimen of exfoliating, moisturizing and drinking plenty of fluids.
Applying Self-Tanners Successfully
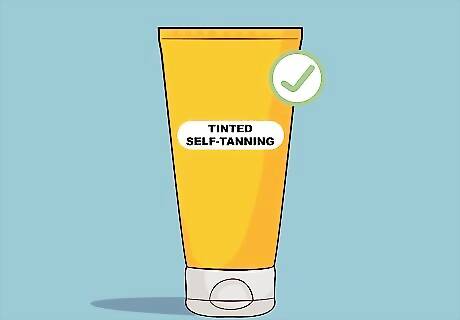
Choose a self-tanner. There are a variety of self-tanning gels, creams, lotions, mousses and sprays on the market from which to choose. You'll also need to select a self-tanner based upon its shade, which is dictated largely by a color additive called DHA (dihydroxyacetone). Choose one with your skin tone in mind, not the desired result. If you have a fairer complexion, go for a medium tone. If you have an olive complexion, go for a darker tone. Here are some more tips. The best way to select one initially is to go online and read reviews. Self-tanners that contain green pigments help offset the orange effect. Lotions are often best for beginners because they take longer to absorb, giving you more time to correct mistakes, while mousses and sprays dry faster so are best used by the more experienced. Gels spread easily and work well for people with normal to oily skin. Do a skin patch test first by applying some to your stomach, which is usually pale, and let it dry and set overnight. In the morning take a look to see if the color looks good on you.
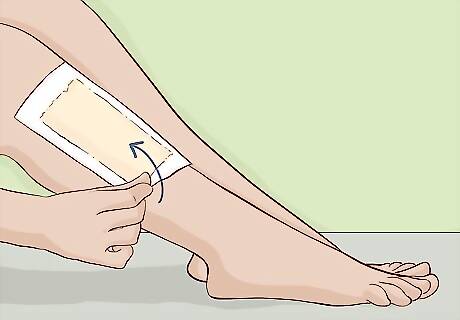
Prep your skin, eyebrows and hairline. You want to prepare your skin prior to applying the self-tanner you've chosen. So shave or wax, exfoliate from head to foot and make sure your skin is completely dry. The last part is critical. Also apply Vaseline to your eyebrows and as close to your hairline as possible so if you get the self-tanner on your eyebrows or hair neither will change color. If you wax, however, do so at least 24 hours before you put on the self-tanner so your skin doesn't become irritated. Waxing, in fact, might be better than shaving because shaving every day can reduce the life of your tan by stripping it away. For the same reason, limit your exfoliation. Self-tanners typically only last up to a week, so don't exfoliate until right before you reapply. Avoid exfoliators that are oil-based because they leave residues that can cause streaking.
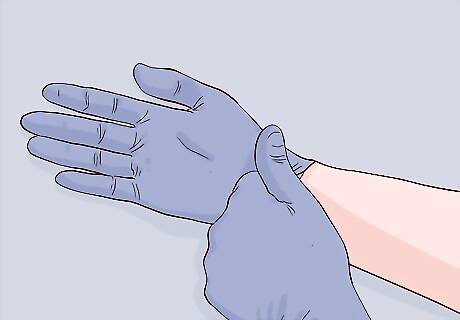
Put on disposable, tight-fitting latex gloves. These will keep your hands from getting overly orange or dark while you are applying the self-tanner. Alternatively, you can thoroughly wash your hands with soap and water after you apply the self tanner to various sections of your body.
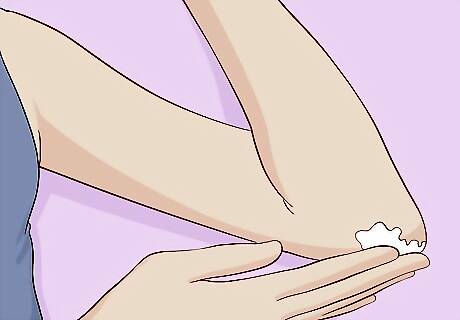
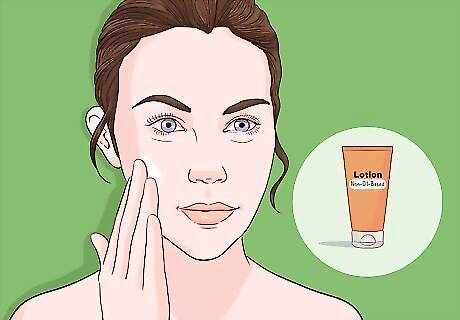
Use a little lotion. Dab some non-oil-based lotion to your knees, ankles, elbows, around your nostrils and other particularly dry areas to help the self-tanner better absorb into these areas. Some people will put a thin layer of lightweight lotion all over their body before applying self-tanner, but this is not needed and many recommend against doing it altogether.
Apply the self-tanner in sections. To eliminate tan line creases from bending over, start at your feet before moving on to your ankles and legs. Use about 1 teaspoon (4.9 ml) at a time and blend using small, circular motions with your hands. Next apply it to your stomach, chest, shoulders, sides, arms and armpits. Remove your gloves and apply a little to your hands, avoiding your palms. Then use a lotion strap, wand, or sponge paintbrush to cover your back with the self-tanner. Finally, apply it to your face by using a dime-sized amount to your cheeks, forehead, nose, and chin, blending outward with your fingertips. Use the remainder around your hairline and jawbone. Wash your fingertips thoroughly with soap and water after applying the self-tanner to your face. You can buy the items for back coverage online relatively inexpensively. If you don’t feel comfortable using them, you could ask someone to apply the self-tanner to your back for you. If you’re using a spray self-tanner, you can apply it to your back in the shower. Hop in, look over your shoulder, spray plenty into the air behind you and then step back into the mist. Do this several times to make sure you get enough on your skin.

Begin the drying process. To speed up the drying process, take a blow dryer, and on low heat, blow-dry all the areas that you’ve applied the self-tanner. You only need to apply the heat for a few seconds to each area. After that, it’s a matter of waiting. Even if some claim to dry in 15 or 20 minutes, wait at least an hour before you put on any clothes or go to bed. Before putting on clothing, use a brush to thinly coat your body with talc-free baby powder. This will help prevent any color from getting on your clothes. Because getting wet is your tan’s worst enemy during this time, don’t shower or exercise (sweat) for at least six hours after you apply self-tanner. Your best bet is to put the self-tanner on about an hour or two before you go to bed. You also might want to wear long sleeves and pants, and put some towels down on your bed, to ensure no color gets on your sheets.

Fix mistakes. If you wake up and notice splotches, streaking or uneven distribution, there are a couple of things you can do to help fix the problems: a) add just a little bit more self-tanner and blend it really well (this works best for areas that are lighter or for splotches) and b) rub lemon juice on the area for 1-2 minutes and then buff it with a damp towel (this works better if an area got too dark or for streaking).

Maintain your tan. Different self-tanners last for different lengths of time, though typically you will need to reapply once per week. You can help lengthen that amount of time by moisturizing regularly; washing with gentle, non-abrasive cleansers; avoiding acne treatments containing retinol; and not exfoliating more than once between applications. Remember: Although you look tan, you still need to wear sunscreen when you go into the sun.
Tanning Fast with a Spray Tan
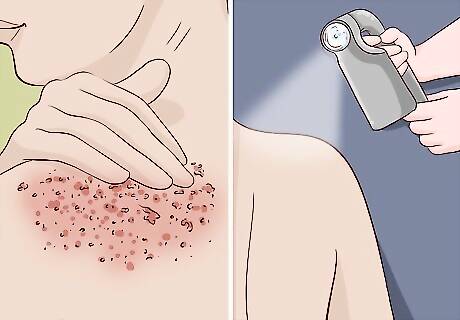
Get your skin ready. First, wax or shave 24 hours before your spray tan. On the day of your spray tan, use a non-oil-based exfoliator to remove dead skin and to get a more even tan, paying close attention to dry areas and to your neck, chest and face where you’re more likely to streak. Don't use any oils or moisturizers when you're done bathing. Before you get your spray tan, wash your face well to remove any make-up.

Dress appropriately. While you’ll have time for the spray tan to dry before you get dressed, it's still advisable to wear dark clothes. Also, while in the tanning booth you can go nude, in a swimsuit or in a thong/pair of underwear. If you opt for the latter, wear one you don't care about becoming perhaps permanently discolored. Remember to bring another pair of underwear with you to wear afterward.
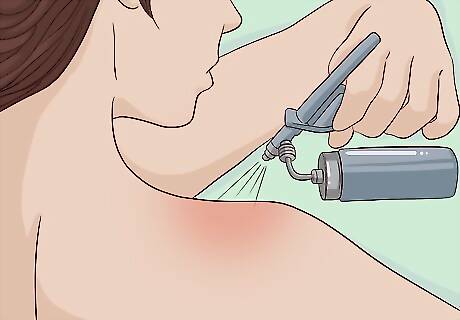
Decide upon your tan setting. As with self-tanner, you don't want to overdo it. If you have a fair complexion go for a light or medium tan. If you have an olive complexion, opt for medium or dark. Note: Different spraying machines will have different settings and color options. The key point is to avoid overkill. Subtle changes are more flattering than drastic ones – the charbroiled look simply isn't attractive on anyone.
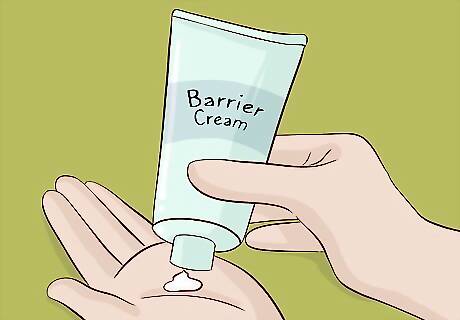
Apply barrier creams. After you've stripped down, you'll want to put on either a barrier cream or lotion to areas of your body that you don't want the spray tan to touch, such as your palms, between your toes and fingers and on the soles of your feet. The salon will typically provide these creams.
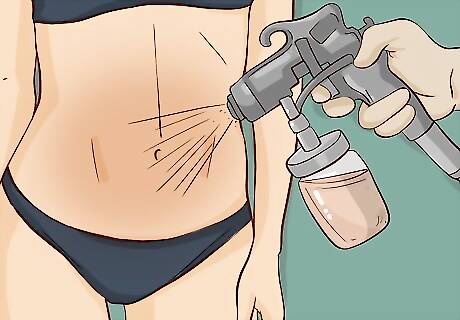
Prepare for your spraying. If you go to a salon where a professional does the spraying, they'll have you move into different positions, so tuck away your shyness for a few minutes. Some booths are more like an automatic car wash, in which you go in and are instructed when to turn and so forth. And then there are the self-spray booths, which are much less expensive, but the rate of streaking and splotching also often goes up, too. During the process, you'll receive the tanning spray itself, and then often a moisturizing mist and an air dry. If you don’t get an air dry and excess solution lingers on your skin, forming clear or brown droplets, you'll need to lightly towel dry them quickly so they don’t run down your body and form streaks. Instead of drying from head to toe, start at your feet and wipe up your legs. Then start at your wrists and wipe up your arms to your shoulders. Finally, finish with your face, drying from your chin to your forehead.
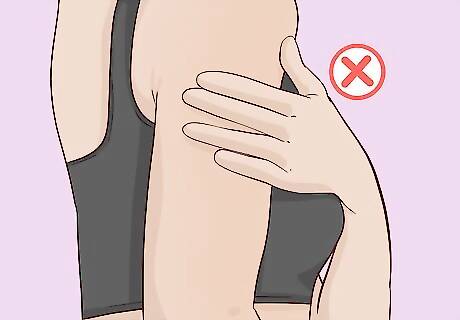
Avoid water, exercise and touching your skin. Your tan will continue to develop for several hours, and your skin will feel sticky. If you do touch your skin during this time, though, wash only the underside of your hands to get off the tanning solution. Also avoid skin contact with water or don’t exercise (again, sweat) during the developing phase.
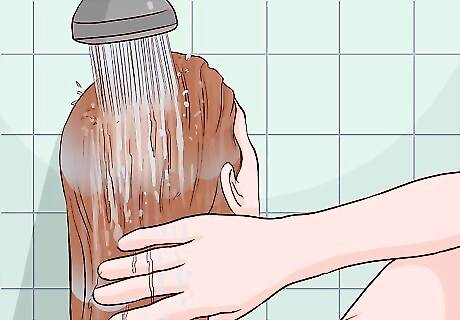
Wait 8-12 hours to shower and wash your face. Doing this will allow for your tan to fully develop. When you take your first shower, don’t be surprised if you notice color washing off. This is just bronzer that is part of the tanner. Your tan will still be intact.
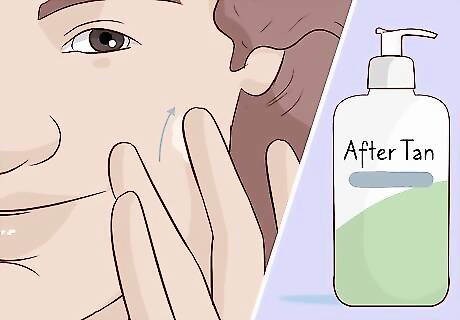
Maintain your spray tan. A spray tan typically lasts between 4-10 days. Similar to using self-tanners, do not exfoliate between sessions and limit your shaving as much as possible to extend your tan’s lifespan. Moisturize at least once per day, especially before bedtime, but use one that has a water base to avoid streaking. Here are some other things to avoid, which also apply to self-tanners. Acne medications that exfoliate your skin Body hair bleach products Facial masks Facial toners containing alcohol Makeup removers containing oil Taking really long, hot baths


Comments
0 comment