views
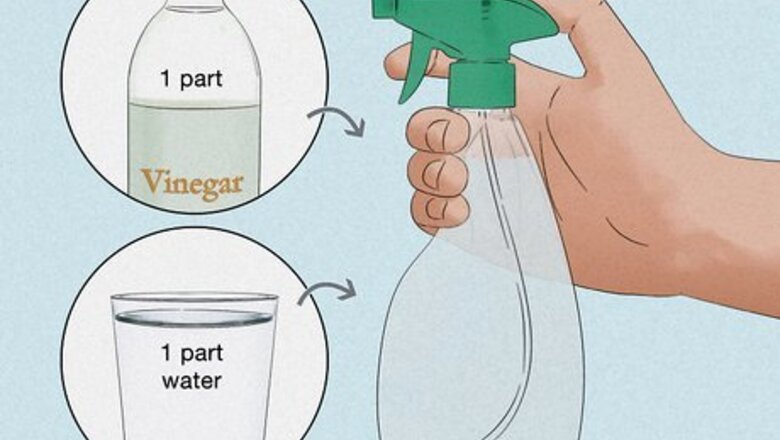
- To tackle interior and exterior scuffs, make a cleaning solution using 1 part water and 1 part vinegar. Dip a magic eraser into the solution and buff scuffs.
- Alternatively, interior scuffs can be remedied with 4 parts auto interior degreaser and 1 part water. Spray the scuffed surface and scrub it with a magic eraser.
- For deep exterior scratches, use a scratch-removing kit and follow the instructions included. For interiors, use a heat gun and grain pad to smooth out any damage.
Using a Vinegar-Based Cleaner and Magic Eraser
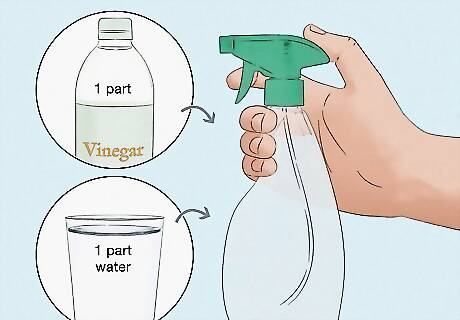
Combine 1 cup of white vinegar and 1 cup of water for a homemade solution. If you don’t want to purchase a specially-made degreaser or scuff remover, combine equal parts of white vinegar and water. Pour the mixture into a clean spray bottle. This may work with exterior and interior scuffs and scratches on your vehicle.
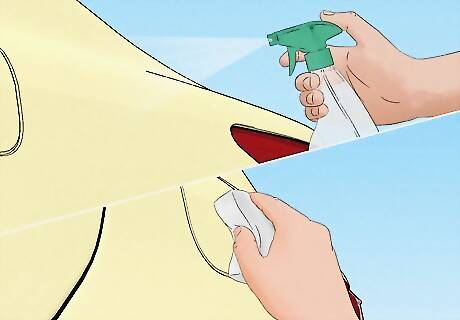
Spray the cleaner onto the scuffed surface and wipe. Spray enough to saturate the scuffed portion of the vinyl panel. Use a magic eraser to wipe it down using long, even strokes. Wipe away the residue with a microfiber towel when finished.
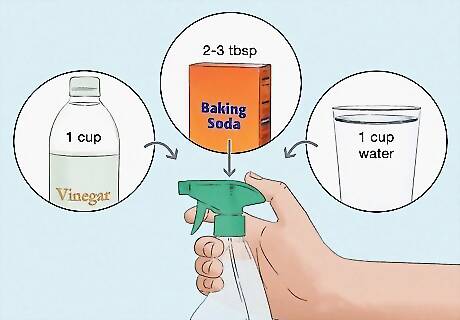
Try adding baking soda to your cleaning solution for stubborn scuffs. For deeper or more serious scuffs, you may need a little extra abrasion. Try adding enough baking soda to form a thin paste. Add two or three tablespoons of baking soda with a cup (240 mL) of water and vinegar. Mix well until the baking soda breaks down.
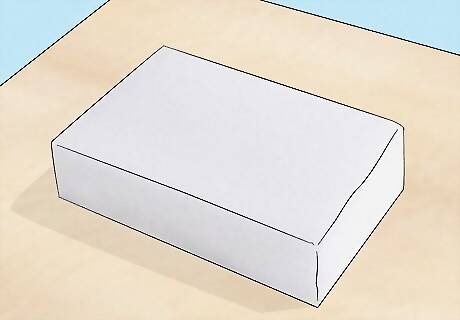
Use a wet magic eraser to buff out scuffs. Run a magic eraser under warm water so it’s damp. Apply firm pressure and rub in circular motions until the scuff begins to disappear. You can find magic eraser scrubbing pads at your nearest home goods, home improvement, or department store. They’re the easiest and most effective pad when buffing out scuffed or scratched exterior vinyl or interior plastic. Similarly, they won’t damage your vehicle like a more abrasive pad or sponge would.
Using Degreaser on Exterior Scuffs
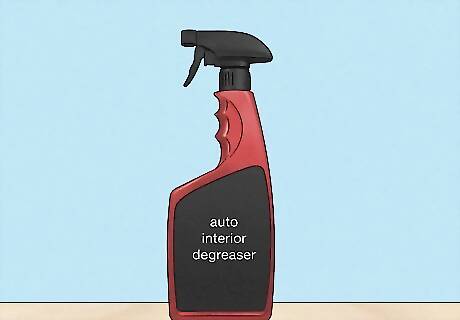
Purchase an auto interior degreaser. Purchase a degreaser concentrate if you’ve already tried wiping the surface down with a homemade cleaner, or if you just want to use a professional-grade detailer. You can find degreasers for cars at your local automotive or home improvement store. Degreasers should only be used on the interior of your vehicle, as they may be too abrasive for delicate paints. You can always spot-test a small area of your vehicle before proceeding. However, you’re better off using a homemade cleaner or car wash soap instead.
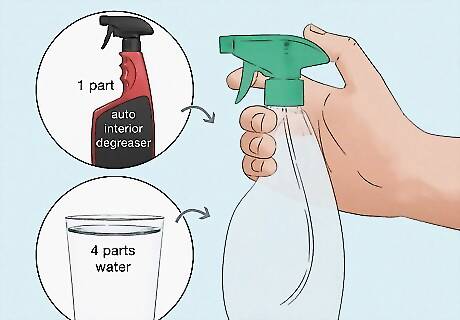
Dilute your degreaser in four parts of water. If you’re using a store-bought degreaser, you’ll need to dilute it before using it on your car vinyl. Mix one part degreaser with four parts of water. Then, pour your solution into a clean spray bottle.
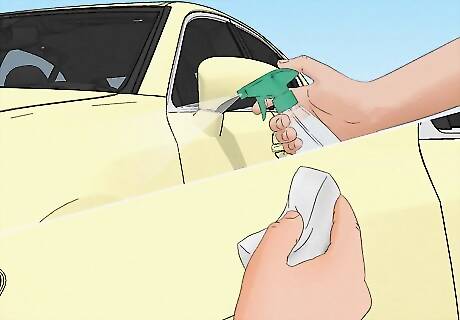
Saturate the scuffed surface with a diluted degreaser or cleaner. Scrub with your magic eraser using smooth, circular motions until you’ve removed the scuff. For tight spaces that you can’t spray directly, you can spray the scrub pad. If the space is too tight for the scrub pad to access, try using a hard bristle toothbrush.
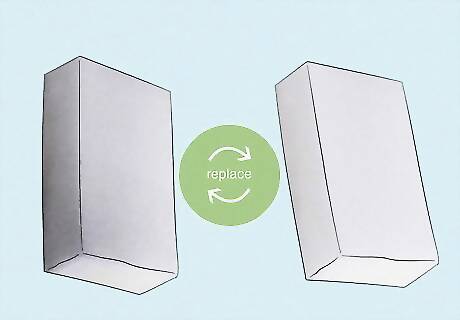
Replace your pad as necessary. The vinyl surface texture will determine the number of scrub pads you need. Smoother surfaces will most likely require only a single pad. If the texture is rougher or more rubberized, you’ll likely wear through a pad and need to replace it as necessary until you’ve removed the scuff.
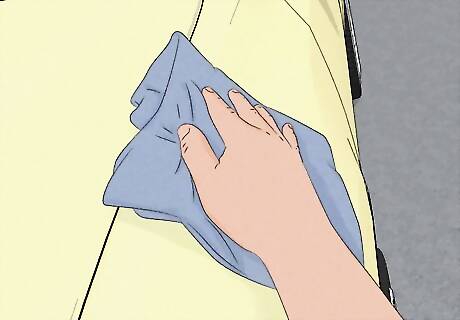
Wipe away residue with a microfiber towel. After buffing out the scuff, you’ll have extra residual cleaner and light debris. Wipe away excess residue using a dry microfiber cloth. A microfiber cloth will leave you with a lint-free finish.
Using Toothpaste for Minor Exterior Scuffs
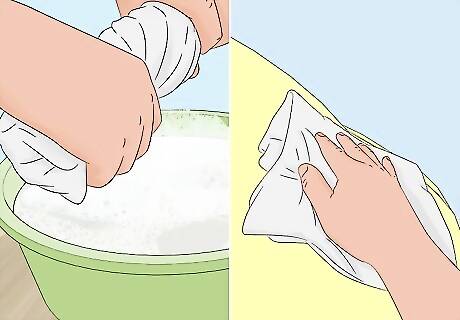
Clean the damaged area with dish soap and water. Use a dish soap that is designed to cut through grease. Mix an ounce of dish soap per gallon of water to remove any dirt or previous waxes and sealants that may be on the car. Dry the area with a microfiber cloth to absorb any linger liquid or soap that may affect the results of your DIY. This may work with exterior and interior scuffs and scratches on your vehicle.
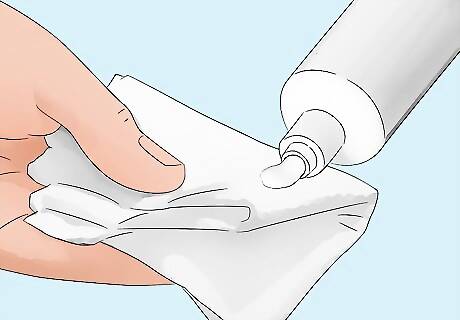
Apply a pea-sized amount of toothpaste onto a soft cloth. You can use another clean microfiber cloth for this process. Rub it into the scratch or scuff mark in circular motions until the blemish disappears. You may need to reapply another pea-sized amount for stubborn scuffs. Use toothpaste that has baking soda or hydrogen peroxide. Generally, any whitening toothpaste will do since it’s abrasive enough to fix scuffs without damaging your vehicle.
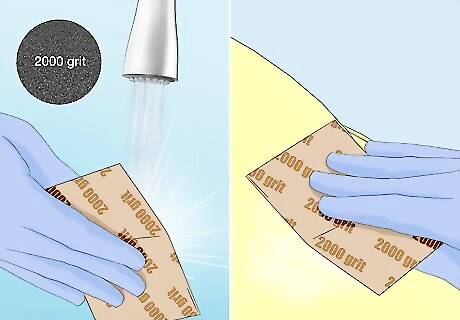
For deep scratches, pair the toothpaste with sandpaper. Purchase a very fine sandpaper (2000-grit or higher) and run it under some warm water before you start rubbing. Wetting the sandpaper will help prevent creating additional scratches on your car’s paint job. Apply even pressure as you buff the scratch away. Then, apply another pea-sized amount of toothpaste.
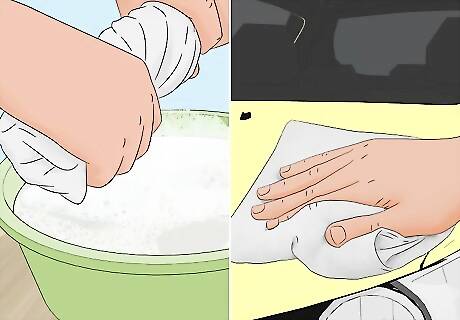
Clean the newly scuff-free area with your soap-water mixture. With the remaining dish soap and water mixture you made earlier, use a microfiber cloth to wash away any dust, debris, or leftover toothpaste from the vehicle. Use a clean microfiber cloth to dry the area.
Dealing with Deeper Exterior Scratches
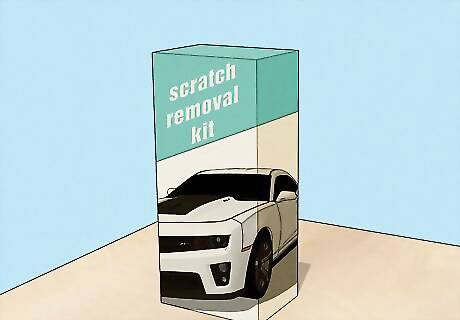
Purchase a complete exterior scratch removing kit. Consider purchasing a professional scratch removing kit if the scuff is more than just superficial or if you’re dealing with scratched vinyl. Generally, kits will include glue to fill in the deep scuff or scratch, an activator to dry the glue, and a dye that matches your vinyl or paint color. You can order a scratch removal kit online for about 50 US dollars. Your kit will come with a factory-matched dye to blend in with your vinyl color. You can search for your car’s make and model to identify the correct vinyl or paint color when you order your kit.
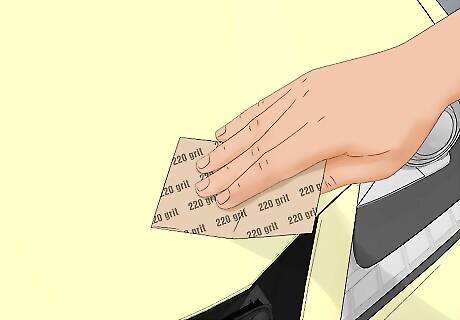
Sand the scratched area. Use a piece of 220 grit sandpaper to smooth over the scratch or deep scuff. Remove any roughness around the scratch so its edges are flush with the vinyl surface. Some scratch removal kits provide sandpaper. If you don’t have any fine-grain sandpaper on hand, you can check the kit’s contents before ordering and purchase one that supplies sandpaper.
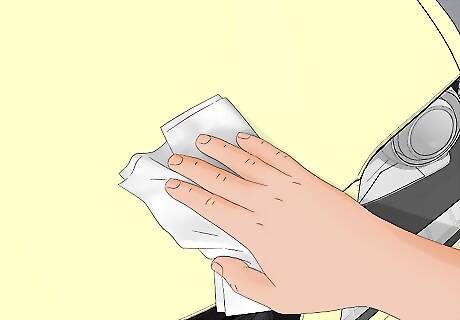
Clean the area after sanding. Wipe down the area with a damp cloth. Clean the area with a homemade vinegar solution or store-bought auto interior cleaner if it is greasy or grimy. Use a clean microfiber towel to dry the area.
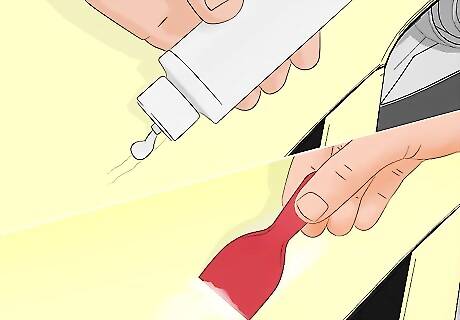
Apply glue to the scratch and spread. If the area is still damp after wiping it down with microfiber, wait for it to dry completely before applying glue. Dab a small amount of the superglue that came in the scratch removal kit. Smooth the glue over the scratch using a narrow palette knife. If your kit provided a glue activator, apply it over the glue to instantly harden it.
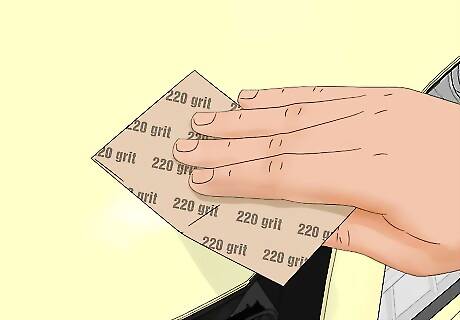
Sand and clean the glue when it’s dry. If you haven’t used an activator, wait for the glue to dry completely. Use your 220 grit sandpaper to smooth over the glued surface. Then wipe down the area with a damp cloth and dry it with a microfiber towel.
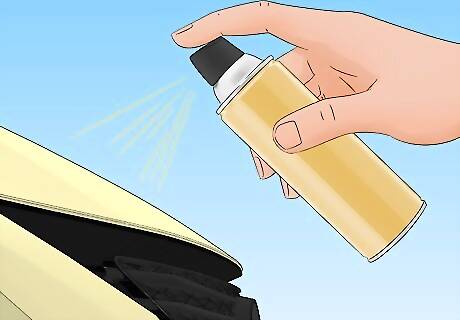
Apply multiple light coats of factory-matched dye. The dye will come in an aerosol sprayer. Spray a light, even coat over the patched area, and hold a piece of cardboard under the area to help protect surrounding surfaces. Wait for the dye to dry, and reapply until you’ve achieved even coverage. If you have a heat gun handy, you can use it to dry the dye faster. Hold it about 12 inches (about 30 cm) away from the dyed surface.
Removing Interior Scuffs
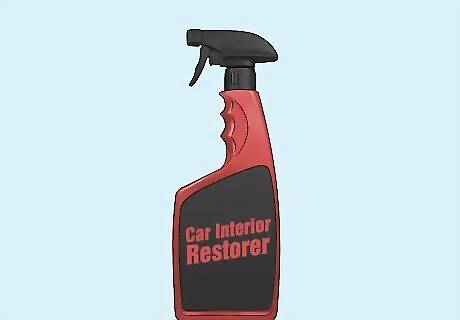
Use an interior plastic cleaner to prep the area. You can purchase an interior plastic cleaner or mix white vinegar and water equal parts into a clean spray bottle. Apply the mixture to the dashboard, door panel, or any other interior with scratches or scuffs inside your car. Wipe and dry the surface with a microfiber cloth. For leather surfaces, opt for leather cleaners, magic erasers, or similar generic brands.
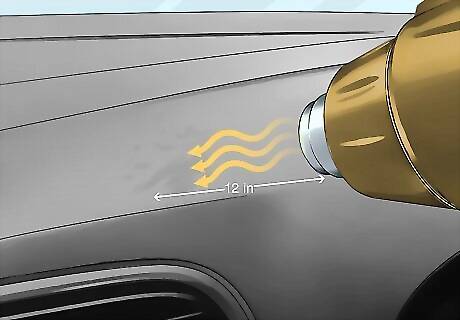
Apply a heat gun 12 inches (30 cm) away from the surface. Using a heat gun at half power, hover it over the damaged surface. Gentle move side to side, as you don’t want to heat one area for too long and cause irreparable damage. The plastic is ready for molding when you see a loss of texture, and the surface appears slightly glossy.
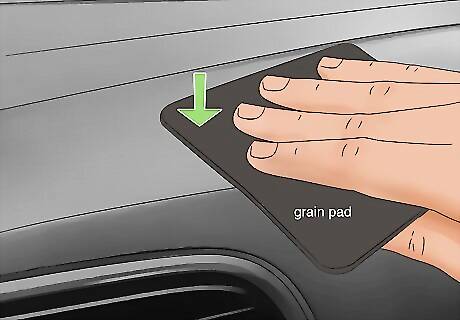
Gently smooth out scratches using a grain pad. Apply the grain pad using the hard-plastic applicator included in the kit while the surface is still warm. Use light pressure when applying. Grain pads are special molds designed to create an imprint of leather or plastic grain patterns to create invisible repairs. Grain pads come in different finishes, so choose one that closely resembles the plastic trim in your car.
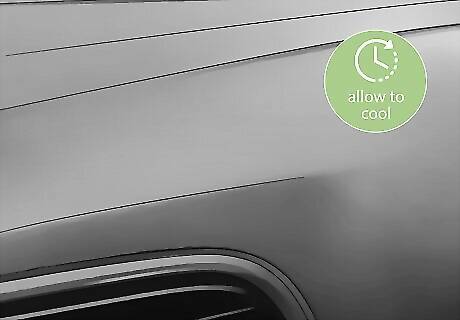
Allow the area to cool and harden. The texture should blend seamlessly. However, you may need to sand it down using super-fine grain paper (2000 grit or higher) for an authentic finish. When you’re done, clean the area again using the plastic interior cleaner or homemade mixture used in Step 1.




Comments
0 comment