views
Hanging the Mirror with Mounting Hooks
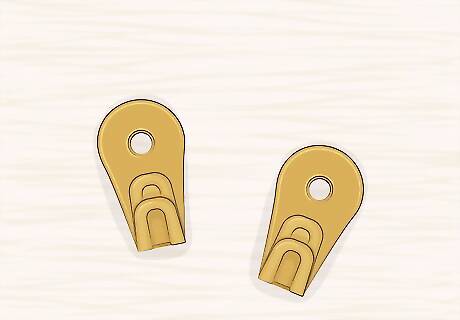
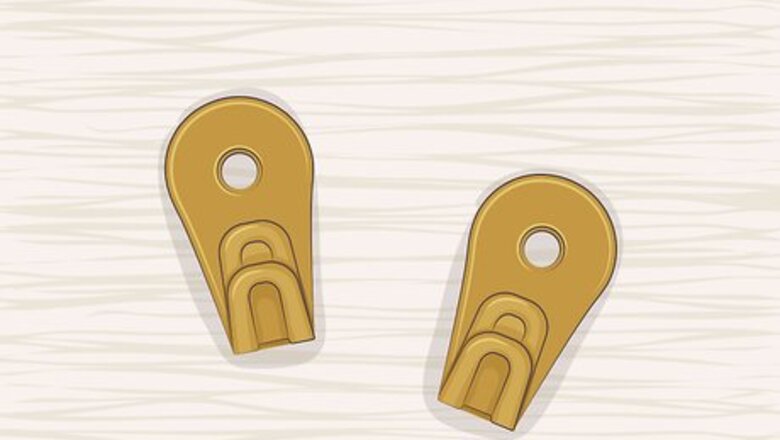
Use mounting hooks if the mirror is large and has a heavy frame. Mounting hooks are ideal for vanity mirrors that weigh 15 to 30 pounds (6.8 to 13.6 kg) and have a frame made of wood, metal, or plaster. The mounting hooks will ensure the mirror hangs correctly and is well supported on the wall. Weigh the mirror on a bathroom scale to ensure you get mounting hooks that are strong enough to support the weight. The weight restrictions for the mounting hooks will be noted on the package. Look for mounting hooks at your local hardware store or online.
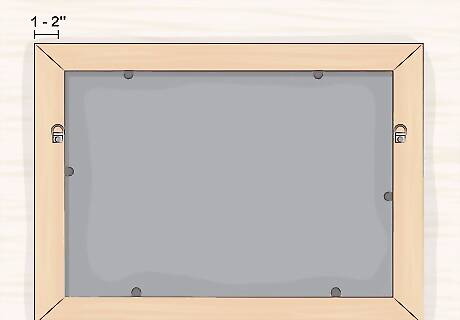
Attach D-rings to the back of the mirror if it does not already have them. Place 2 D-rings horizontally along the top of the frame. They should 1 to 2 inches (2.5 to 5.1 cm) from the left and right sides of the frames. Check that they sit evenly across from one another with a leveller, then attach them with a screwdriver. Make sure the straight part of the "D" faces downward. Some mirrors will come with D-rings already attached to the back. If this is the case, you do not need to put any more on the back of the mirror.
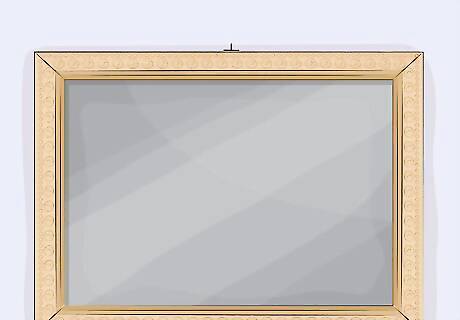
Place the mirror against the wall and mark the top center spot. Use the leveller on the top edge of the mirror to make sure the mirror is level. Make sure the mark is easy to see, as you will use it as a guide when you hang the mirror. Putting the mirror over a stud in the wall is ideal, as this ensures the mirror is well supported. You can use a stud finder to locate a stud. If you cannot find a stud in the wall, you can still hang the mirror with wall anchors as long as you have a power drill.
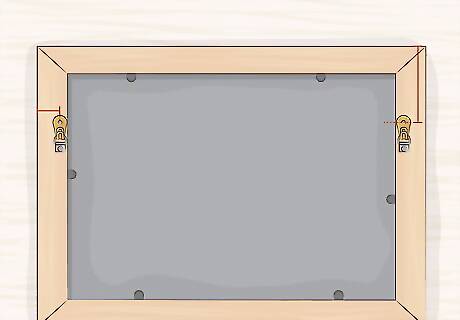
Loop the hooks onto the D-rings and measure to the top of the mirror. Lay the mirror flat with the back side up. Loop 1 of the mounting hooks onto 1 of the rings and place the back of the hook flush against the mirror. Take a ruler and measure from where the hole in the mounting hook sits to the top edge of the mirror. Do this on the other side of the mirror, looping the other mounting hook into the D-ring. Measure that side as well. The measurements should be the same for either side.
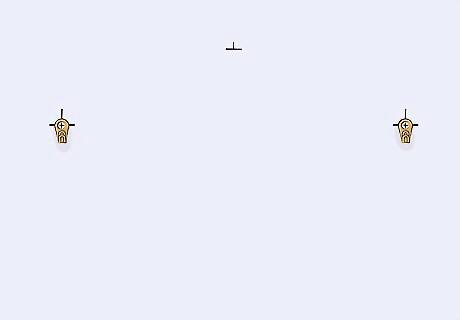
Mark the spots for the hooks and attach them to the wall. Use a pencil or painter's tape to mark the spots where the mounting hooks will sit, using the top center mark you made earlier as a guide. Line up the hole in the mounting hook with the mark you made and then use the power drill to put the screw into the hole. The mounting hooks should come with screws that fit in the holes. If you are not using a wall stud as a guide for the hooks, put a wall anchor in first before you drill in the screw. Most hardware stores will sell screws and anchors together so you do not need to install them separately.
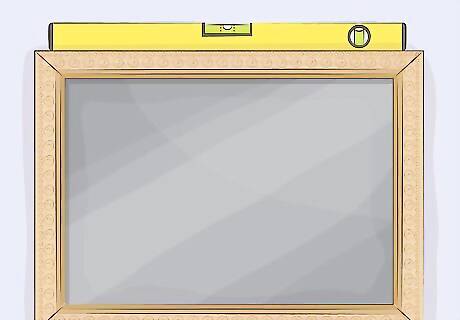
Hang the mirror on the mounting hooks. Loop the D-rings onto the mounting hooks on the wall to hang the mirror. Make sure the mirror sits flush against the wall. Place the leveller on the top edge of the mirror to ensure it is level as a final check. If you are worried about the mirror scratching the wall, you can put bumpers on the bottom corners of the back of the mirror. Bumpers are small plastic bubbles that have adhesive on one side and can be found at your local hardware store.
Using Hanging Cleats
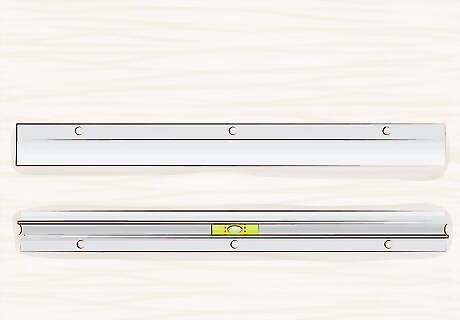
Use hanging cleats if the mirror has a light frame or no frame. Hanging cleats come in 2 parts: a top cleat and a bottom cleat. The top cleat will attach to the mirror and the bottom cleat will attach to the wall. You will then match the top cleat to the bottom cleat to hang the mirror. Hanging cleats are good for mirrors that have a thin frame that does not weigh more than 5 to 10 pounds (2.3 to 4.5 kg). You can also use hanging cleats for a mirror that has no frame. Frameless mirrors that are round or large are also easy to hang with cleats.
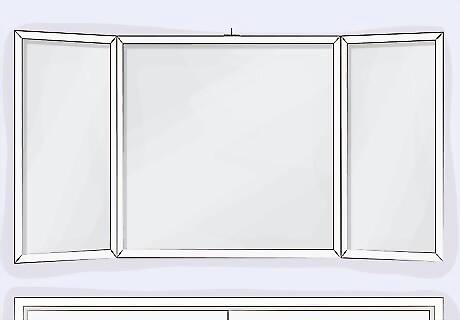
Place the mirror on the wall above the vanity and mark the top center spot. Use the leveller to ensure the mirror is centered and even. Make sure the mark is easy to spot on the wall so you can use it as a guide when you hang the mirror.
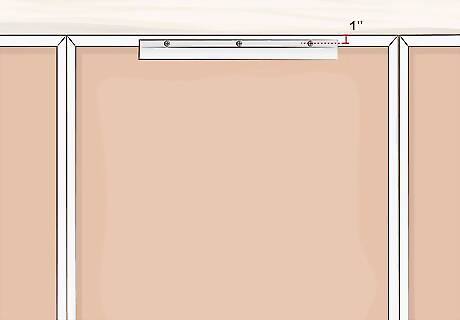
Attach the top cleat to the top edge of the mirror with a screwdriver. Place the top cleat about 1 inch (2.5 cm) from the top of the mirror. Use an awl to make starter holes in the back of the mirror. Then, place the screws in the holes and tighten them with a screwdriver. The hanging cleats should come with screws that fit in the holes.
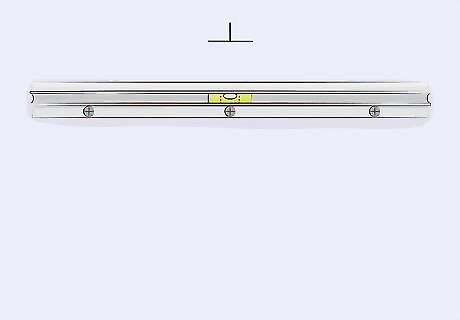
Attach the bottom cleat to the wall with a power drill. Place the leveller on the top of the bottom cleat to ensure it is level, lining it up with the center mark on the wall that you made earlier. Then, attach the bottom cleat using screws and a power drill. If you did not line up the bottom cleat with a stud in the wall, you will need to use wall anchors first before you secure the screws.
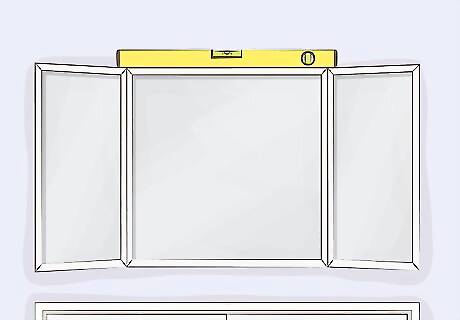
Match the top cleat on the mirror with the bottom cleat on the wall. Place the top cleat on the mirror on the bottom cleat on the wall so they slide together. Once the mirror is up, use the leveller one more time on the top edge of the mirror to ensure it is level and even.
Applying Mirror Adhesive
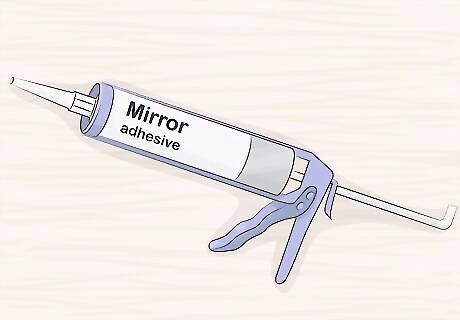
Use mirror adhesive if the mirror has no frame and is small. Vanity mirrors that are flat and frameless are easy to attach with mirror adhesive. Look for mirror adhesive at your local hardware store or online. Mirror adhesive works best on mirrors that weigh no more than 5 to 10 pounds (2.3 to 4.5 kg). Do not use adhesive that is designed for objects besides mirrors, as it will not support the mirror correctly. Keep in mind that removing the mirror later will require you to remove the adhesive and some of the drywall from the wall. You will then need to patch the wall once the mirror and adhesive have been removed.
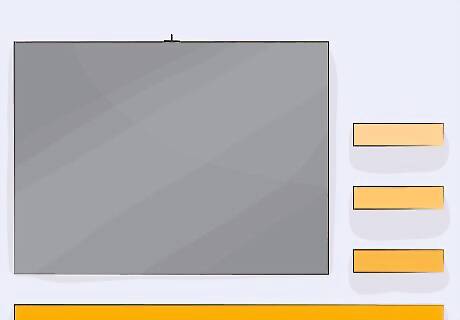
Place the mirror over the vanity and mark the top center. Hold the mirror with one hand and place the leveller on the top edge. Make sure the bubble in the leveller appears in the center to confirm the mirror is level. Locate the top center of the mirror where it sits above the vanity and run a pencil over the spot so it is marked. You can then use this mark as a guide when you put the mirror up. If the mirror is wide, you may need someone to help you hold the mirror in place to confirm it is level.
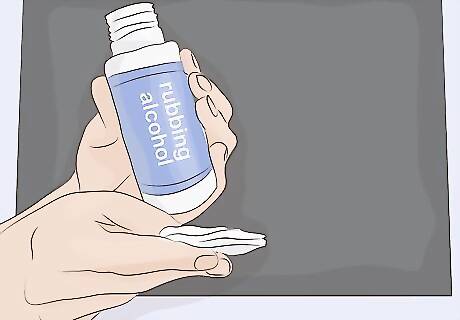
Wipe the back of the mirror with rubbing alcohol. Rubbing alcohol will help the mirror adhesive work better. Make sure you cover the entire back surface of the mirror with a thin layer of rubbing alcohol using a clean cloth.
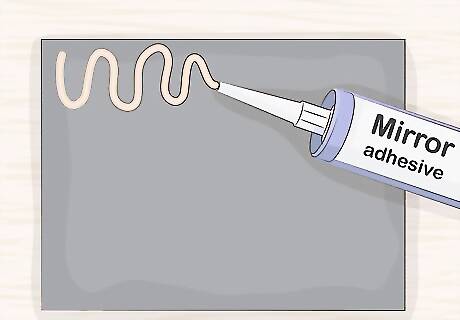
Apply the adhesive to the back of the mirror in a side to side motion. The mirror adhesive will come in a tube that will make spreading it easier. Cover the entire back area of the mirror in the adhesive by applying it in a steady drizzle. When in doubt, check the manufacturer’s instructions for detailed steps on how to apply the adhesive to the back of the mirror.
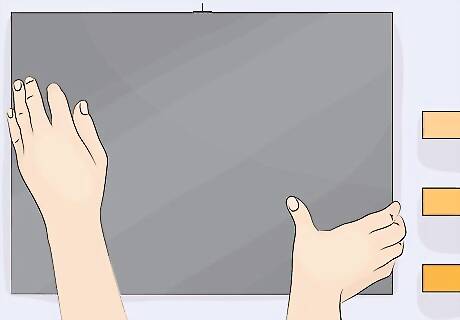
Press the mirror onto the wall, tilting it forward slightly. Once the adhesive has been applied, place the mirror against the wall, making sure the top edge meets the mark you made earlier. Titling the mirror forward slightly as you press on the middle and bottom of the mirror will help to prevent the adhesive from bubbling around the edges of the mirror. Try pressing on the center of the mirror and a few inches away from the edges to prevent the adhesive from spreading beyond the edges of the mirror.
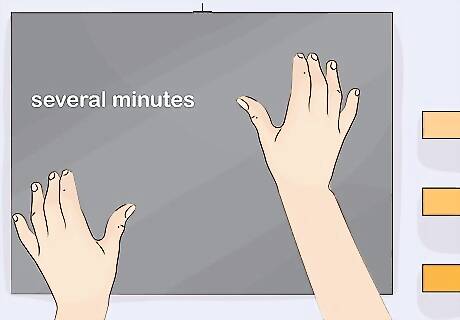
Hold the mirror in place for several minutes so the adhesive can set. Apply even pressure to the mirror so it stays in place. Allow the mirror to dry overnight before touching it again to ensure the adhesive dries properly.





Comments
0 comment