views
Preparing to Harvest
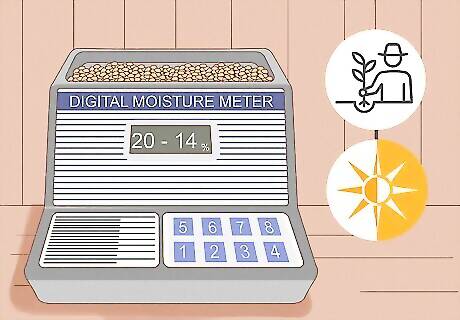
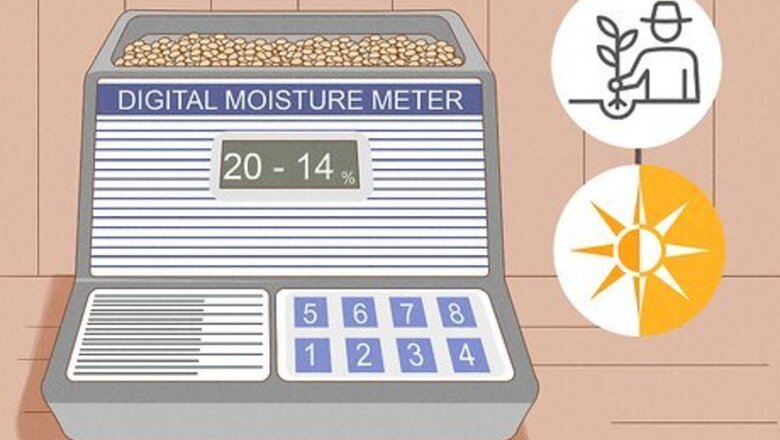
Measure the wheat’s moisture level. Moisture level will determine when wheat is ready to harvest. Wheat is harvested in the summer months, after being sown in the spring or winter. The moisture content of the wheat is the most critical factor for determining when your wheat is ready for harvest. To measure moisture level, use a moisture meter. They are available at agricultural and farming stores. Grain is ready to harvest between 20% and 14% moisture.
Perform necessary maintenance on your combine. This will help to ensure optimum performance. Use the owner's manual to be sure of your combine’s specific requirements. Check the sickle to make sure it is sharp, for best performance. Check height and contour controls of the headers. Grease everything, in accordance with the manual, to ensure smooth operation.
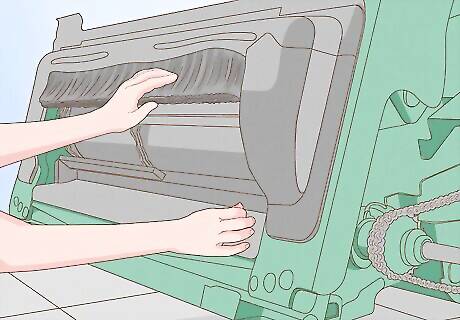
Inspect the feeder house of the combine to ensure it is working properly. It may seem durable, but it can break if not properly maintained. Check the slats and chains and replace those that are broken, bent, or worn. Examine the drive belt to ensure it is not cracking. Replace the belt if it is damaged.
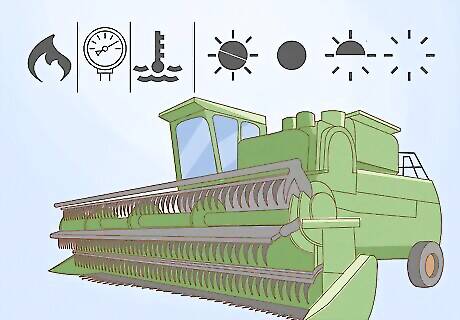
Inspect your equipment each time you use it. Getting in the habit of checking your equipment will make you less likely to miss something. Check air pressure in your combine’s tires at least once per week. Remember to gas up your combine before heading out. Check the oil and radiator levels often. Clean the machine of dust, debris, dirt and anything else that may cause problems during operation. Remember to inspect your lights and flashers, especially if you will be traveling on public roads at any time.
Harvesting the Wheat
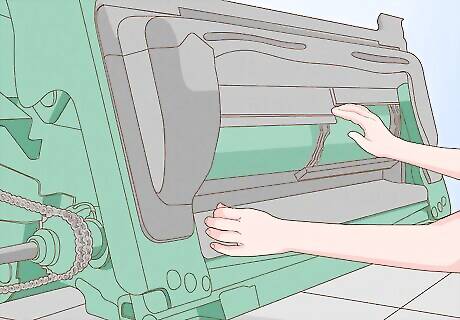
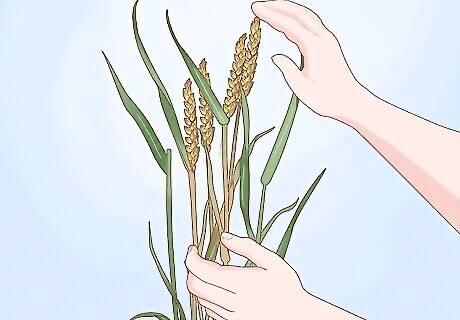
Adjust the combine header. The combine header will need to be adjusted in relation to the height of the wheat for cutting. The header should be set to get the most wheat with the least amount of straw. Try to ensure 8 to 12 inches of wheat stubble remains. This will help the soil keep its moisture. Be prepared to constantly adjust the height of the combine header as the height of the wheat in the field changes. The header height determines at what point the wheat is being cut, and will therefore have to vary with the height of the wheat. If you see that a lot of straw is being taken in, raise the header slightly.
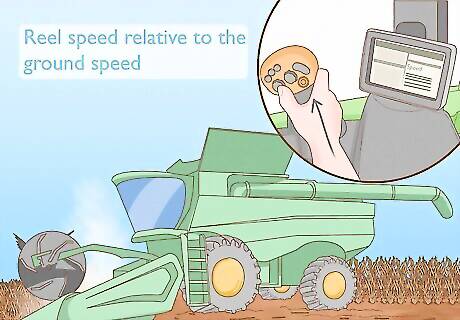
Adjust the reel speed relative to the ground speed. It is important to do this so you do not lose any wheat in the process. Going too fast will either knock the wheat down or cut it poorly. Going too slow can cause the wheat to fall to the ground or not enter the combine correctly. Check behind the the combine to ensure you are not losing grain. If you are losing grain, you are likely going too slow relative to your reel speed. Check your combine’s manual for optimal settings to reduce grain loss.
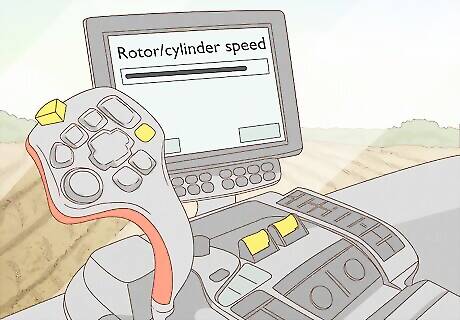
Set the rotor or cylinder speed to the minimum level for good threshing. This will minimize damage to seeds. This will need to be adjusted as the wheat crops change. This process is where the grain is separated from the straw. Lower speeds will do less damage to the wheat. Finding proper cylinder speed will take some trial and error. Be prepared to adjust in the field.
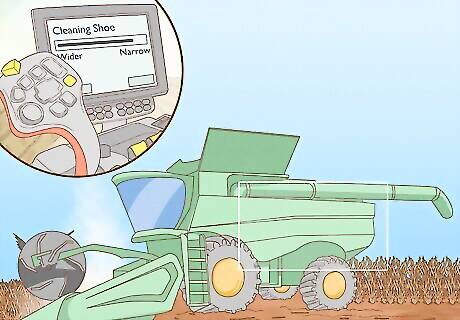
Set the concave at the widest setting possible to help with separating. Setting the correct rotor or cylinder speed will also ensure no grain is lost through separation. The concave clearance must be set in order that it does not crack the grain. This will depend on the particular crop. If the grain is cracking, widen the concave. The combine will automatically separate and take the grain to grain tank.
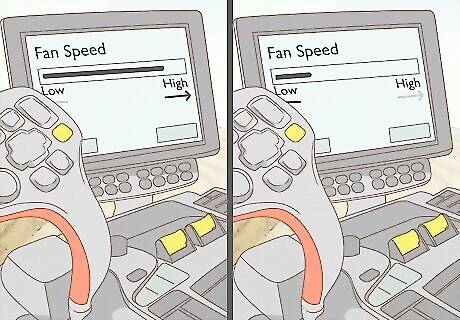
Adjust the cleaning shoe. The cleaning shoe consists of the chaffer and cleaning sieve. Adjust it so that it is neither set too narrow or too wide. Consult the owner's manual for manufacturer's settings. Higher volumes of grain require a wider setting on the sieve.
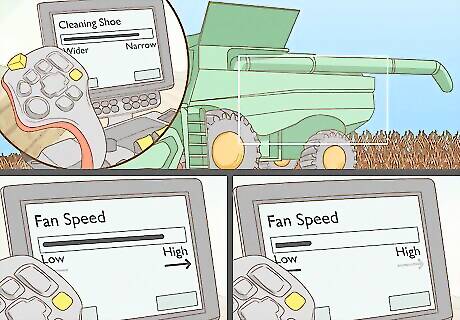
Set the fan. Be sure it is not set too low, or else the wheat will never make it to the back of the chaffer for it to drop through. Setting the fan too high will blow the light wheat right out of the shoe altogether. Fast fan speeds help clean wet chaff, but can cause you to lose grain at the same time. It is better to start the fan speed off high, and lower if necessary.
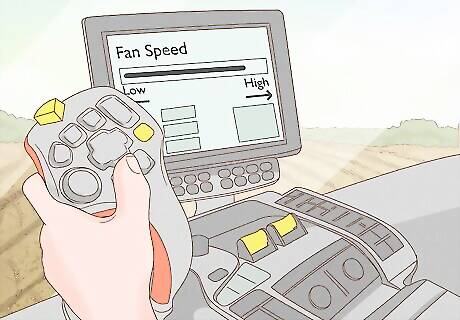
Be attentive to the conditions around you. Successful harvest requires that you be aware of how the machine is interacting with the wheat. Be prepared to change settings, such as fan speed, as you go. If a lot of wheat is on the ground as you go, it is a good sign that you need to adjust your settings.
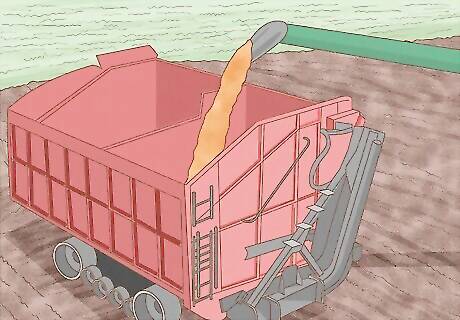
Dump the grain. When the combine is full, dump the grain into a grain cart pulled by a tractor using the combine's unloader. Specific operation will depend on your combine model. Refer to the owner's manual if unsure. The tractor can make trips to and from the on site storage while the combine continues to operate in the field. The tractor dumps the grain cart onto a grain elevator, where it can be moved by conveyor belt to storage such as a grain silo. It helps if you have a separate person driving the truck. The driver can take a shipment of grain back to he storage facility, while you going the harvest. This increases your efficiency.
Storing Grain
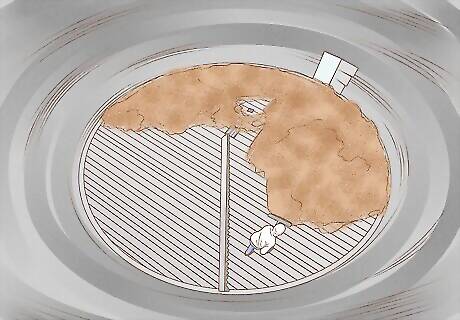
Clean your storage facility. In order to help prevent your grain from spoiling, ensure that the storage area is clean. Clean your storage facility before and after each use. Sweep away old or spoiled grain. This will help prevent disease and pests from spreading. Spray insecticide inside and outside of bins. Use only approved pesticides; check local regulations.
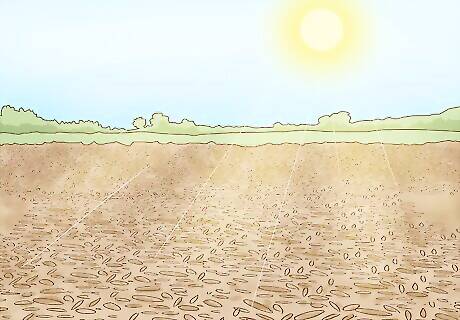
Dry the wheat. You will need to dry your grain after the harvest to ensure it can be safely stored. Air drying leads to the highest quality wheat. You dry the wheat in bins, but be sure not to fill the bins completely. Dry wheat at no more than 60 C.
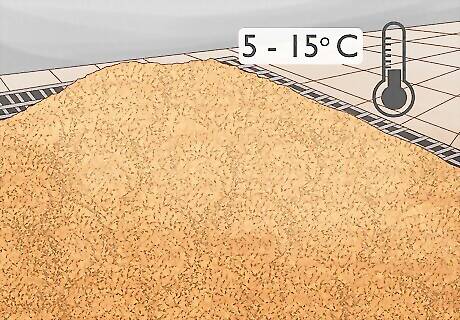
Maintain a temperature of 5 C to 15 C where grain is stored. The higher the temperature, the faster the grain will spoil. For high moisture grain, aerate in order to cool the grain quickly. Monitor the temperature and moisture using a thermometer and moisture meter to ensure proper levels are maintained.




Comments
0 comment