views
Creating a Signature in Preview
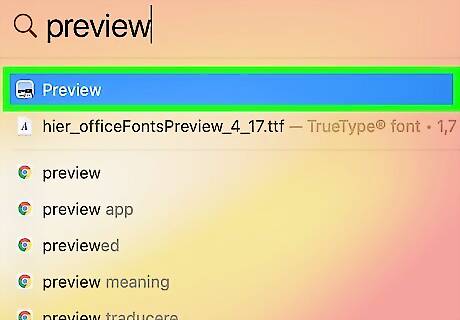
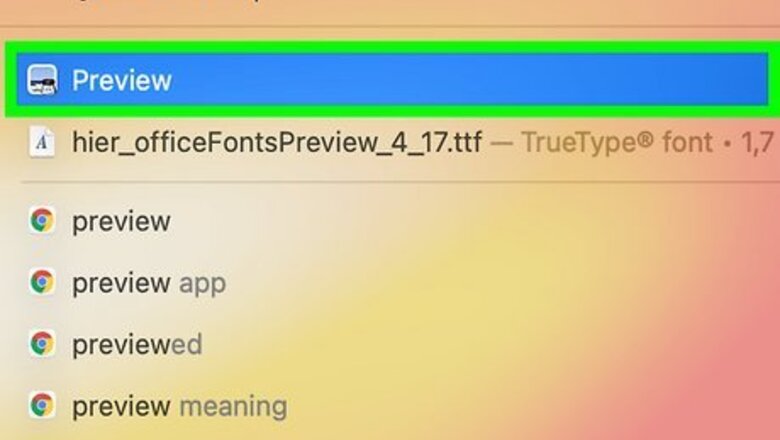
Open Preview. This graphics app is automatically downloaded on all Mac computers. To open it, type “Preview” into your search bar.
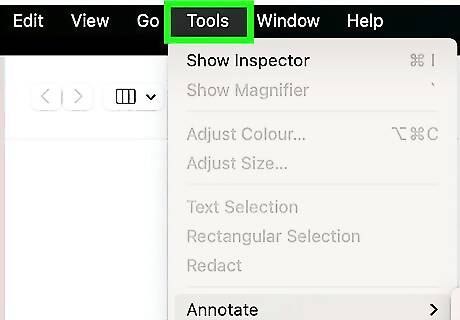
Click on Tools. This is located in the toolbar at the very top of your screen.
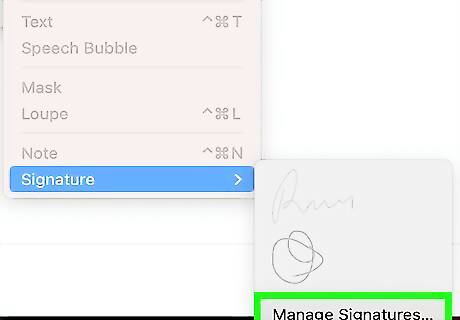
Click on Annotate > Signatures > Manage Signatures. All of these buttons are located within the "Tools" dropdown menu.
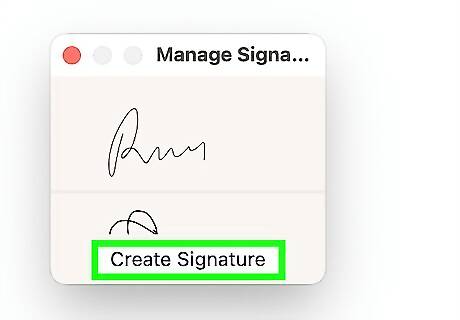
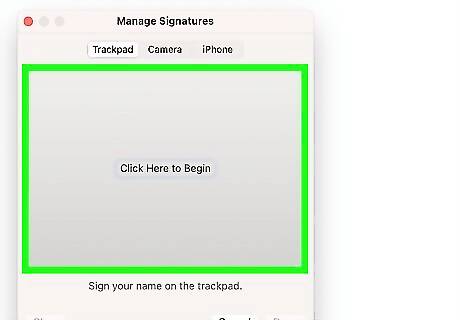
Click on Create Signature. You will now see a grey rectangle for you to add your signature. Select Click here to begin and sign your name using your finger and trackpad. When you're finished creating your signature, press any key on your keyboard.
Take a screenshot of your signature. To open the screenshot tool, use the shortcut Command+Shift+5 on your keyboard. Move the frame to capture your signature, then release. The screenshot will automatically save to your desktop.
Adding the Signature in Pages

Open Pages. This is a pre-loaded application on your Mac. To open it, type "Pages" into your search bar.
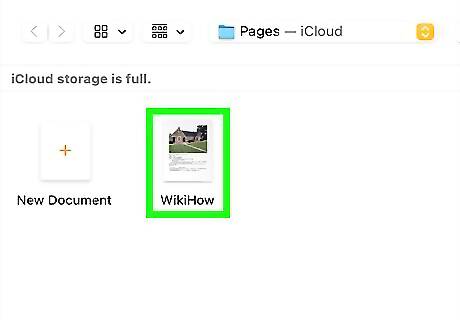
Open up a document. Within the pop-up window, you should select the document you want to add your signature to. Click on it, and then click Open in the bottom right corner. If you want to create a new document, click New Document in the bottom left corner.
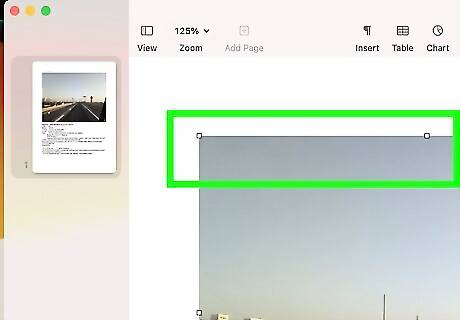
Click on your desired location. Within the document, simply click on the place where you want to insert your signature.
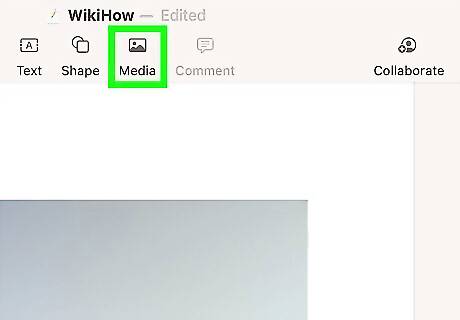
Click on Media. This is located in the window's top toolbar, and its icon looks like a landscape photo.
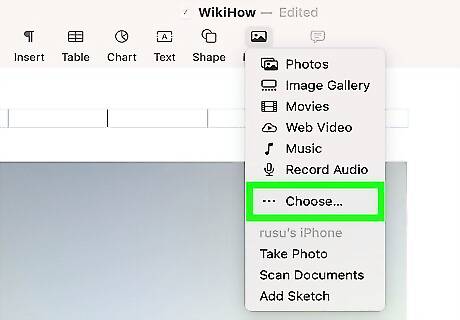
Click on Choose. This is located within the Media drop-down menu.
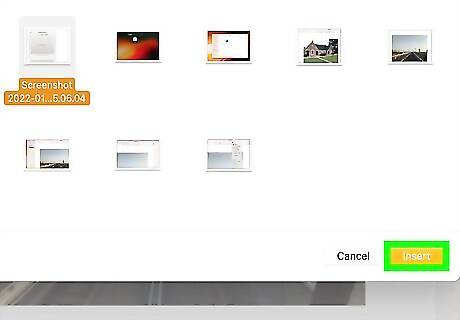
Select the signature screenshot. Click on Desktop in the left menu, click on the screenshot, and then click on Insert in the bottom left corner. You should now see your signature appear in the document!


Comments
0 comment