
On Windows

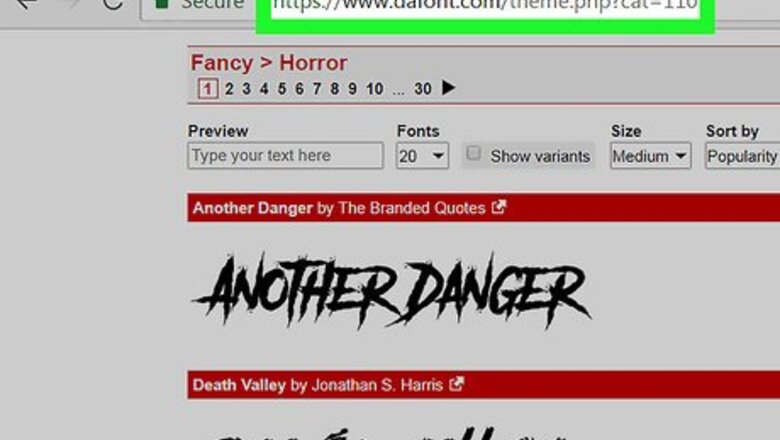
Download the font from a trusted website. Fonts are a common way to transmit viruses, so take care to only download fonts from trusted sources, and avoid any fonts that come in EXE format. Fonts typically come packed into ZIP files, or in TTF or OTF format. A few of the more popular font sites include the following: dafont.com fontspace.com fontsquirrel.com 1001freefonts.com
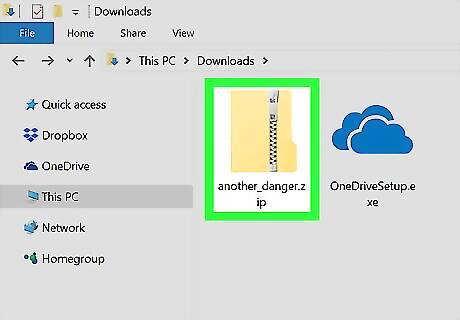
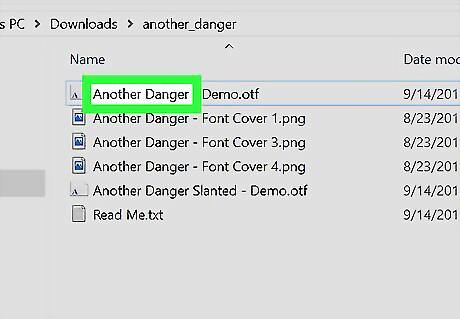
Extract the font file if necessary. If your font downloads in a ZIP folder, double-click the folder, then click Extract at the top of the window, click Extract all, and click Extract at the bottom of the window. Skip this step if the font downloads in TTF or OTF format, not in a ZIP folder.
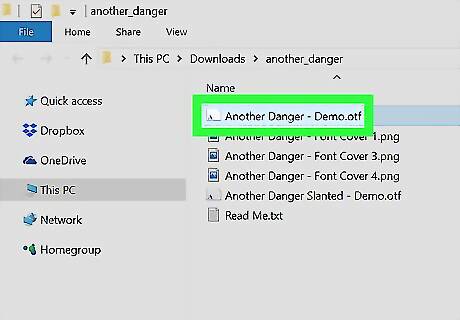
Double-click the font file. Doing so will open the font in a preview window.
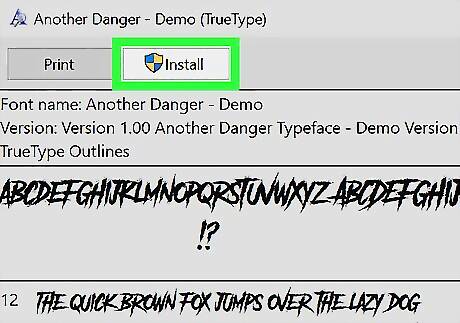
Click Install. It's at the top of the preview window.

Click Yes if prompted. Since installing a font requires administrator permissions, you may be prompted to confirm this step. If you aren't on an administrator account, you can't install a font.
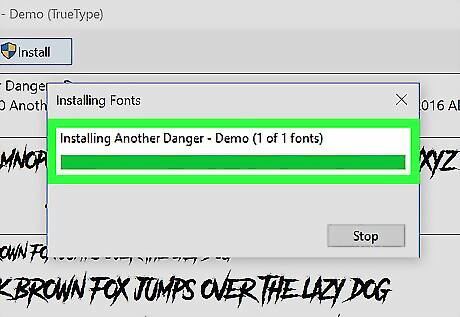
Wait for the font to install. This will usually only take a few seconds. Once the font is installed on your computer, it will be accessible by any programs which use system fonts, including Microsoft Word.
On Mac
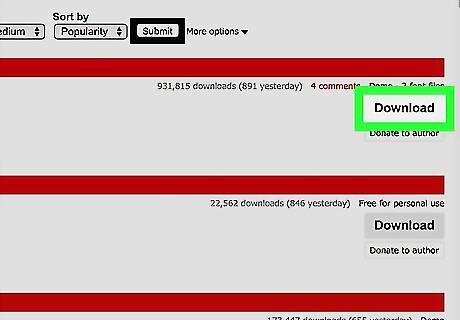
Download a font. There are tons of sites that host font files that you can download for free (for home use). MacOS supports both OTF and TTF font formats, which are two of the most common font types. Some of the more popular font sites include the following: dafont.com fontspace.com fontsquirrel.com 1001freefonts.com
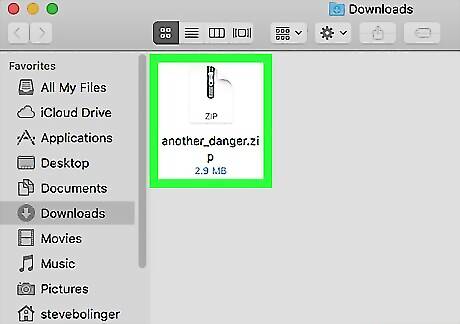
Extract the font file if necessary. Since most font files download in a ZIP folder, you'll need to unzip the folder by double-clicking it and waiting for the extracted folder to open. Skip this step if your font downloads as a TTF or OTF file, not a ZIP folder.
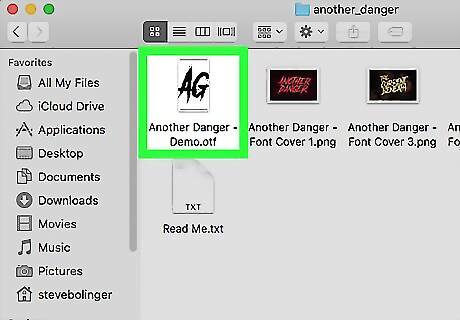
Double-click the font file. Doing so will bring up a preview window.
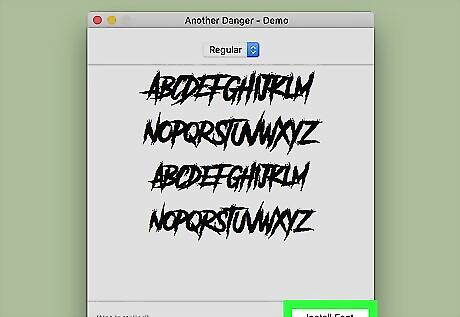
Click Install Font. It's at the top of the preview window. This will install your font for all text-based programs on your Mac, thus making it usable with Microsoft Word.
Accessing the Font in Word
Note the installed font's name. Since fonts in Word are listed in alphabetical order, you'll need to know the first few letters of your font in order to find it.
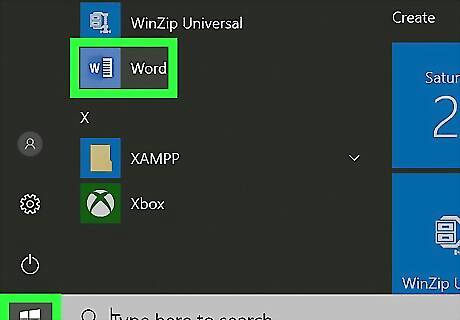
Open Microsoft Word. Its app icon resembles a white "W" on a dark-blue background. If Microsoft Word was already open, close it and then re-open it. Failing to do this may prevent your font from showing up until you restart Word.
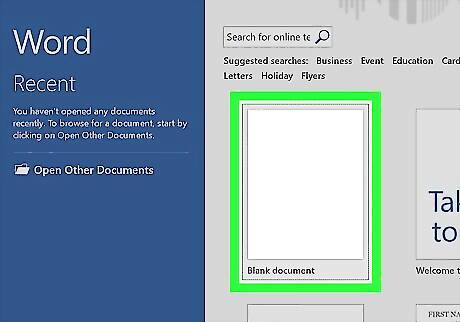
Click Blank document. You'll find this option in the upper-left side of the launch page. Doing so opens a new Word document.
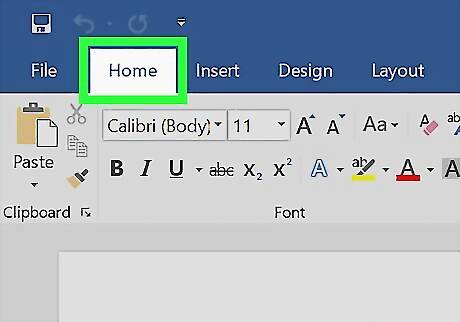
Click the Home tab. It's at the top of the Word window.
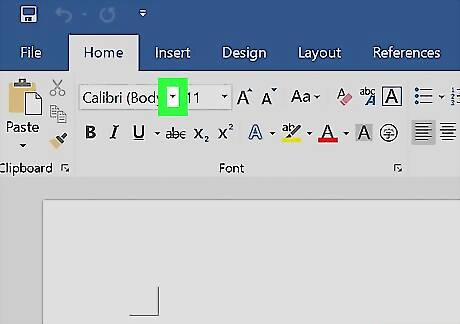
Open the "Font" drop-down menu. Click Android 7 Dropdown to the right of the current font's name in the toolbar. You should see a drop-down menu appear.
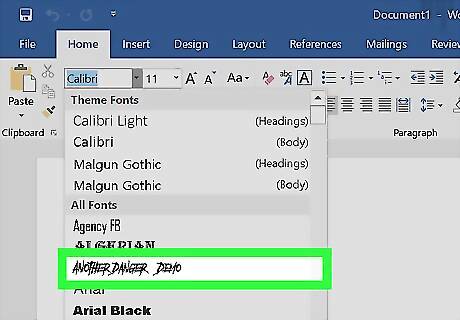
Find your new font. Scroll through the drop-down menu until you find your font's name.

Test the font. Click the font's name, then try typing using the font. You may need to adjust the size of the font in order for it to appear normal.


Comments
0 comment