views
Fitting Edging around a Garden Bed
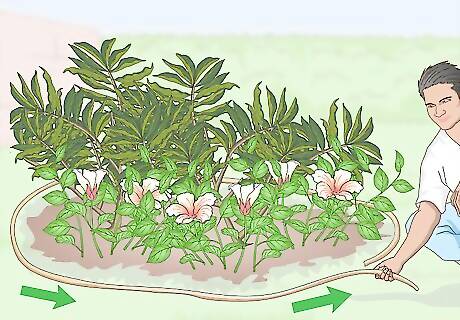
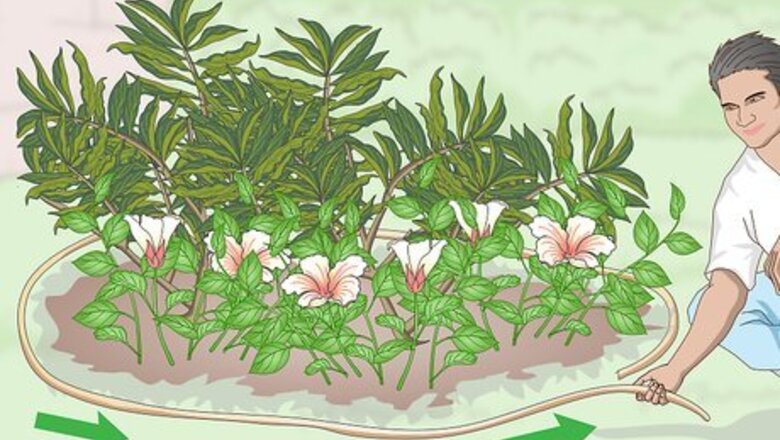
Measure the outline of the garden bed using rope. Lay out a piece of rope around the garden bed where you plan to install the edging. Then, measure the rope with a tape measure to determine how much edging you'll need. You can purchase plastic edging from most gardening centers and home improvement stores. Besides giving a neat look to the lawn, it acts as a barrier and prevents grass from growing in unwanted areas. Plastic lawn edging is commonly sold in 20 ft (6.1 m) lengths. The height of plastic lawn edging varies across brands. It typically ranges from 3–6 in (7.6–15.2 cm) high. Generally, 3 in (7.6 cm) edging is inexpensive and widely available, yet short enough for the grass rhizomes to easily grow into the garden bed, while 6 in (15 cm) is more expensive and difficult to find, yet will make garden bed maintenance easier in the long run.
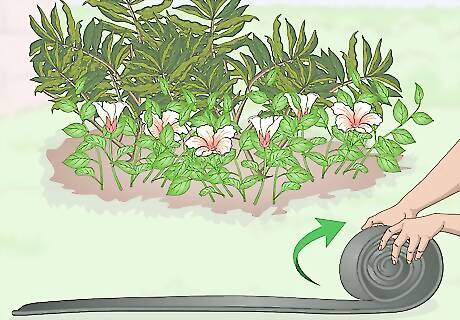
Unroll the plastic lawn edging the day before you want to use it. Remove any plastic coverings or packaging. Lay the plastic lawn edging flat on the ground. Tip: If possible, leave the plastic edging in the sun over the next day. The sun will warm the plastic and make it less curled, and therefore easier to shape and use.
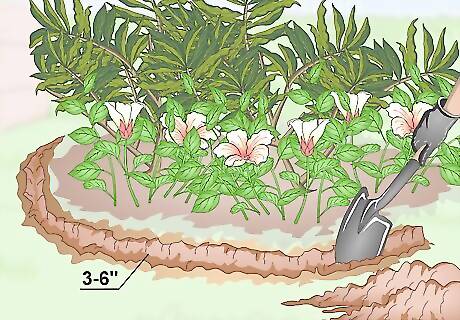
Dig a 3–6 in (7.6–15.2 cm) deep trench around the garden bed. Use a shovel to dig a neat trench around the whole bed where the plastic edging will go. Dig to the depth of the leading you plan to use. Keep the soil that you have dug up close by, as you'll be using it again soon. The width of the trench must be slightly larger than the width of the edging. Although it depends on the width of your particular edging, approximately 2 in (5.1 cm) is normally sufficient. You can use a rototiller rather than a shovel if you prefer. Make sure you dig the trench deep enough so the plastic edging doesn't stick up out of the ground. If the edging sticks up too much, you could hit it with your lawn mower and cause damage.
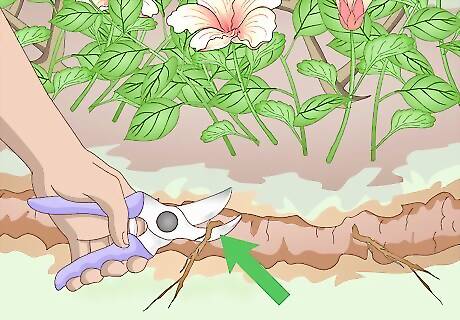
Cut off any small roots that are in the way of the trench. Use pruning shears to remove any plant roots that are interrupting the 3–6 in (7.6–15.2 cm) deep trench. Leave any large, tree roots that are in the way, however, as it will be easier to cut the edging to accommodate these. Once you have cut away the small roots, remove them from around the trench so that you have a clear space to work.
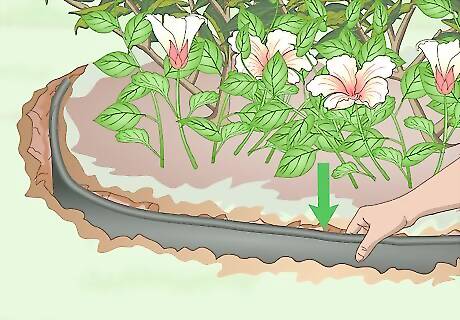
Place the plastic edging into the trench. Push the edging firmly into the trench and against the garden bed. Make sure that the top, decorative edge is just at the surface level of the trench. Note: Place the edging into the trench so that the lip on the bottom points toward the garden bed rather than the lawn.
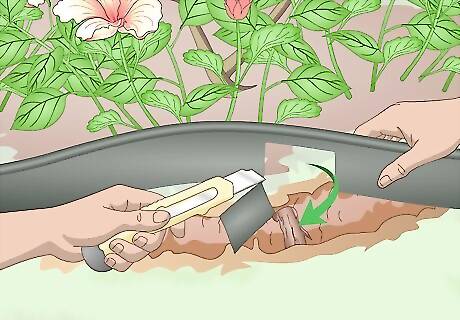
Cut a notch in the plastic edging if there is a large tree root. Use scissors or a utility knife to cut a gap in the edging if there is a large root. Line it up with the root to check that you have the right spot. Avoid placing edging around garden beds where there are many large tree roots, as you don’t want to cut away at the edging too much.
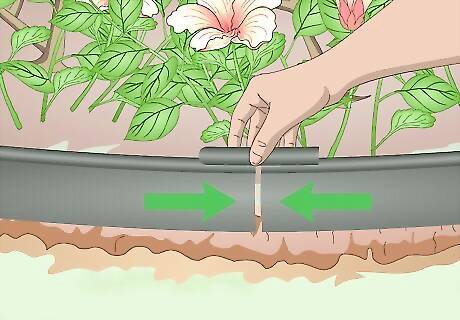
Use a connector if the trench is longer than 1 roll of plastic edging. Slide the connector onto the end of each roll, so that the ends meet in the middle. Firmly push the connector down onto each end so that it feels sturdy and attached. With an 8 in (20 cm) long connecter, 4 in (10 cm) from each end of edging will be used. The plastic lawn edging kit will come with connector pieces that you can use to connect 1 roll to another.
Filling and Setting Edging
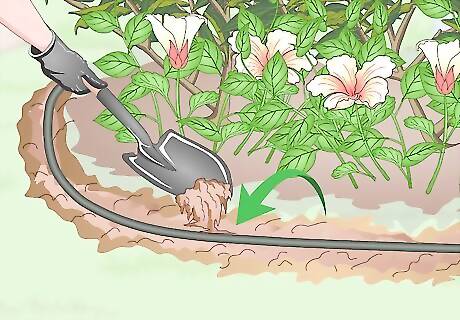
Fill the soil back into the trench. Use a shovel to place the soil that you previously dug up back into the trench. Fill the soil to the height where only the top ½ or ⅓ of the decorative, circular, edge is visible. The top border of the lawn edging can stick out approximately half to three-quarters of an inch. The inexpensive lawn edging is sold at 3 inches in height. But it is better to use at least 4 inches and up to 6 inches to prevent grass from growing underneath and past your lawn edge. Make sure that the soil is tightly packed. The edging will be the right height so that a lawnmower won’t get caught on it.
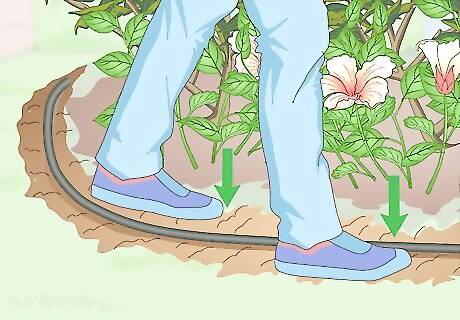
Stomp along the curves of the edging with your feet. Flatten the soil to make it compact. This will push the edging outwards along the curve.
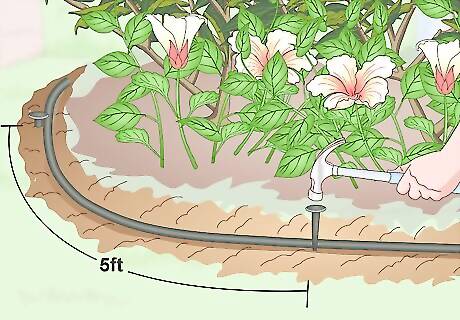
Install a stake at every 5 feet (1.5 m) along the edging. Place the stake into the soil so that it is right next to the top of the edging, and the pointed tip is going towards the "V" shape at the bottom. Hammer the part of the stake that is above the soil, to make the pointed tip go through the edging. Note: Stakes help to sturdy the garden bed and edging as the soil moves over time. This way, the edging cannot move any further away from the bed, and the soil will tightly compact it in the trench. Stakes for plastic lawn edging are either straight or perpendicular in shape. These are installed in the same way.
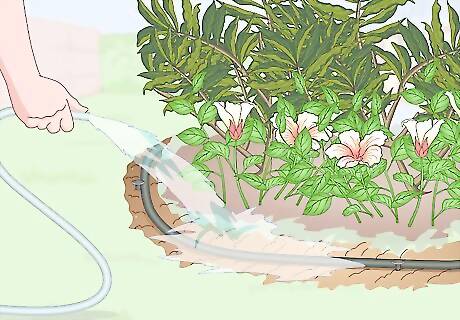
Water the edging to settle the soil. Walk along your newly installed edging with a garden hose. Water the soil on both sides of the edging lightly. You don’t need to saturate or flood the soil, as just enough water to make it moderately damp will do.
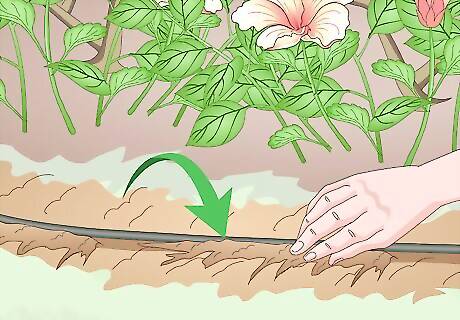
Backfill the edging into any gaps in the soil. Use your hands to push soil into any small gaps that you may have missed between the garden bed and the lawn. Check to see that the edging feels sturdy in all places, and add more soil to any areas that require more support.


Comments
0 comment