views

Head for the Skype website. On your browser, type www.skype.com on the address bar and press Enter. You’ll be taken to Skype’s home page.

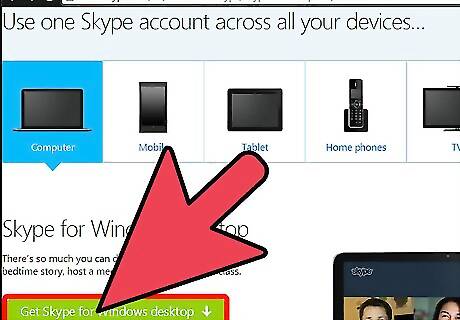
Access the Downloads page. Click the Downloads tab at the top of the website, and select “Computer" from the type of devices at the top of the window.

Click on "Get Skype for Windows desktop". Downloading of the installer will automatically commence.

Install Skype. Click the Skype download file at the bottom of your web browser once it is done downloading. The Skype installer will launch. Click the “I Agree” button at the bottom right corner of the installer window. After clicking the button, the installation will begin.

Log into Skype. After the installation, the Skype log-in window will appear. If you have an existing account, click "Skype Name" and simply enter your username and password. If you do not have an account, click the “Create an Account” button to get started.


Comments
0 comment