views
Flattening the Cake Without Cutting It
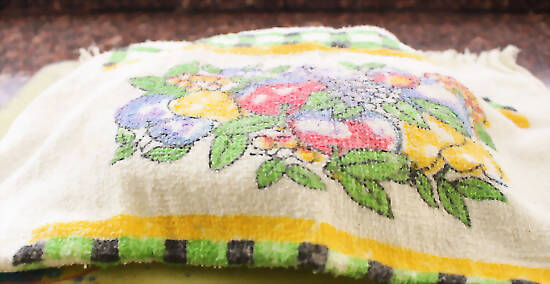
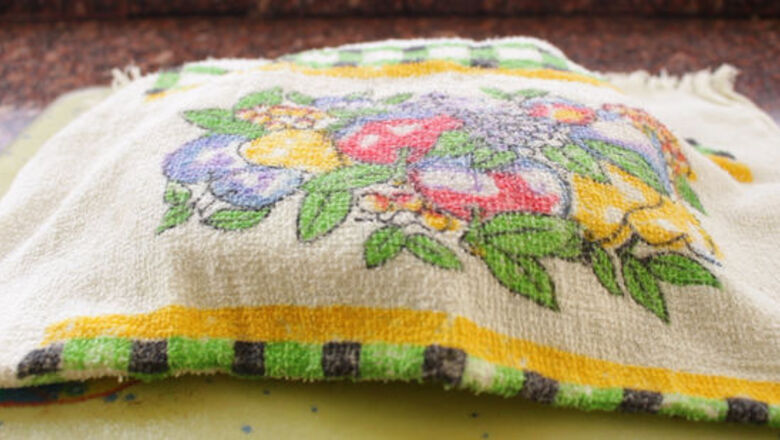
Cover the cake with a clean, damp dishcloth. This helps the cake to readjust its domed shape and the dampness prevents the cloth from sticking to your cake. Because it is straight from the oven and not yet cooled and set, using a dry dishcloth may cause the fabric to cling to the moist cake and ruin the top layer once pulled off. Preferably, do this when the cake has come straight from the oven. With high temperatures, your cake's domed layer can be remedied prior to the time it cools and begin to set its shape.
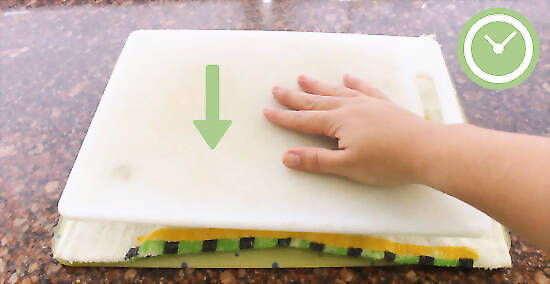
Place a flat object on top of the dishcloth and press down on the cake. The damp cloth should be acting as a barrier between the flat object, such as a large book or cutting board, and your cake. Hold down the object against the cake's surface for a minimum of thirty seconds. Be sure that you are pressing the object down evenly, with one side not being pushed on more than another. Do not press down with too much force, or it may cause the surface your cake to appear concaved, which makes it as difficult to decorate and layer as a domed surface would.
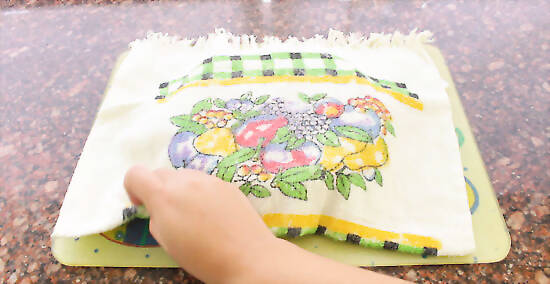
Lift off the object gently from the surface of your cake. The cake underneath should now be completely flat and ready to decorate. You can begin icing the surface of the cake and, if need be, stacking any layers to form the cake of your dreams. If the surface does not flatten and the cake is still hot, cover the cake with the damp dishcloth once again and repeat the pressing process. If it does not work, your cake may have cooled too much. If this is the case, you will have to level off the domed section of your cake using a serrated knife.
Levelling Your Cake with a Knife
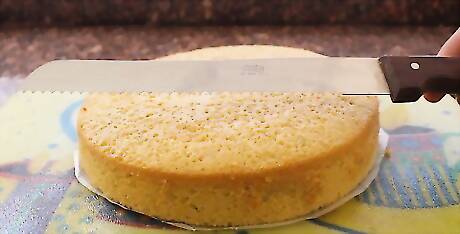
Find a strong serrated knife to level your cake with. The knife should be long enough to comfortably cut through the width of the cake without much effort, and sharp enough to do so with little excess motion on your part. Having to perform an exaggerated sawing motion can cause you to have a shakier hand, which can result in an uneven layering process and a cake difficult for you to decorate. Using a serrated knife, as opposed to a plain edge blade, creates a smoother surface once cut.
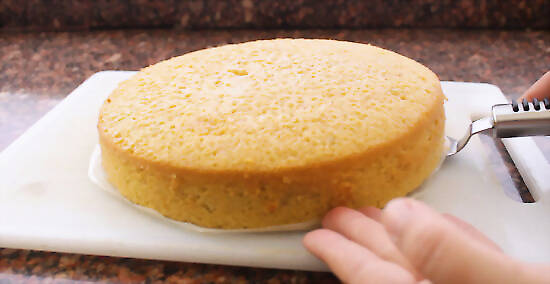
Place your cake on a flat surface in your workspace. Ensure that the area you place the cake on is flat, so that the resulting layer you remove from it during the levelling process is not sloped. Be sure that your cake is completely cooled prior to cutting any of it off, as this ensures a smoother cut with minimal crumbling. A crumbling cake can cause an uneven surface to form when cutting off the top layer.
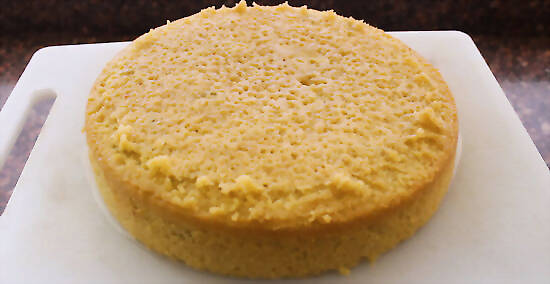
Place your cake on a turntable and comfortably stand in front with your knees shoulder-width apart. Hold your knife with your elbow against the side of your torso and place the blade against the side of the cake where you want to begin levelling it off. Holding the knife still, slowly spin the turntable all the way around against the knife to mark off the section you want to remove. Ensure that your starting and ending points meet once you've made the complete rotation; if they do not, start off the marking process again. Using that mark as a guide, begin spinning the cake slowly on the turntable once again, pressing the knife into the cake along the original marking. Keep turning the cake and pressing the knife toward the center of it until the top layer comes right off.
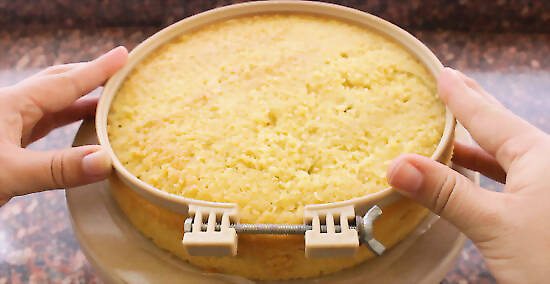
Use an embroidery hoop to keep your hand steady while cutting off the uneven surface. An unexpectedly helpful way to steady your hand is by placing an inexpensive sewing hoop snugly around the top of your cake. Adjust the knob so that it fits at the height at which you'd like the layer cut. Rest your serrated knife on the top edge of the hoop and slowly cut across the cake with a sawing motion, moving the blade away from the direction of your body. Moving the knife level with the hoop will keep the blade from angling down and creating a sloped surface.
Evening Your Cake with a Cake Leveller
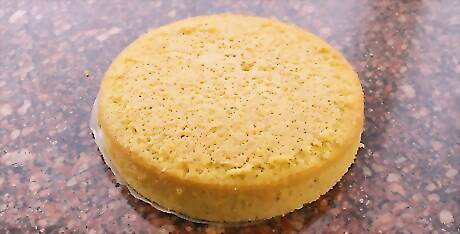
Place the cake on a flat surface in your work space. A countertop or table is an ideal place to use a cake leveller, as its even work area helps ensure a steady hand when removing the top layer of your cake. Remove any objects that may be obstructing you in your workspace. This is so that you can move your arms freely without knocking into anything, which may cause an uneven cut and thus, not properly levelling the surface of your cake.
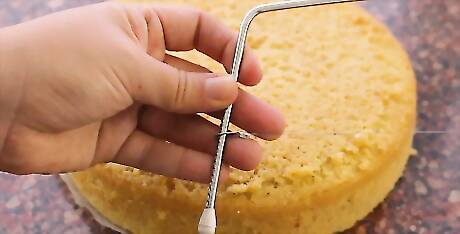
Adjust the height of the blade to your desired height. This can be done by shifting the notches along the side of the device's handle either up or down. Position it so that the entire domed surface will be removed and the top of your cake will be completely flat. To be sure of this, set the blade so that it rests about 1cm (2/5 in.) below the top edge of the cake.
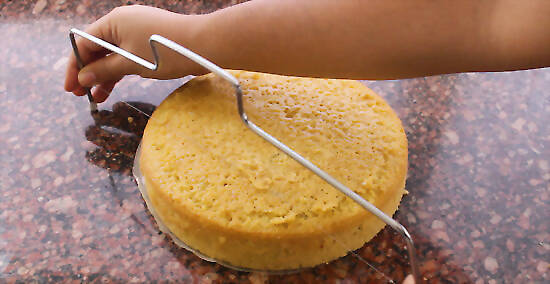
Move the cutting wire into the cake using a gentle sawing motion. Make certain that the legs of the cake leveller are flat against your work surface as you begin. Once it has passed through the cake's crust, you should lightly pull the wire through the cake in a steady motion until it comes out the other side. Be sure the feet of the cake leveller remain on the countertop the entire time you are cutting to ensure a smooth, even surface.
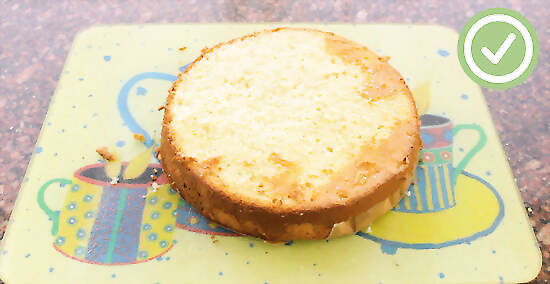
Lift off the top layer of cake once it's been cut through. At the end of the cutting process, the dome on the top of the cake will slide off cleanly and evenly. Once it is removed, you can begin icing the surface of the cake. You can put the excess piece into your compost bin, or eat it!


Comments
0 comment