views
Gathering Materials
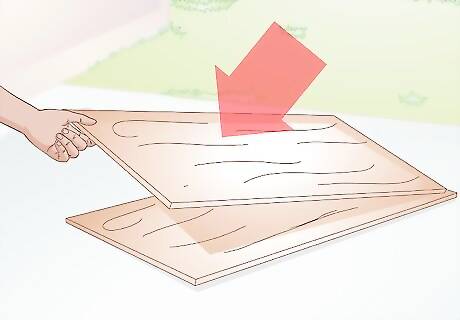
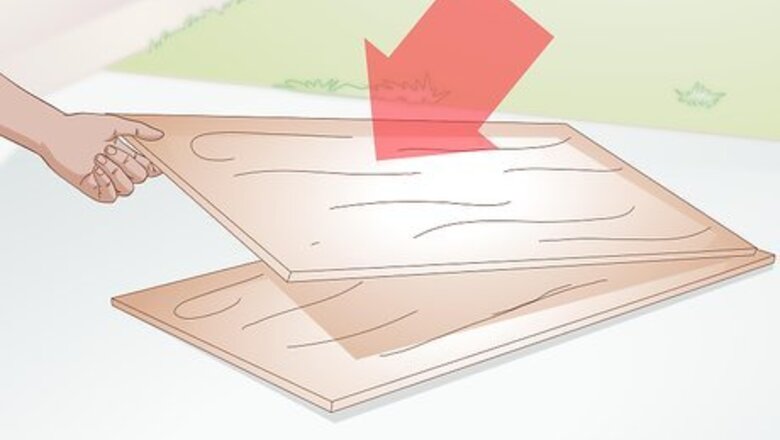
Get wood panels. The nest has to be made of wood. Parakeets like to chew and they will shred up a cardboard box quickly. Go to the hardware store and pick up some wood paneling to build your cage. Panels of plywood board will work best. You'll want wood that is at least 1.5 to 2 cm (.6 to .8 inches) thick, though it can be thicker as well. You'll need to cut the wood into 4 panels of 12" x 14" (30.5cm x 35.5cm), and 2 panels of 14" x 14" (35.5cm x 35.5cm). In total, that's about 90 square feet, so make sure you get at least that much wood to ensure you have enough.
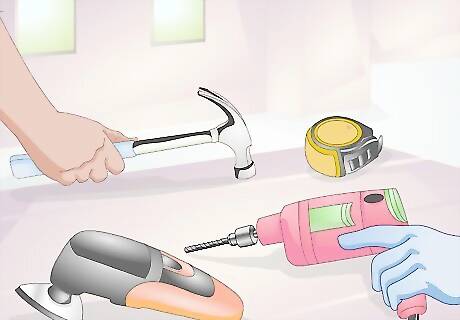
Get the necessary tools. You'll need a few tools to make the box, so pick them up at the hardware store if you don't already own them. A circular saw. If you don't get the wood pre-cut into the proper size at the hardware store, you'll have to cut it yourself. The best way to get a straight, clean cut is with a circular saw. A rotary cutting tool. This works much like a power saw, but has a long and slender blade used to cut holes. You'll need this to cut a round entrance for the nest. A power drill. You'll have to drill a few holes to assemble the box, so a power drill is the best option here. A hammer. You'll have to nail the box together, so a hammer is a necessity. Remember nails as well. A ruler or tape measure. You'll need this to properly measure the wood you're cutting.

Get the necessary safety equipment. You should never operate power tools without proper protection. To ensure your safety, there is some safety equipment you should get before starting the project. Eye protection. Goggles or safety glasses are a necessity when using a power saw or drill. Debris can fly into your eyes and cause pain and damage. Ear protection. Power tools are loud, and prolonged exposure to the sound can damage your hearing. Ear plugs or specialized earmuffs will prevent any hearing problems. Gloves. When handling wood, you could cut yourself or get a splinter. Prevent any avoidable injuries by wearing a thick pair of work gloves. A dust mask. Sawdust will fly around when you're sawing and drilling, which could get into your lungs and cause irritation. Wear a dust mask to protect your lungs.
Building the Box
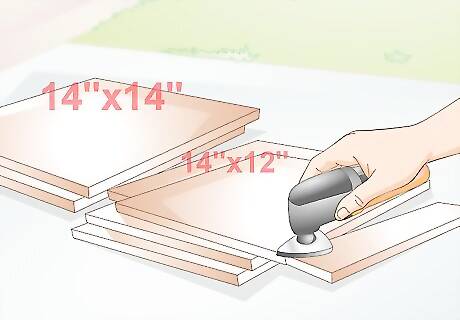
Cut the wood to the proper size. You can either get the wood pre-cut at the hardware store, or you could cut it yourself. If you cut it yourself, you'll need 4 panels measuring 14" x 12" (35.5cm x 30.5cm) for the sides of the nest. Then you'll need 2 panels measuring 14" x 14" (35.5cm x 35.5cm) for the top and bottom. Be sure to measure carefully before cutting. Use a carpentry pencil to mark the wood to keep your cuts accurate and straight. If you mess up, you might have to make another trip to the hardware store for more wood, which will cost more time and money.
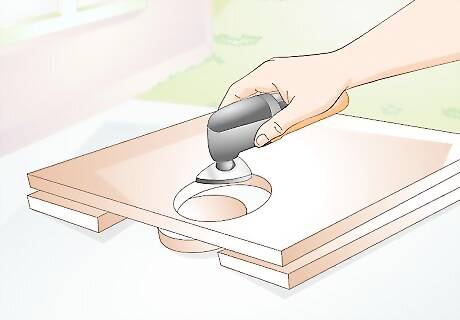
Cut a round hole in one of the side panels. This will serve as the entrance for the box. Using the rotary tool, cut a circle that is 3 inches in circumference in any one of the side panels. Locate it close to the floor of the cage so the bird can walk right in. Remember, the formula for circumference is pi (3.14) x the circle's diameter. So to get a circumference of 3, you'll need a diameter of .95 inches -- round up to 1 inch.
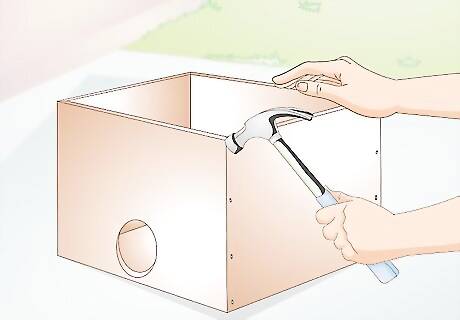
Nail the sides and the bottom of the box together. It will be much more convenient if you make a box with a removable top. That way you'll be able to clean it easily. To do that, hold off putting the top on the box for now. First nail all of the side pieces together. Place one nail in the bottom corner and one in the top corner of each side. Then nail the bottom on by putting a nail in each of the 4 corners. Be sure to keep the nails straight as you hammer them in, or they'll go off center and pierce the inside of the box. If this happens, pry the nail out and try again.
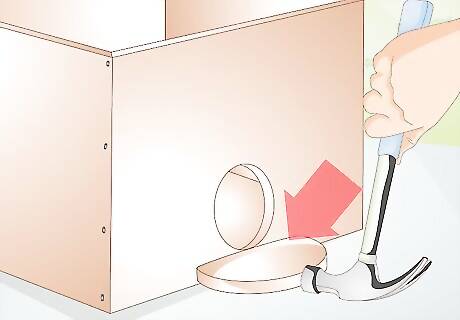
Place a perch underneath the hole in the outside. Give your parakeet a perch so it can land and step inside the box. Cut a piece of wood a few inches square and use wood glue to secure it just under the hole you cut.
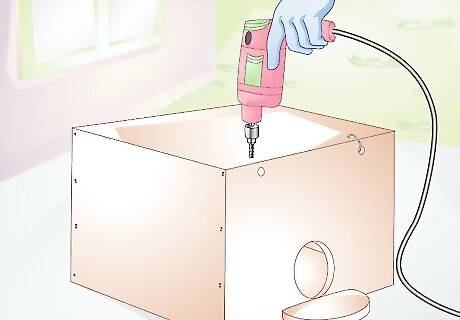
Drill holes to secure the top of the box. A simple way to make the top of the box removable is by using wire to secure it down. You'll just have to drill a few holes. First drill two holes on both the left and right sides of the box. Then drill corresponding holes in the top portion. Place the top on the box and run wire through to the holes. Tie the wire to secure it to the box. Now, you can simply untie the wire and take the top of the box off when you want to.
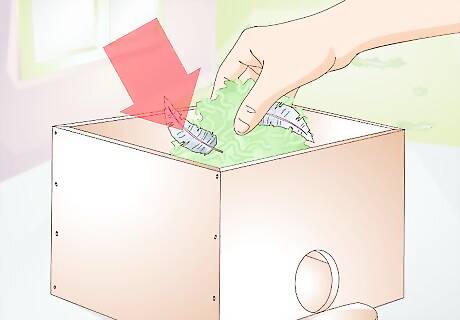
Decorate the bottom of the box. Birds often place natural materials in their nests for comfort and security. You can imitate this by placing feathers, straw, or wood shavings in the box.



Comments
0 comment