views
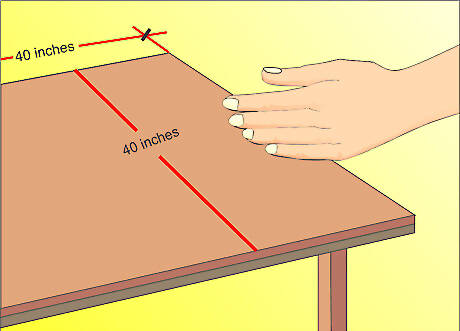
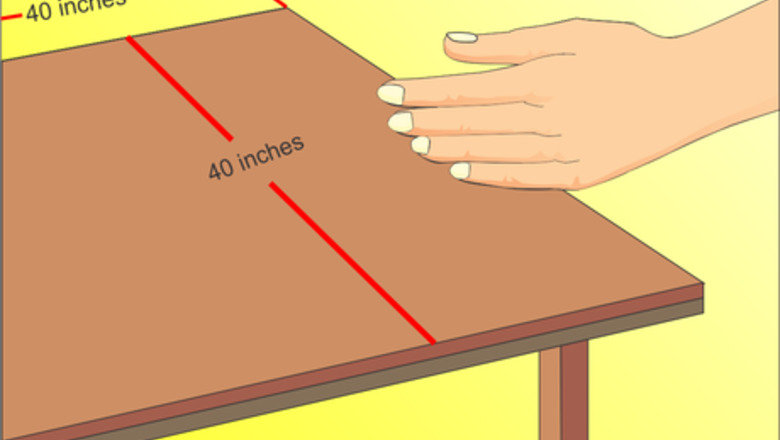
Prepare a work table or other flat surface large enough to lay out a full sized wagon wheel on. For a 36 inch (91cm) diameter wheel, you will need about 40 inches (101cm) of width and length.
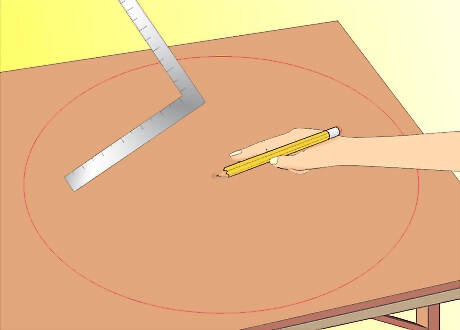
Mark the center point of your work surface, then use this as an anchor point to scribe a line giving you the circumference of your wheel.
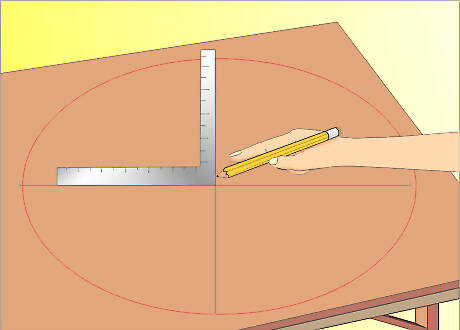
Divide the circle you have scribed into four equal segments, either by using a framing square working off the center lines of the table, or by measuring the circumference and dividing it by four, then measuring these lengths around the arc of the circle.
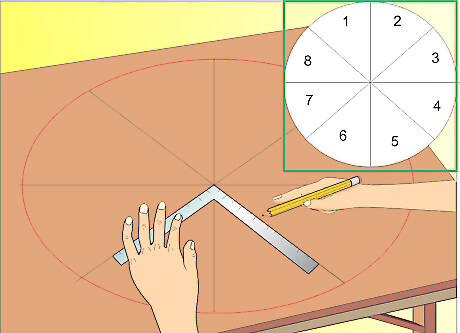
Split each of these arcs once more, so you now have the circle divided into eight equal sections, being careful to be as precise as you can be...
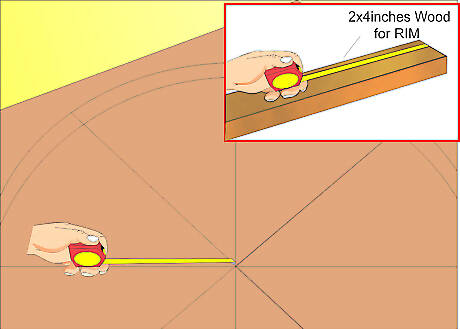
Measure in from the circle toward the center the distance equal to the width you want your rim to be. If you are using 2X4 nominal width lumber, you can figure the maximum width your rim can be at about 2 3/4 inches (7cm) for reasons you will see as you proceed.
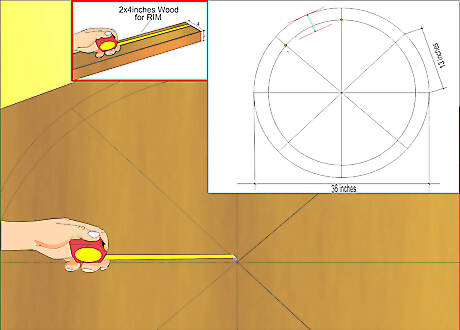
Measure the length of each segment on a straight line from one side of one arc to the other. For a 36 inch (91cm) diameter wheel, you will find this length to be about 13 inches (33cm).
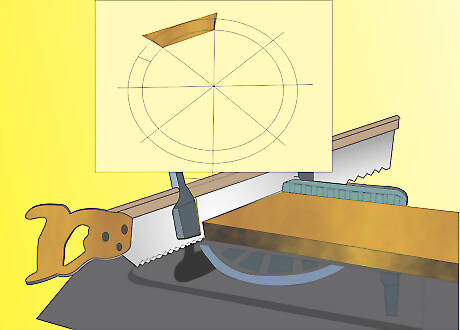
Set a miter saw to cut each end of 8 boards of the length you determined in the previous step with an angle of 22.5 degrees on each end, with the long points on the same edge of the board, and measuring from the long point of one angle to the long point of the other.
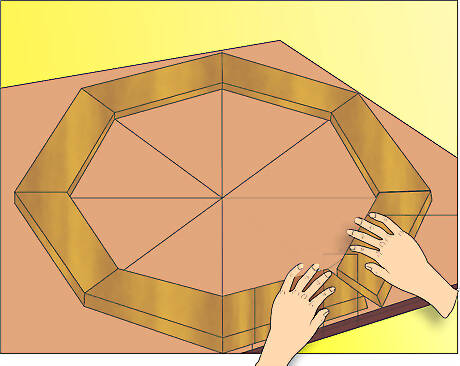
Lay these pieces of lumber around the circle you have scribed, making sure each end fits tightly, and the joints between the boards are aligned with the angles you scribed in the earlier step. When you are satisfied the cuts fit, and the overall shape is as desired, fasten each board together either with biscuits, or with wood glue and countersunk wood screws.
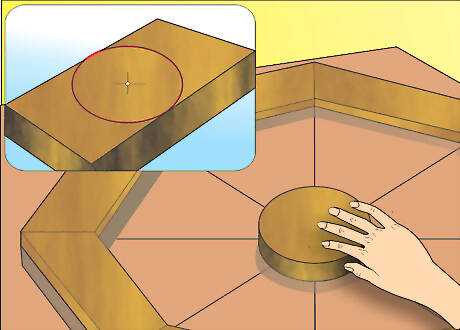
Build a hub for the wheel by cutting boards large enough for the diameter you desire, and center it over your original center point on your work surface. Then, fasten it down with a screw to temporarily hold it in place.
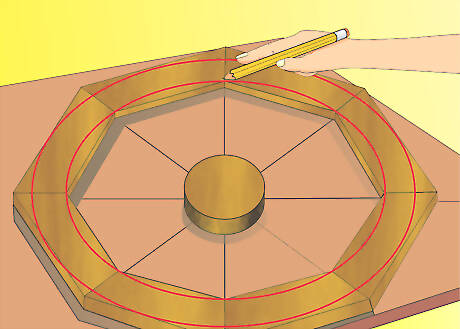
Center the eight sided (octagonal) shape you created earlier on the outer circle you scribe, and fasten it down temporarily, as well.
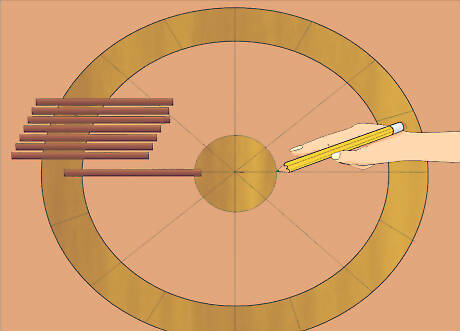
Set a point on the center mark to scribe the outside and inside circles that form the rim, and to scribe the hub circle as well.
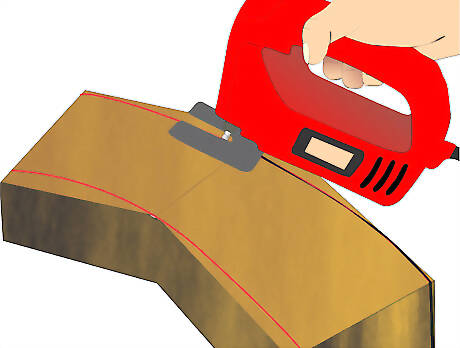
Use a jigsaw or bandsaw to cut these circles, giving the hub and wheel rim their final round shape.
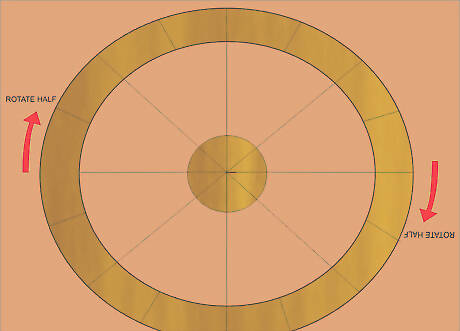
Place the rim and hub back in their centered positions and rotate them one half the length of one segment. This will be the position you will mark the spokes at, and they should be centered between the joints in the rim of your wheel.
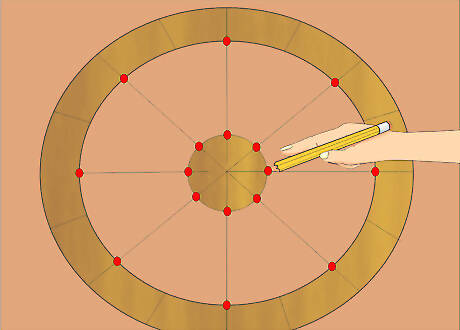
Mark each end of the spoke location, on the wheel and on the hub. Making sure these are in line will help keep the spokes straight when the wheel is assembled.

Drill holes through the rim of the wheel large enough for the spokes to fit through. Drill holes in the hub about 1 to 1/2 inches (2.5-3.5cm) deep. First, use a smaller bit to act as a guide. Then use a larger bit to make the bigger part of the hole.
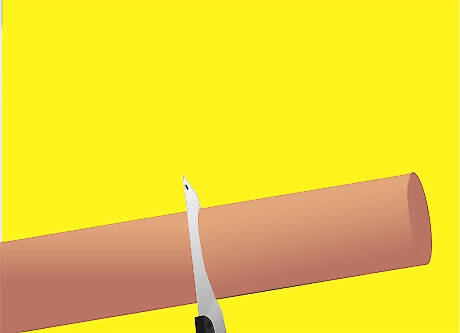
Cut dowels long enough to go through the rim and into the hub. You can cut them a little longer than necessary and trim them after the wheel is assembled.

Insert the dowels through the rim into the hub, gluing them in place. Make sure each fits correctly so that the hub stays centered in the rim.
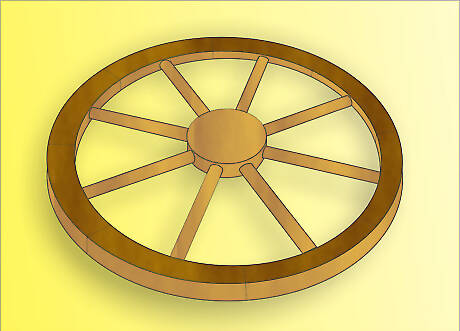
Sand down any rough edges, trim spokes (dowels) flush with the outside diameter of the rim, and finish the wheel as you desire.



Comments
0 comment