views
Making the Suit
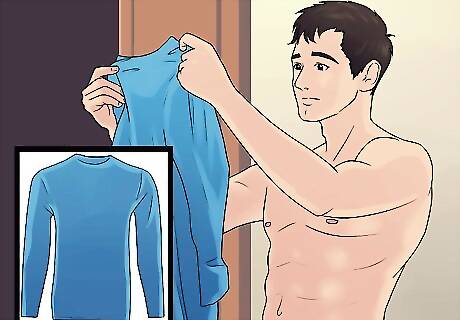
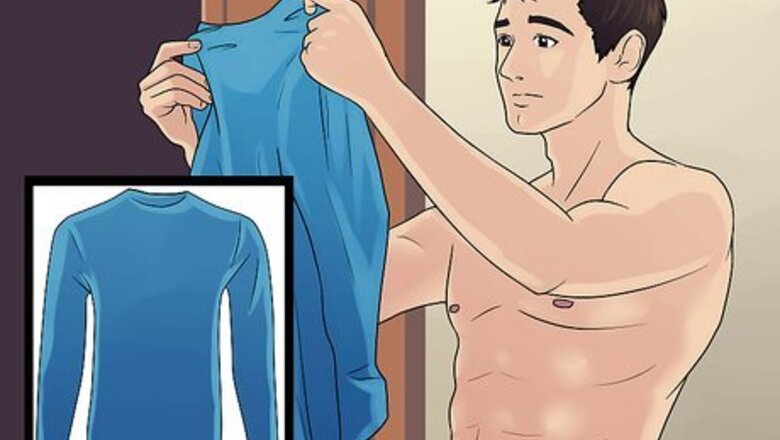
Find a long-sleeved shirt in blue. You'll to find a spandex (or equally stretchy, thin fabric), long-sleeved shirt. Most athletic clothing stores will carry this. Try to find one that's as plain as possible, with few logos and print. The acceptable places for there to be a logo or writing on the shirt are the middle of the chest and the back of the collar, as these will be covered by the emblem and the cape.
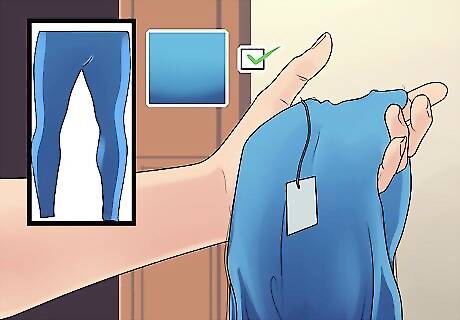
Get blue leggings. Purchase some blue leggings either online or at a clothing store. Try to find leggings in a blue that's as close to the color of the shirt you found as possible. Note that for men shopping online, you'll have to get a size or two smaller than usual when shopping for women's leggings. You can also get blue tights instead, either at an online dance-wear store, or a dance store near you.

Search for “superman” on Google images. The results will contain several photos of the superman emblem. Find one that's red and yellow. Do not worry if it has black outlines, as you are going to be cutting it out anyway. Print out the superman emblem.
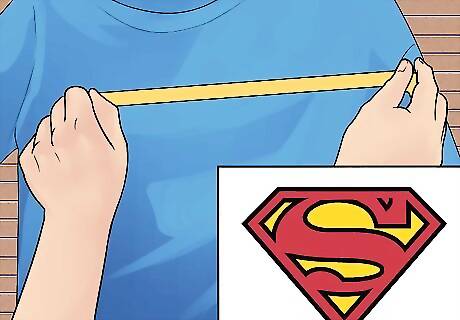
Blow up the emblem so that it covers your chest area. Any copy center will show you how to blow the image up larger. Go to a local copy center like Kinkos or Fed-Ex. Make a copy of the image that is large enough to fit on the chest of the shirt.. Before making the larger copy, you'll want to measure the width of the chest of the shirt. Take 2-4" off that measurement. That's roughly how wide you'll want the final "S" emblem to be. The exact size is up to you.
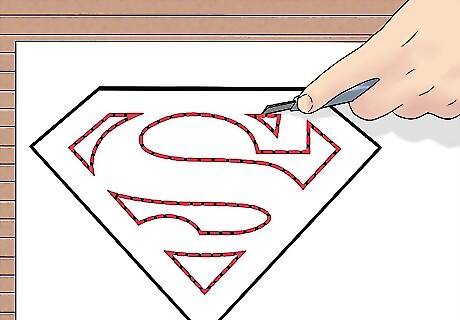
Make a stencil out of the printed out emblem. Use a utility knife to cut out the yellow from the printed out emblem. This will leave just the red "S", which you'll use as a stencil.
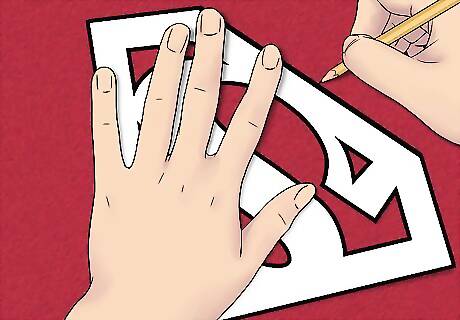
Use the red "S" stencil on a piece of felt. Glue the stencil to a piece of red felt with a craft spray adhesive. Use a pen to trace the outside of the emblem on the felt. Cut the emblem shape out of felt. Trace the internal parts of the emblem with a pen and cut those out with a utility knife. You can also use sheets of craft foam to cut out the emblem so it has a more 3-dimensional look. These craft foam sheets can be found at your local craft store or online:
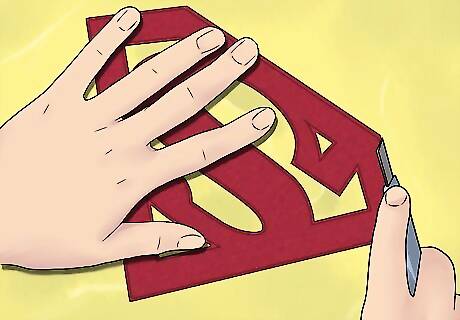
Attach the red "S" to the yellow vinyl. Use rubber cement to attach the red "S" to a piece of yellow vinyl. Then cut the yellow vinyl around the red emblem so that you're left with a superman emblem in red and yellow.
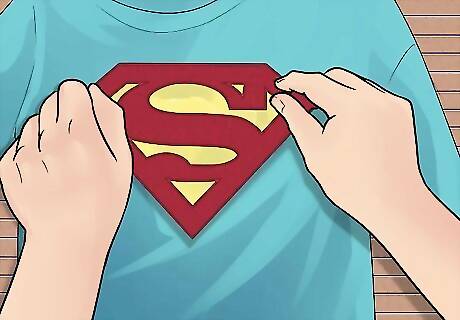
Attach the emblem to the shirt. Put on the shirt so that you can get the placement right. Stand in front of a mirror and attach the emblem to the center of your chest using foam double-sided tape. Have a friend help you if you need it.
Adding the Cape
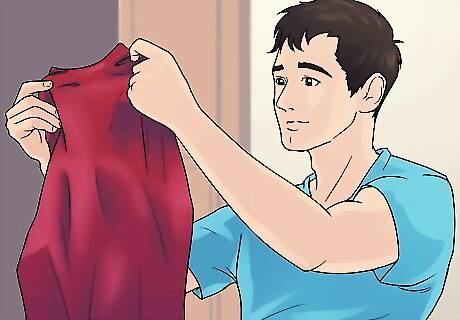
Purchase three yards of shiny red synthetic fabric. Get about 3 yards of 60" width fabric. You can use felt if you can’t find lycra. It’s best to choose a type of fabric that doesn’t fray and makes a clean line without hemming. Try to find a color as close the color of the red in your emblem as possible.
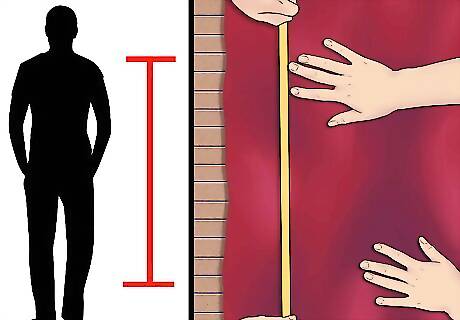
Measure a rectangle of red lycra that reaches the top of your calves. Get someone to help you use measuring tape to measure from your collar to the top of your calves. Cut your red fabric to this length with fabric scissors.
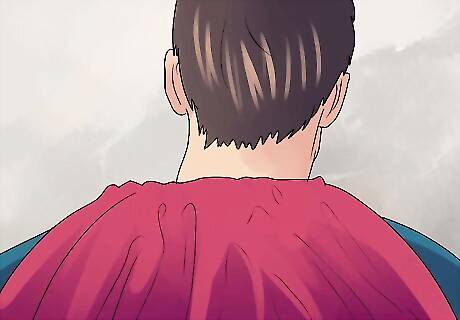
Tuck the top of the rectangle around your neck. Tuck one to two inches of the red fabric into the back collar of the shirt. Pin it in place. You'll need a friend to help you do this while you wear the shirt you're using for the costume.
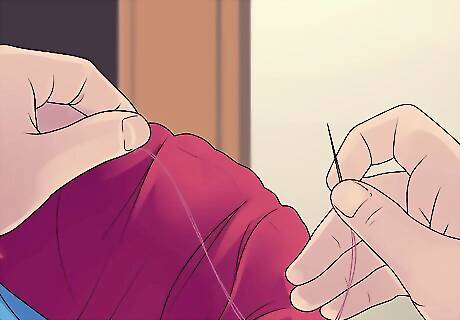
Hand sew or machine sew the cape into the back collar of the blue shirt/leotard. Take off the shirt or leotard you are using for your costume, ensuring the red fabric is pinned in place on the back of the shirt or leotard. Then, use needle and thread to secure the cape to the back collar of the shirt or leotard. If you have a sewing machine, you can sew the cape on by running the fabric through the machine. To create a finished look, hem the sides and bottom of the cape with a one-fourth inch (0.6cm) hem using your sewing machine or using needle and thread.
Adding the Men’s Briefs
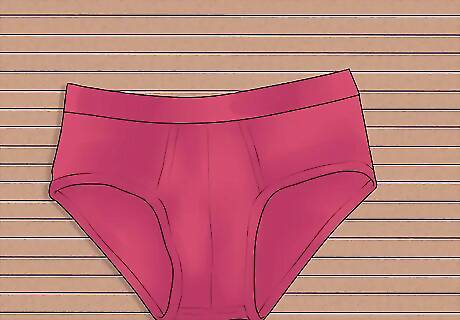
Find a pair of men’s red briefs. Look for high waisted men’s briefs in red at your local men’s clothing store or online. The briefs will help to add a finishing touch to your superman suit. If you cannot find a pair of men’s red briefs, you can try to dye men’s cotton white briefs red using red dye. You should aim to get the right superman red color, using superman colors on the internet to find the right shade.
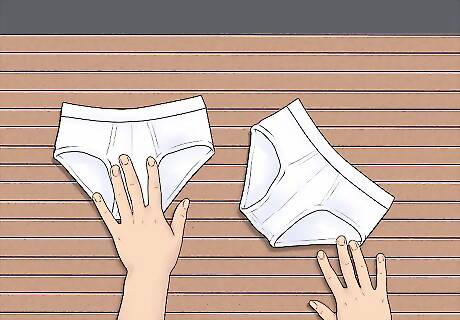
Make your own red briefs. If you cannot find a pair of men’s red briefs or if you are looking to really DIY this costume, you can make your own red briefs. Start by finding a pair of men’s white briefs, preferably high waisted.
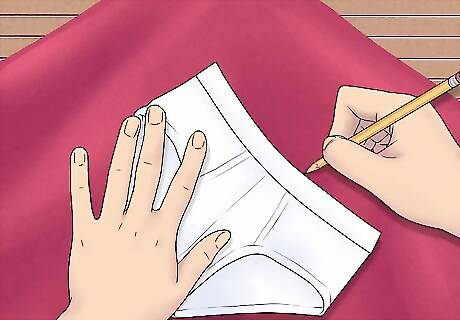
Trace the briefs on a red stretchy fabric. You'll need a red fabric like spandex, lycra or polyester. Lay your red fabric on your worktable. Lay the briefs on the fabric so that the top hem of the briefs lines up with edge of the fabric. Trace around the briefs with a piece of tailor's chalk. Add about two inches to the width of the briefs in your tracing, to account for the width of your body.
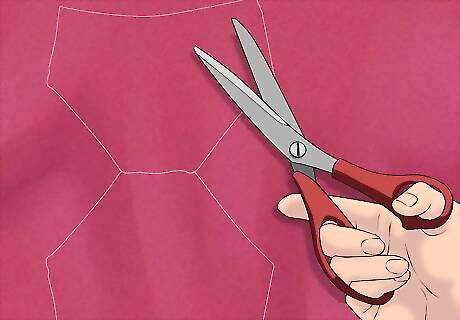
Outline the reflection of the brief shape. First, cut out the brief shape, all the way to the crotch, without cutting out the whole thing. Flip the fabric over on itself where the crotch meets the fabric, as if you are making a reflection. Draw another chalk outline on the other side that connects at the crotch.
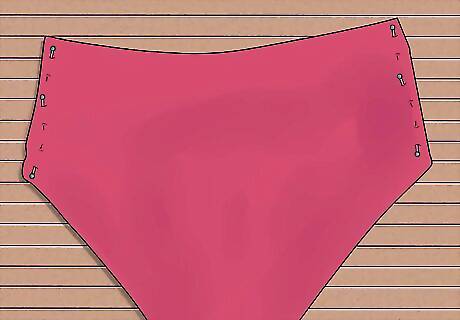
Prepare the briefs for sewing. Cut out your briefs. Fold them in half at the crotch. Pin the sides together, leaving the leg holes and top of the briefs open.
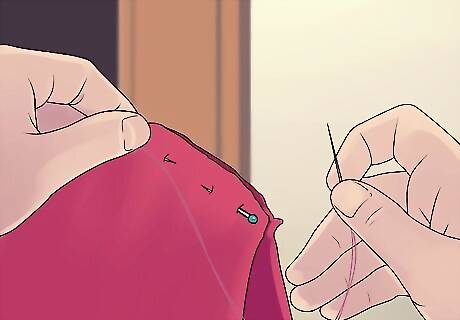
Sew the sides of the briefs together. Either hand sew or machine sew the sides of the briefs together with red thread. Try the briefs on over your tights or leggings.
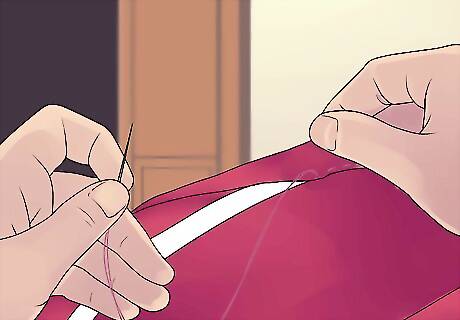
Sew the elastic into the waistband. To make the briefs wearable, first measure a length of elastic that's the same measurement of your waist minus an inch. Sew the elastic into the inside of the top of the red briefs.
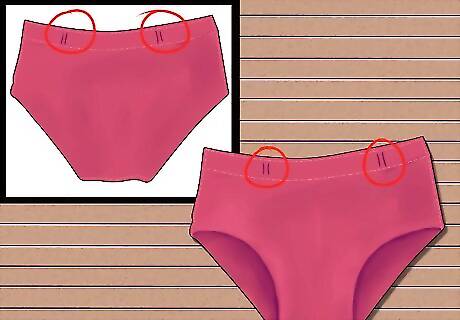
Cut eight vertical slits in the briefs. Cut two slits that are about two inches (5cm) tall and one inch (2.5cm) apart just below the right hip bone and two slits just below the left hip bone. Repeat at the back and at the sides. These will be your belt loops.
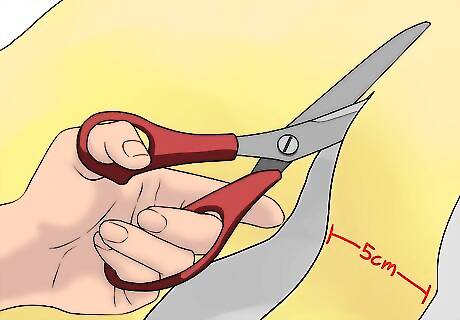
Cut a piece of yellow felt that is slightly larger than your waist circumference. It should be just less than two inches (5cm) thick.
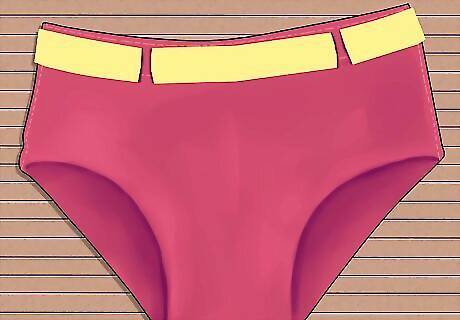
Thread the belt through the belt loops. In the back of the briefs, attach the belt to the briefs by sewing them in place. You want to do this in back, as the cape will cover it.
Coloring the Boots
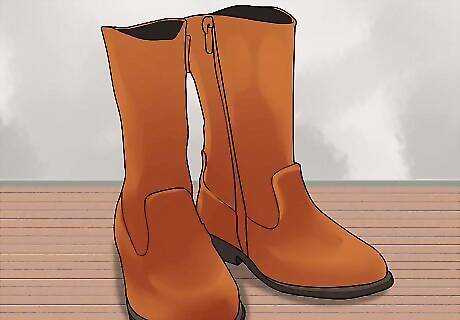
Shop thrift stores around the area. Try to find cowboy boots, riding boots or rubber boots. The aim is to purchase boots that rise past mid calf, to mimic superman’s signature red boots. Look for boots that have very little in the way of patterns and embellishments. You're looking for the most basic calf high boots you can find.
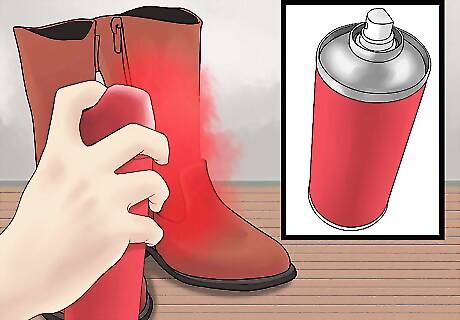
Use bright red spray paint. Pick a spray paint that is made for use on leather or vinyl and look for a glossy finish if you'd like your boots to be shiny. For full coverage, also purchase a primer. You will not need to sand down the boots as long as you use leather or vinyl specific spray paint. Spray the boots. Spray the outside of the boots with primer. Wait until it dries. Follow up with a few coats of red spray paint. Wait a day between coats. You may need two coats of red spray paint to cover the boots well.
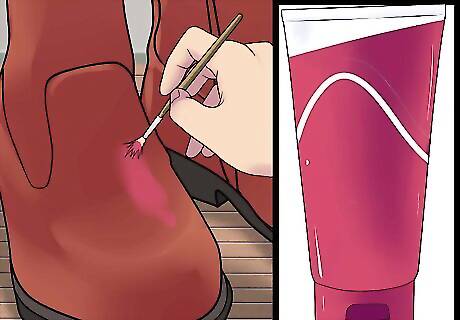
Apply acrylic red paint on the boots. If you do not want to use spray paint, you can use red acrylic paint on the boots instead. You will first need to prep the boots by sanding them with fine grit sandpaper to remove any shiny areas on the surface of the leather or vinyl. Then, wipe the sanded leather or vinyl down with rubbing alcohol to remove any surface finishings or protective coatings. Make sure you paint the boots in an open space with painters cloth on any items you do not want to be painted red. Mix the paint with one part paint and one part water in a bowl. Use a paintbrush to apply one coat of paint to the boats. Do two to three coats total, allowing the paint to only partially dry between coats. To prevent the leather from cracking, flex the leather with your hands between each coat of paint. Do not let the paint dry fully between coats, as this will cause the paint to crack.


Comments
0 comment