views
X
Research source
Preparing the Potash Base
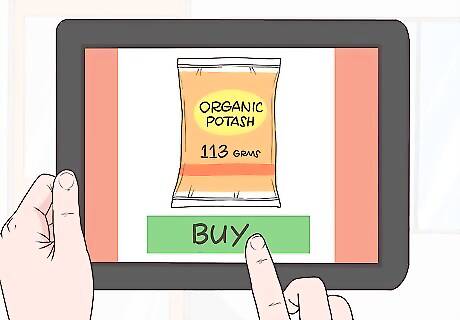
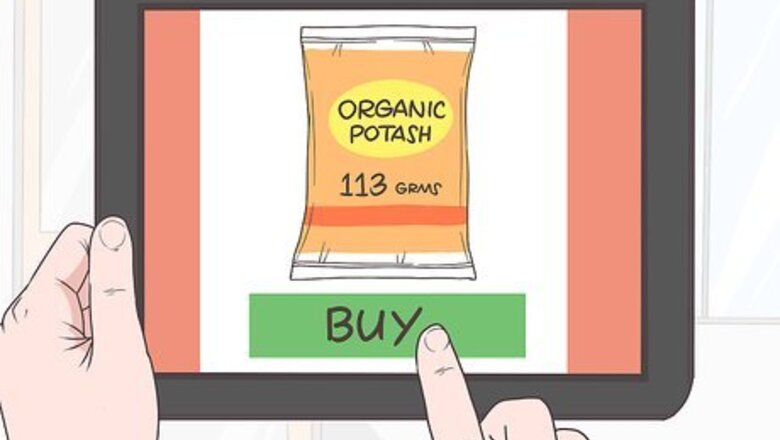
Purchase organic potash from an online supplier. You may also be able to find it in a store that specializes in African grocery, but those may be difficult to find. It’s typically sold in 2.5 to 3-ounce (94.71 to 113.65-g) bags. Make sure that it’s food grade or labeled for soap-making. Potash is ash that comes from different sources, such as cocoa, plantain, and clay. Any of these will work for black soap, but they may affect the final color and texture. You can buy potash online from stores that specialize in soap making supplies or African grocery.
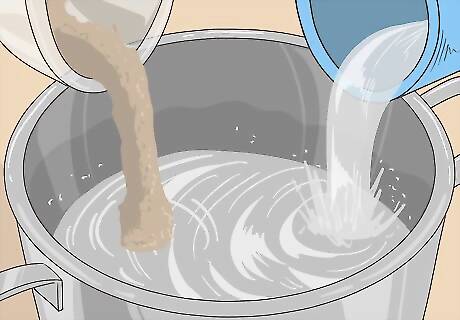
Combine your potash and warm water in a stainless steel pot. Pour 2.5 to 3 ounces (94.71 to 113.65) of potash into a medium-sized stainless steel pot. Stir in 2 ⁄2 cups (590 mL) of warm, distilled water. Potash isn't as harsh as lye, but it can still affect your skin. Put on plastic, rubber, or vinyl gloves, and don't take them off until after you've finished making the soap. Don't use tap or filtered water. They may contain minerals, which might affect the soap in the end. If you can’t find a stainless steel pot, then an iron pot will work just fine. Don't use aluminum as it will react with the potash.
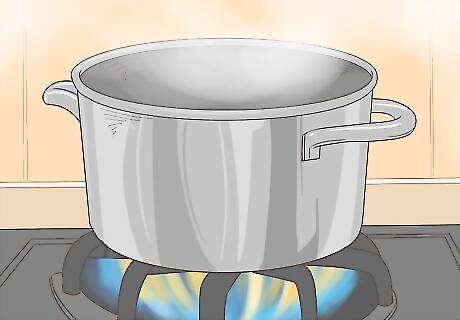
Bring the water to a boil over high heat. Keep an eye on the water as it comes to a boil. Once the potash starts to heat up, it may start to bubble and boil over. This should only take a couple of minutes, but be patient. You need to bring the potash to a boil because it helps jump-start the saponification process.
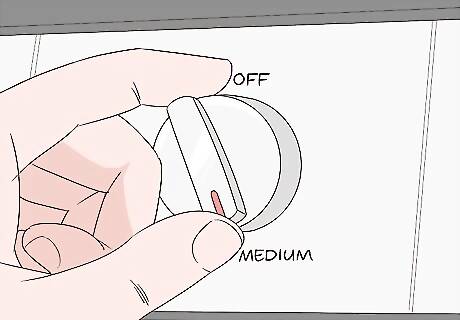
Reduce the heat to medium and cook for 30 minutes, stirring often. The potash is ready when it starts to harden and take on a crumbly texture, like ground meat. This will typically happen after about 30 minutes. As the potash cooks, be sure to scrape the bottom and sides of the pot often with a rubber spatula. The potash will absorb the water and turn solid. You can help it cook faster by flattening it across the bottom of the pot with your spatula. Watch out for bubbles; don’t let the potash boil over. If it starts to happen, lift the pot off the stove for a moment or two until the bubbles die down.
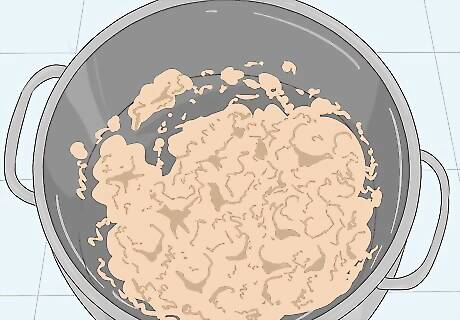
Remove the potash from heat once it starts to look crumbly. If the potash doesn’t look like ground meat just yet, let it cook for a few more minutes. Once it turns crumbly, turn the stove off and set the pot aside. The potash needs to cool down a little before you can use it. You can take the potash out of the pot and transfer it into a jar. The pot will look sticky, gummy, and caked over. A bit of water will clean it right up, however.
Making the Soap
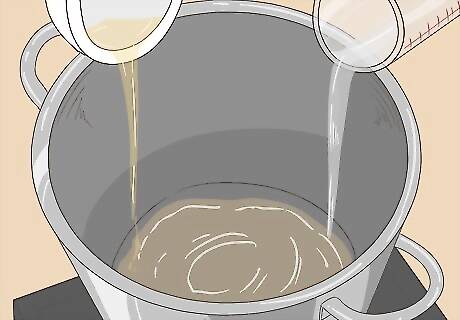
Heat the castor oil and coconut oil over low heat in a deep pot. Pour 4 ounces (120 mL) of castor oil and 4 ounces (120 mL) of coconut oil into a deep pot. Set the pot on the stove and turn the heat on to “low.” Cook the oils, stirring often, until the coconut oil melts and combines with the castor oil. Make sure that the pot is deep, like what you’d use for pasta. This will ensure that the soap won’t boil over when you make it. Like with the pot you used for preparing the potash, make sure that you won’t use this one again for cooking. If you don’t have castor oil, try palm oil instead.
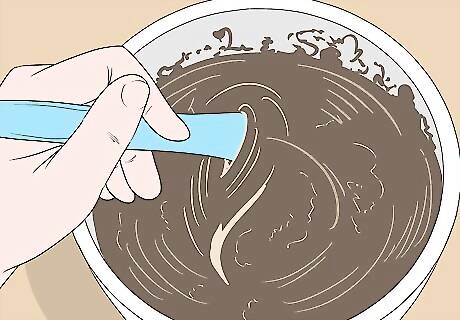
Mix 1.8 ounces (68.19 g) of potash and ⁄4 cup (180 mL) of warm water. Use a kitchen scale to measure out 1.8 ounces (68.19 g) of your prepared potash. Place the potash into a bowl, then pour ⁄4 cup (180 mL) of warm water over it. Let the potash sit for a few minutes until it dissolves. Use distilled water for best results. How long it takes for the potash to dissolve will vary each time. Expect it to take anywhere from 5 to 10 minutes. Store the rest of the potash in an airtight container. This is important, otherwise the potash will absorb moisture from the air and turn corrosive.
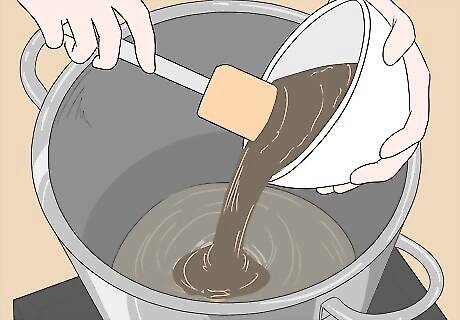
Pour the dissolved potash into the warmed oil. Use you rubber spatula to scrape the bottom and sides of the bowl clean so that you don’t waste any potash. Give the mixture a stir to combine everything.
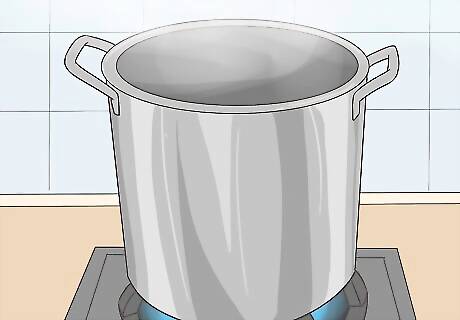
Cook the soap over high heat, stirring often, until it thickens. This process will produce a lot of smoke, so it would be a good idea to open up a window and turn the fan above your stove on. If you have a portable stove that you can bring outside, that would be even better. Don’t wait; once the potash starts to thicken, move onto the next step.
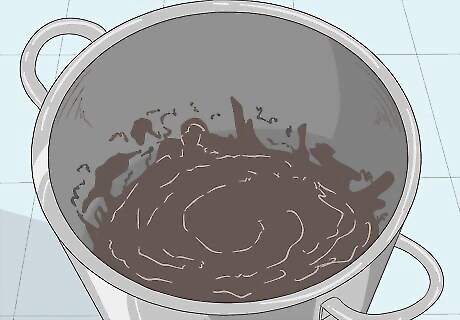
Take the pot off the stove and let the soap cool to room temperature. This completes the soap-making process. At this point, you can stir dyes or essential oils into your soap, although this is not typical for black soap. Most people leave black soap in its purest form, without any additions.
Finishing and Using the Soap
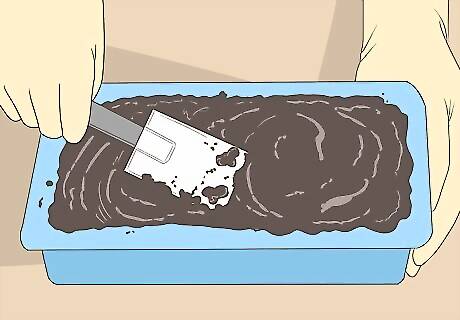
Pour the soap into soap-making molds. The best mold to use for this type of soap is the long, rectangular soap-making mold. You will need to cut the soap into bars after it finishing curing. You may be able to use smaller plastic or silicone molds too, however. Use a rubber spatula to scrape the soap from the sides of the pot so that you don’t waste anything. Alternatively, leave the soap in the pot. This way, you can pull it apart into smaller tufts later.
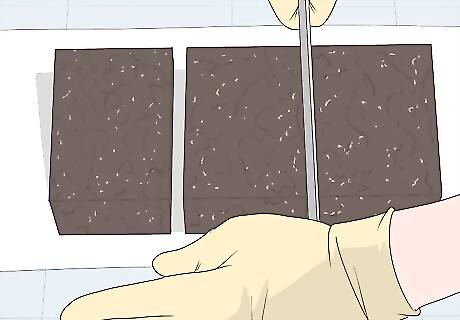
Wait 24 to 48 hours before you demold and slice the soap. Take the soap making mold apart, then transfer the soap to a flat surface. Use a smooth (non-serrated) knife to cut the soap into 1 to 1 ⁄2 in (2.5 to 3.8 cm) thick bars. If you used individual soap molds, you don't need to take them apart and slice the soap. Just turn the soap out onto a flat surface, like taking a cake out of a pan. If you left the soap in the pot, pull it apart into marble-sized tufts. This will give you single-use portions that are perfect for washing your face and hands.
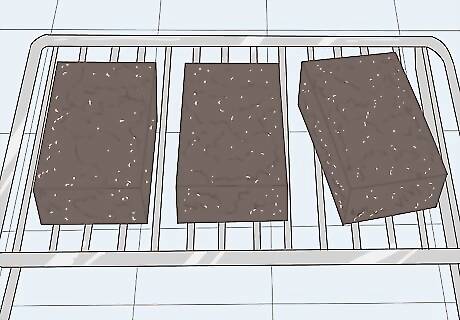
Allow the bars to finish curing for 2 weeks on a wire rack. This is very important. Much like lye-based soap, black soap needs to cure and harden as well. Keep in mind, however, that black soap will never be quite as hard as regular soap. After 1 week, turn the bars over so. This will ensure that they cure evenly.
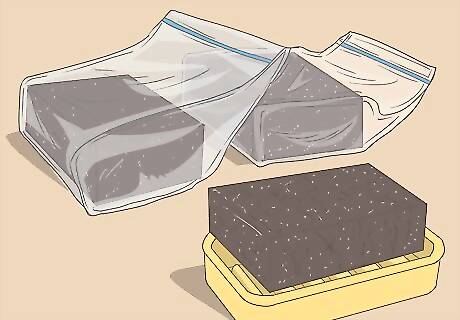
Store the soap in a sealed container when you aren't using it. Wrap extra bars in plastic wrap or keep in them plastic, zippered bags. If you made individual "portions" of black soap, then you can keep those in a jar or zippered bag. If you wish to keep the soap in a soap dish, make sure that it has slots so that the excess water can drain out. Keeping black soap away from moisture is important. If it gets wet, it will start to dissolve again. Black soap can develop a white film over time. This is normal and doesn’t harm or change the soap’s ability to function.
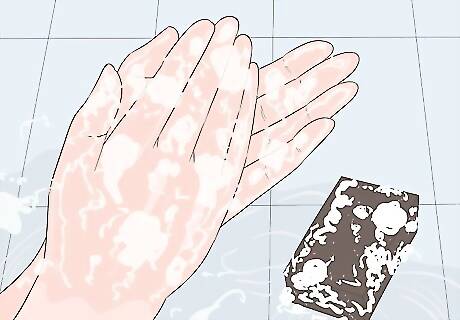
Work the soap into a lather before you use it on your skin. Black soap is very grainy. If you use it directly on your skin, it may irritate it. Instead, work the soap into a lather, then use the lather to cleanse your skin. If you're used a tuft of black soap, roll it into a ball first so that it doesn't have any sharp edges. Black soap may cause a tingling, burning sensation, which is normal. If you develop a rash, however, stop using the soap and consult a dermatologist.


Comments
0 comment