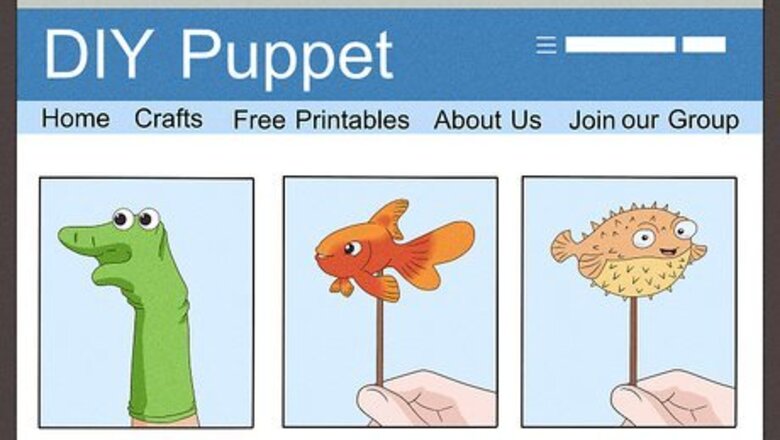
views
Making a 2D Paper Puppet
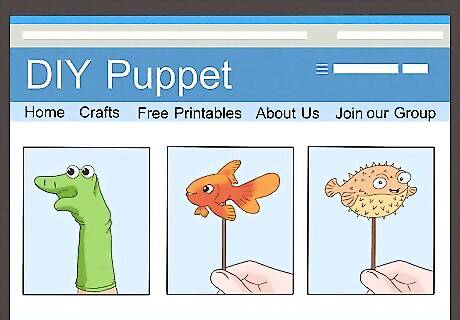
Choose a figure. Try to choose characters with an ambiguous identity or description, so that you can reuse them in other puppet shows. You can find figures anywhere, but the Internet has a wealth of options available at the touch of a button.
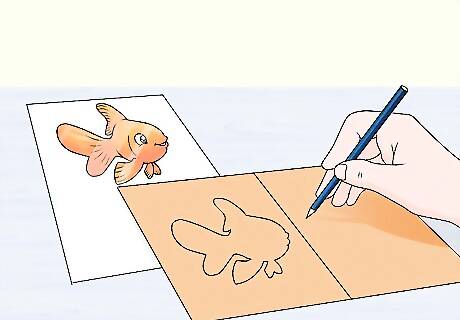
Make the figure. On a piece of paper, trace out the figure to the desired size. You may like to reinforce the paper with card, or draw it directly on to card, so that the paper doesn't flap around during your performance. Think about the back side, too! Will your puppet be turning around during use? And if you do make a back side, does it need fins or a tail?
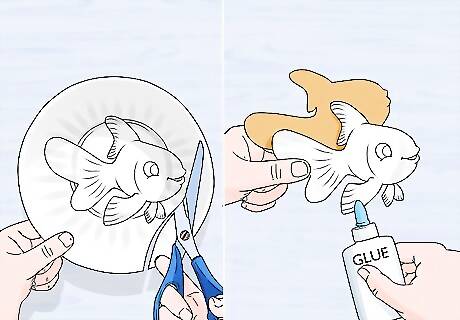
If you'd like, consider using paper plates. If a circular shape would aid well to your project, consider using this sturdy, textured material. It works well for fish, crabs, clams, and other plump creatures. If you use two, it gives ultimate volume. Cut a slit to the center and reglue them together with a bit of overlap. Taking a section out forces the paper to bend into more of a shallow cone shape. Place the wide sides together to form the body of your animal.
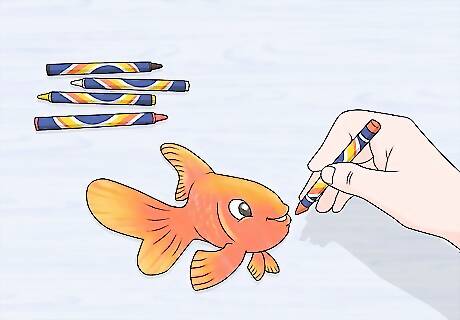
Color it in. Color is an important part of any puppet show. Make your characters bright and interesting, so that the audience's eye is pleased.
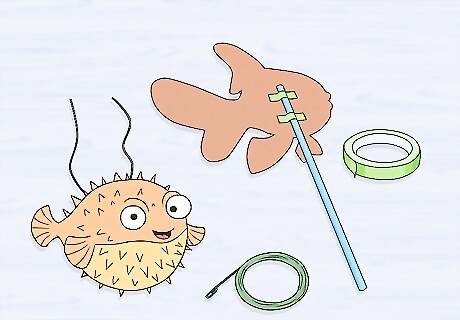
Make the handle. Find a clear plastic straw and attach it to the back of the puppet with cello-tape or blue tack. Be sure that it is long enough that your hand is some distance from the actual puppet. You don't want your arm in the show! Alternatively, get some fishing wire and attach it to your puppet so you can hold it from the top. This, however, requires you to stand up while performing.
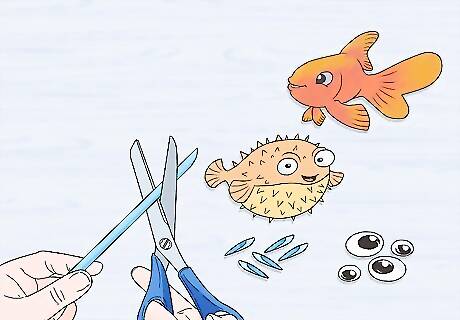
Add any decorations. For eyes, use the googly kind (attach with glue). If you're making a Puffer Fish, like in the pictures, consider using straws cut down at an angle to about 2" (5 cm) and attached all over the body. Cut some small fins out of your paper or paper plate. Tada!
Making a Sock Puppet
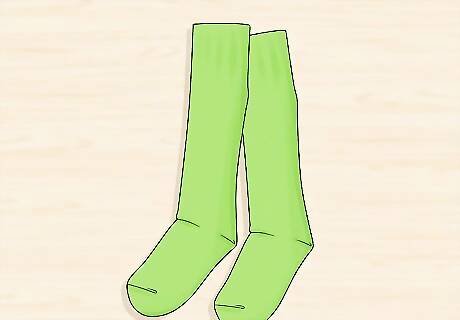
Choose the sock. Try to find some that would come up to your knee, so that when you wear them as puppets it doesn't look as if half the puppet is your arm. Stay away from ones that have stains or holes. Choose colors that match your character's personality. Stripy socks make the character seem bright and happy, while plain black makes them look mysterious or criminal. If your sock is taking on an animal persona, use the color of the sock as the color of their body.
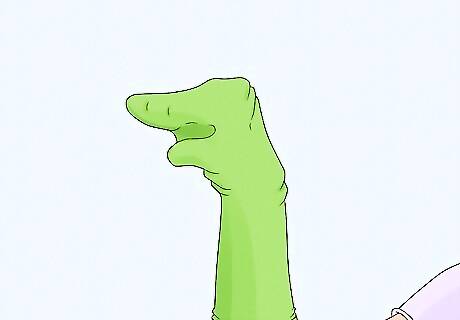
Put the sock over your hand and arm. When you're wearing the puppet, poke some fabric down into the hollow between your thumb and index finger. This will make a mouth. Also hold your wrist perpendicular to your arm, so that the audience can tell where the head ends and the body begins. This is the quickest way to make a sock puppet. If you're looking to get a little more creative, take a gander at wikiHow's Make a Sock Puppet for a few more intricate varieties.
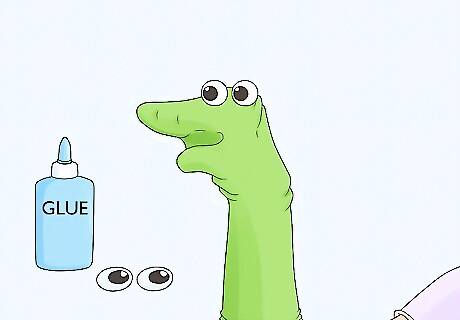
Add the eyes. You can find a variety of types of eyes at your local arts and crafts store. Choose big 'googly' ones that will make your characters look slightly unreal. Be sure that they suit the character as well. Attach each one with a dab of glue. Pom pom eyes are also a cute addition. They add a bit more shape to the normal sock silhouette. They're also easier to rest glasses on!

Add any additional features. A sock puppet can be the bare minimum or it can be dressed to the nines. Add a felt tongue, a clump of string for hair, a ribbon, a necktie, or whatever your sock character might wear.
Making a Finger Puppet
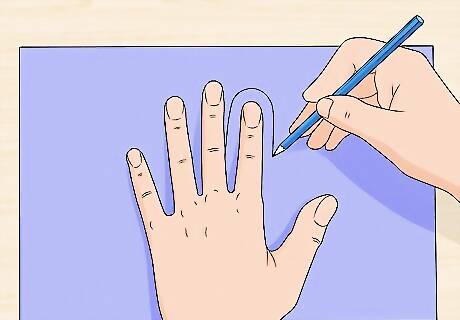
Trace your finger on a piece of paper. Leave 1/2" (1 cm or so) extra on all sides, stopping just below your second knuckle. This is the template for your finger puppet.
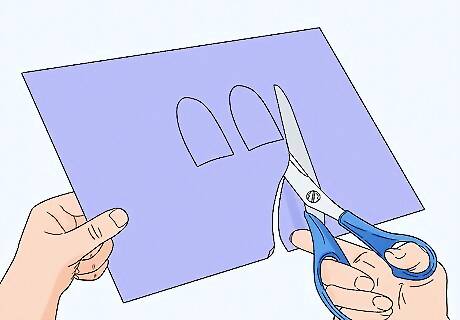
Cut out your felt pieces. You'll need two of your template (front and back) plus any extra bits. Wings for your butterfly? A nose for your elephant? A beak for your chicken? Ears for your rabbit? Get as intricately detailed as possible. If your brain isn't firing on all pistons at the moment, look up a few generic cartoons for detailing inspiration.
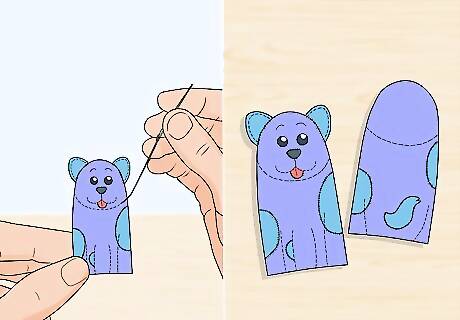
Sew on the additions. Before you get to sewing the base of the puppet, sew on all the small, finer details. While you have your thread out, sew on a grin with a backstitch. A whip stitch will probably be best for adding your eyes/nose/beak/wings/general details. If sewing isn't your forte, you may be able to get around most of it with hot glue. But take care -- glue and felt isn't always pretty, especially if too much glue is used.
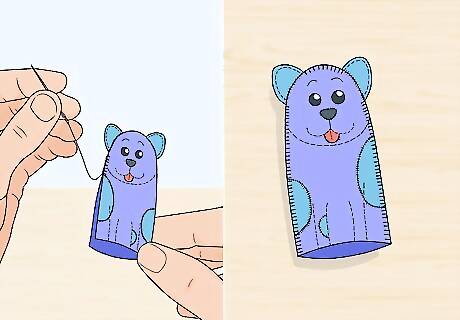
Place the top and bottom of the body on top of each other and sew together. Do a blanket stitch around the entire body; if you've added a piece that doesn't allow for this, switch to a running stitch. Now all you've got to do is put 'em on and get to creating. Unless you want to give your puppet 9 more friends, of course!
Making a Muppet-Like Puppet
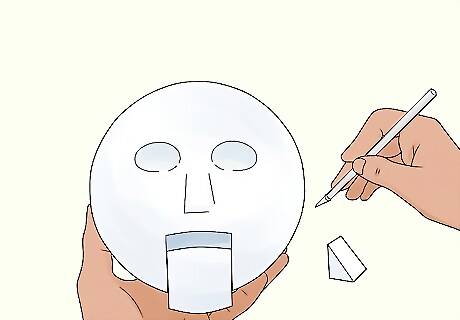
Get a hold of a large styrofoam ball and start sculpting. Soft foam works, too, but styrofoam is easier to carve out. The tough part about this is that you have to sculpt a face. The easy part is that puppets come in all shapes and sizes and you can't really mess it up. The major points to cover are indentations for the eye sockets, a bulge for a nose, and removing the lower jaw (if you want it to talk). If you do want it to talk, leave a space for your hand to go into!
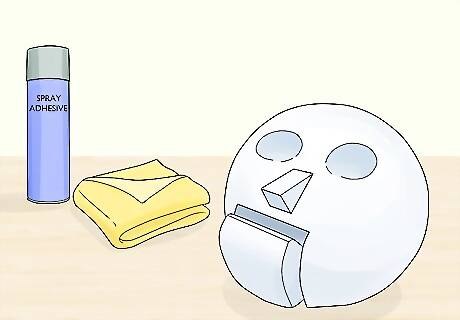
Cover your puppet head with fleece. Start at the middle of the face and work your way out, hot gluing as you go along. Spray adhesive also works, but it's a bit harder to work with. Readjust and stretch as you glue, keeping the fleece tight against the styrofoam. Get deep into the indentations (like the eye sockets) and keep it secure, like skin would naturally be. You can either have the nose be part of same material as the head, stick it onto the styrofoam ball, or cover it in fleece and then add it to the face. One way is not better than any other.
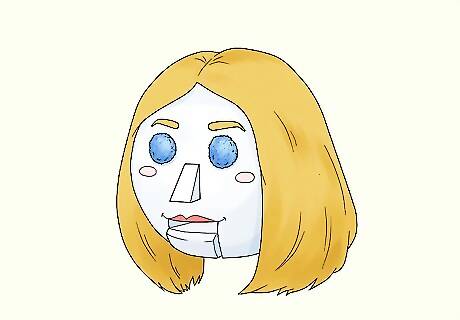
Add on the facial features. Bottle caps can be used for eyes, but so can beads, puff balls, or anything you can find wandering through your local craft supply store. As far as the lower jaw goes, if you removed it, cover it in fleece and hot glue just the very edges to the head. The styrofoam jaw should still be able to move -- just the fleece should be hot glued and attached. Depending on the size of your puppet, it could be donning a full-fledged wig or hat on its head. Neither of those available? Throw on a hoodie! Problem solved. Add felt eyebrows and ears, if desired. Every puppet is different, so if yours doesn't have something, it won't be cause for alarm.
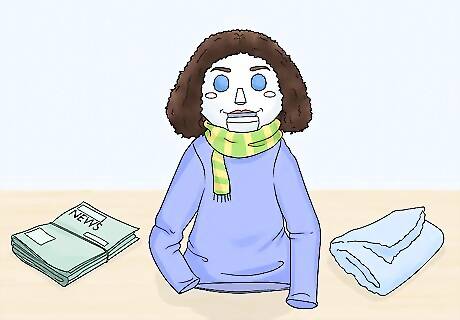
Give it some clothes. A naked puppet is, for some reason, sufficiently awkward. Grab something you never want to wear again and glue the top to the "neck" of your puppet (for this reason, you may want to employ a scarf or turtleneck). To give the puppet a body, simply stuff the shirt with newspaper or some type of foam or quilt batting. Stay away from short sleeves so you don't have to deal with making arms.
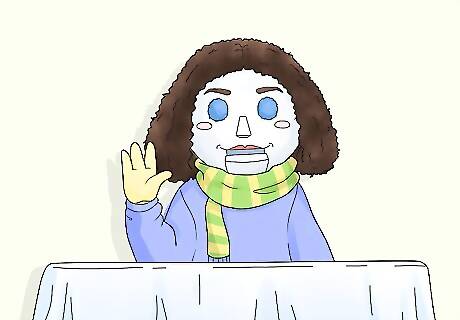
Make a hand for your puppet. Since one is probably operating the face, make at least one hand movable to give your puppet even more life. All you need to do is trace your hand on a piece of felt, cut it out twice, and sew them together (inside out, to hide the seam). Leave just short of an inch (2 cm) around all sides of your hand to give yourself some wiggle room. To have a four-fingered puppet (including the thumb), just keep your index finger and ring finger together as you trace. Place your hand in it and through the sleeve of your puppet. Now your puppet talks and can gesture! Move over Achmed.
Making a Paper Bag Puppet
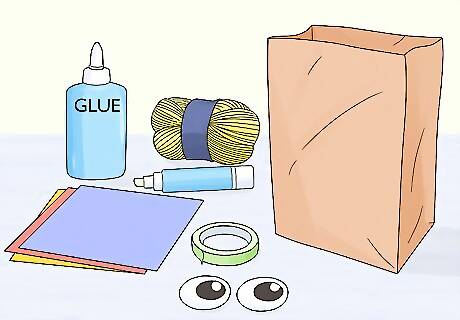
Gather your materials. Get a paper bag, googly eyes, construction paper, wool, markers, and glue or tape.
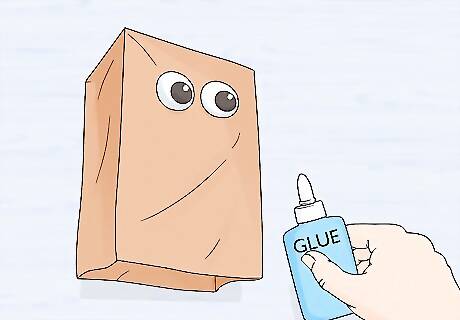
Glue the eyes onto the bag. If you don't have googly eyes, you can cut out eyes from the construction paper, making tiny black pupils and gluing them onto larger white circles. Regular glue will work just fine for this -- you don't need to use the stronger stuff.
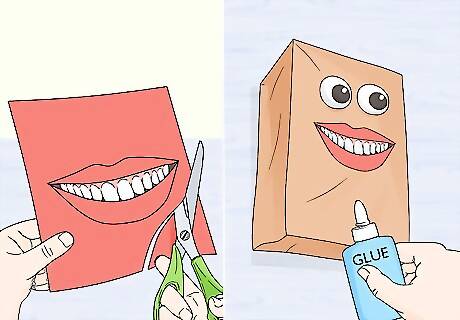
Glue the mouth onto the bag. Cut a little red mouth out of the construction paper and glue it in place.
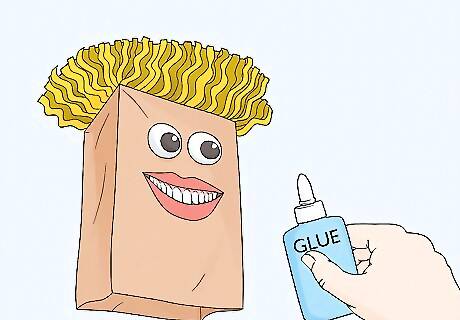
Glue the hair onto the bag. Now, either use strips of construction paper or wool onto the top of the paper bag. Wait for it to dry.
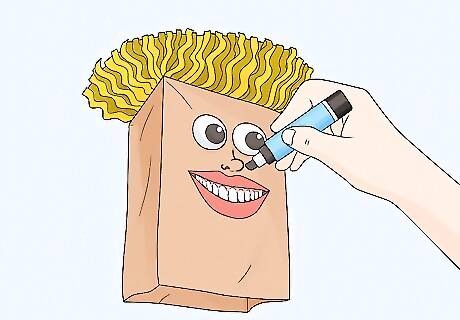
Draw the nose. Use a black marker to draw a nose on the paper bag in between the eyes and the mouth.
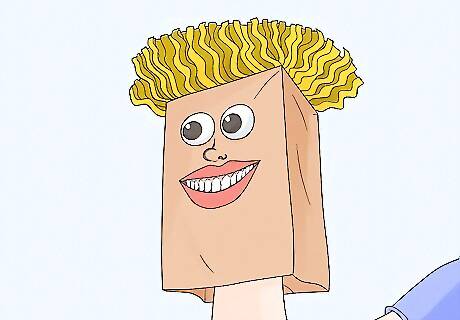
Play with your puppet. Once you've made face and everything is ready to go, you can play with your puppet!
Creating a Stage
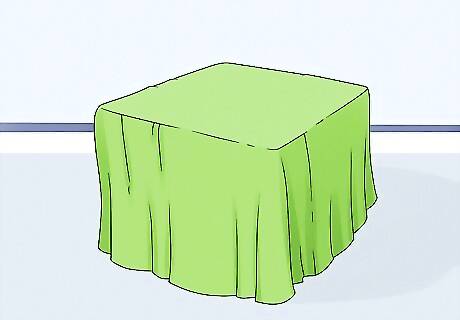
Make a stage. To make a basic stage, cover a table with a tablecloth that comes down to the floor. The table needs to be high enough that your children (or you) can easily kneel behind it without being seen.
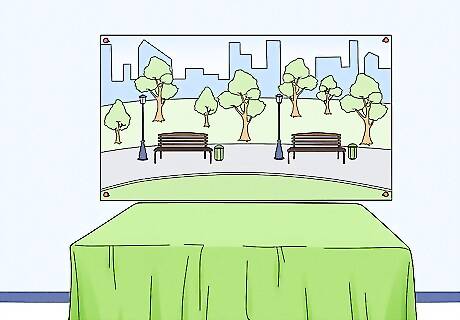
Design the background. Paint a mural onto a large piece of cardboard and hang it from the wall behind you. The mural can be a setting (park, beach, etc) or just the name of the show in large letters. But remember, a sign should be put on the front of the tablecloth announcing what the show is. If you're doing this, the name of the show is not necessary in the mural. Make a few props for your puppets to work with, too. In a couple of minutes, you can whip up a tree, a rock, some flowers, or whatever might be found in your puppet show setting.
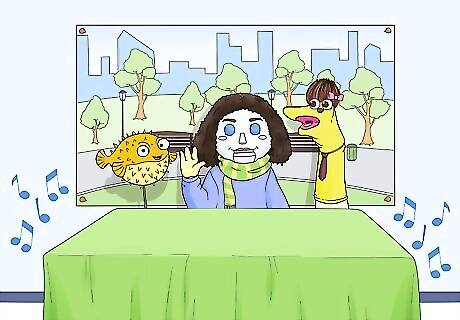
Put on your show. What's your opening music? Are you doing it improv style or will there be lines? Is there a moral to your story, or just for fun? If you're working with children, make sure each gets a turn at their favorite puppets -- each child will inevitably have one.


Comments
0 comment