views
- Click the small gear on the right side of your screen to access your Settings.
- Click the "Account" option to open the appropriate section of your Settings.
- Here you can change your password, edit your account info, or add an extra email address.
Finding Your Settings
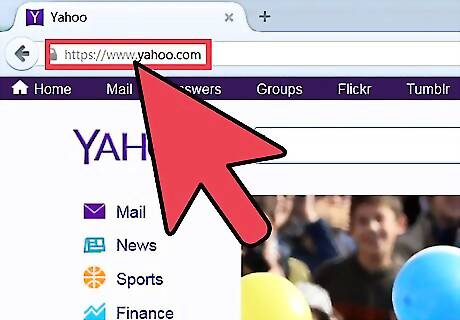
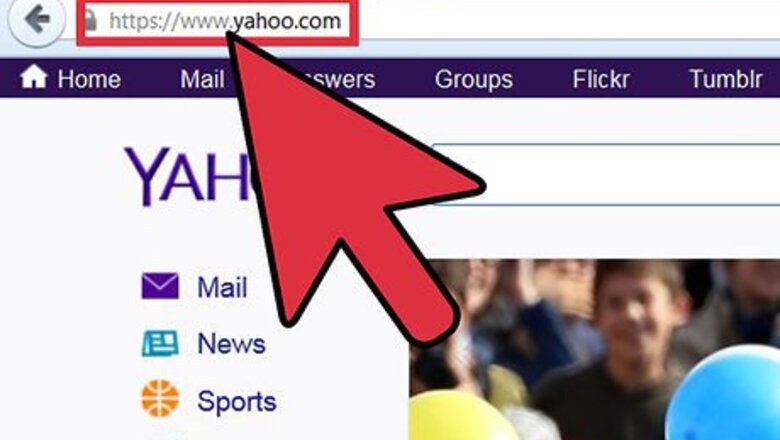
Head to the Yahoo! website. The first thing you need to do is open your preferred browser. Once it’s open, type in www.Yahoo.com on the address bar at the top of the screen, and hit "Enter" on your keyboard. This will load up the Yahoo! home page.

Log into your Yahoo! Mail account. On the home page, click on the “Mail” button towards the top of the screen. This will bring you to the log-in screen for your Yahoo! Mail account. You will be asked for your Yahoo! ID and password on the next page. Just click on each box and enter in your information on the right. When you’ve entered the needed information, click on the purple “Sign in” button to log into your account.
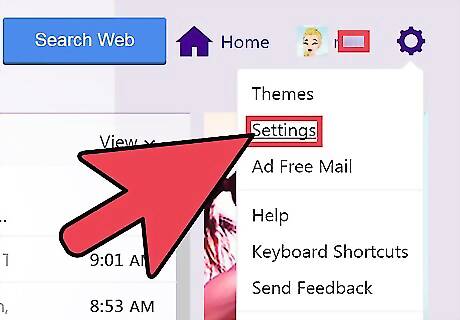
Go to Settings. Now that you’re logged in, look to the right side of the screen for a small gear. This is a drop-down menu that will let you edit different aspects of your account. The second option from the top reads “Settings.” Click on it to open up the Settings box on your screen.
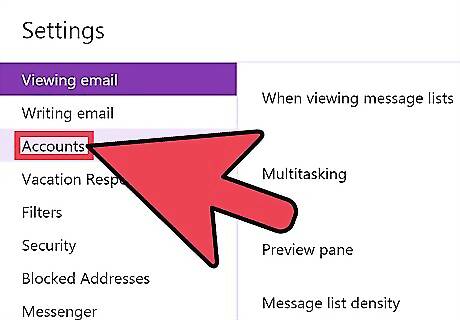
Access your account settings. A white Settings box should be on your screen. The third option down reads “Accounts.” If you click on this, the settings to the right will all change. Once the settings appear on your right, you will be able to look through all of your account settings.
Managing Your Account
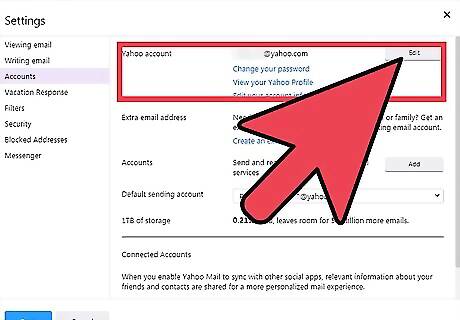
Configure the settings for your Yahoo! account. The first option is for your actual Yahoo! account, which is the title of the first section. To the right of this will be your Yahoo! e-mail address. Below it are three blue links that each do something different respectively. You can click on each of these links to edit that particular setting, or to view your profile: The first one allows you to change your password. The second option lets you view your Yahoo! profile. The last option lets you edit your account information.
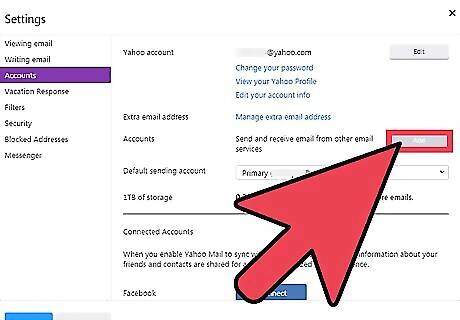
Add an extra e-mail address. The next section is for adding an extra e-mail address. You can add an extra account to your current e-mail address free of charge. You just need to click the blue link that reads “Create an extra e-mail address” and follow the steps on the new link.
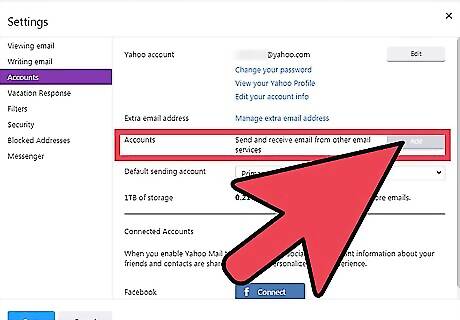
Manage your accounts. The option below making an extra e-mail address reads “Accounts.” Once you make an e-mail address, you can pick which address you receive mail to by clicking on the dotted “Edit” box. This will open up a new box with 3 options: “Sending name,” “E-mail address,” and “Description.” You can edit each of the three options by clicking inside the white box and entering your information. When you are finished don’t forget to click the green “Save” button to save these changes.
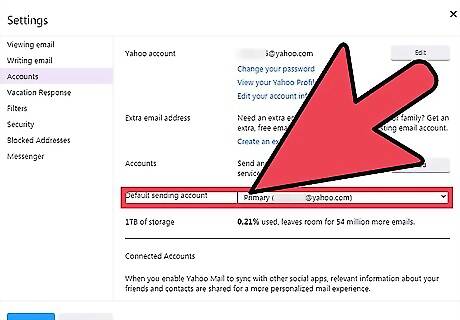
Configure your default sending account. The next and final thing you can edit is your default sending account. This is a simple drop-down menu. After you add a new account, you can click on your name and select which e-mail you want to send from by clicking on it.
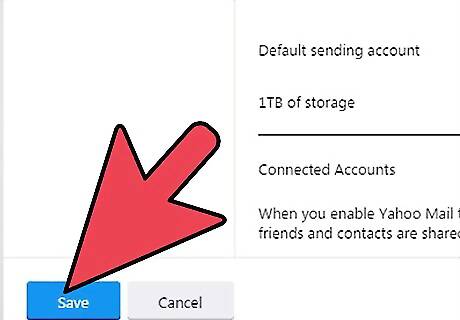
Save your changes. When you are finished adjusting these settings, it is CRUCIAL to click the green “Save” button at the bottom of the page. This is how you save your changes.


Comments
0 comment