views
Gathering Supplies
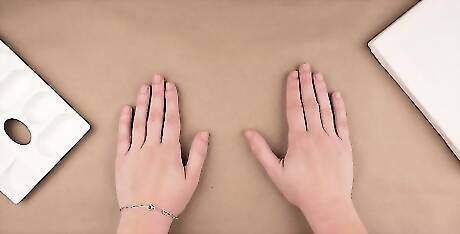
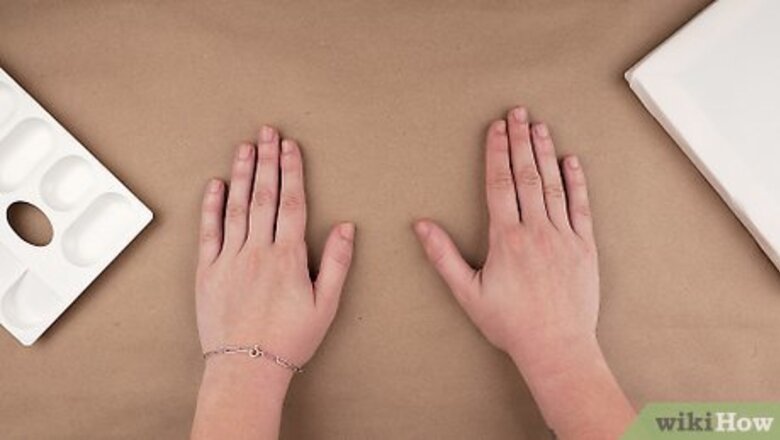
Lay down a drop cloth or piece of cardboard to keep the area clean. This project can easily get messy, so make sure to protect the area around you. You can use a sheet of plastic, a canvas drop cloth, a piece of cardboard, or even an old sheet to catch any spills. Some good areas to paint include outdoors, on cement or blacktop, or on a flat surface indoors, such as a table or hardwood floor.

Choose a canvas size and some flat paint brushes. For your base, choose a stretched canvas in whatever size you would like. To achieve the smooth, blended look of an ombre painting, you'll also need some flat, wide-bristle brushes. Though you can adjust your brush sizes based on the size of your canvas, 2 in (5.1 cm) or 3 in (7.6 cm) brushes often work well with most sizes. For example, you could start by experimenting on small canvases, which include 4 by 6 inches (10 by 15 cm) or 5 by 7 inches (13 by 18 cm). Medium-sized canvases are perfect for hanging and displaying. They can range from 8 by 10 inches (20 by 25 cm) to 12 by 16 inches (30 by 41 cm). Large canvases make for eye-catching statement pieces. They often range in size from 18 by 24 inches (46 by 61 cm) to 36 by 48 inches (91 by 122 cm).

Squeeze out a large amount of each acrylic paint color onto your palette. Make sure to use acrylic paint that you can paint with straight out of the tube. Once you've chosen the 2 paint colors you'll be using, pour them next to each other onto your palette. Leave some space for mixing the 2 colors together. Adjust the amounts of paint depending on the size of canvas you'll be using. For example, if you're painting an 8 by 10 inches (20 by 25 cm) canvas, you'll likely need to squeeze out a 2 inches (5.1 cm) circle of each paint color on your palette. For a simple, authentic ombre effect, only use 2 colors. Adding in extra colors makes the mixing complicated, and the result won't have a true ombre effect. You can use a cheap plastic palette, paper plate, square of glass, or ceramic plate for a palette. Keep in mind that a disposable palette can make the clean-up process a lot easier!
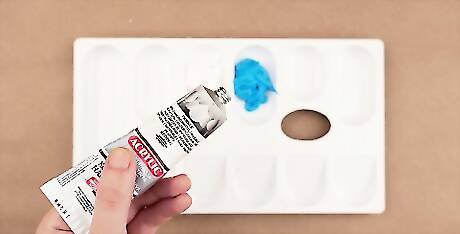
Mix a few drops of retarder into the paint to slow the drying process. A retarder is an agent that you can add to the paint to slow its drying time and make it easier to blend. Acrylic paint dries very quickly, so a retarder can take some of the pressure off while you figure out the ombre process. Once your paint is on your palette, use clean brushes or popsicle sticks to mix in a few drops of retarder with each different paint color. You can find retarder at art supply stores or online.
Applying Paint
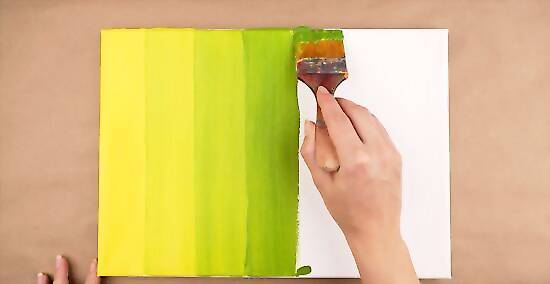
Apply paint to the canvas in even, straight strokes. Flip the canvas on its side, landscape style, and paint in vertical strokes from one side to other. This technique will help keep your strokes regular and even, all going the same direction. Your finished piece will look much smoother and blend out more easily if your brushstrokes match. If you want a wrap-around effect, make sure to paint all the way to the edges and over the sides as well.

Keep the paint thick and wet so it doesn't dry out before you can blend. Always load up your brush with plenty of paint before applying it to the canvas. This will give you enough paint on the canvas to blend together, and it will also slow down the drying process. The retarder will also help slow down the drying process and make the paint more blending. Keeping the paint thick will add to this effect, giving you lots of time to perfect your ombre effect!
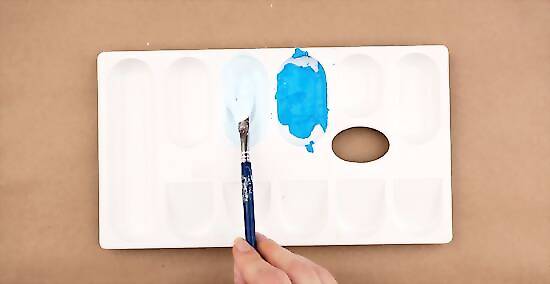
Start with white paint and mix in more color if you want a light gradient. Load your brush with white paint and use it to cover the bottom 1 to 2 inches (2.5 to 5.1 cm) of the canvas. On your palette, dip your brush into the colored paint and mix it into the white paint. Apply this light shade as the next horizontal stripe to the canvas. Keep repeating this step and incorporating more color into the paint until you reach the bottom of the canvas. Use pure color for the last stripe You could pick a color combination like cerulean blue and titanium white for an ocean or sky effect. You could also try a bright, lively combination of fuschia and white.
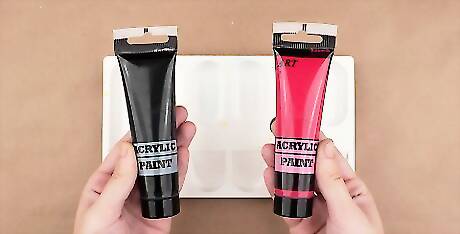
Start with a lighter color and add black paint for a dark gradient. It's easier to transition a paint color from light to dark than it is to lighten a dark paint color. Apply 1 to 2 inches (2.5 to 5.1 cm) of your pure light color to the end of the canvas. In your palette, mix some black into the paint color until you have a slightly darker shade of the same color. Add another stripe directly beside the first, then repeat this process until you fill up the canvas. Paint the darkest shade or pure black at the end of the canvas to complete the gradient. You could use a blue-to-black gradient for a moody night-sky effect. You could also opt for a white-to-black color scheme for a neutral, minimalist piece.
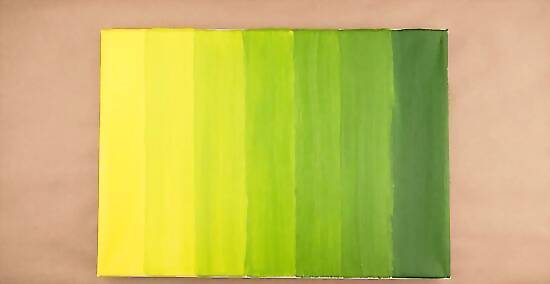
Pick 2 colors to transition from one color to another. Start with a 1 to 2 inches (2.5 to 5.1 cm) stripe of the lightest color, then add in a bit of the darker color stripe by stripe. Continue darkening the paint stripes until you reach the last stripe, which should be a pure of stripe of the darker color. For example, you could create an ombre effect from pink to blue or from yellow to forest green. Practice blending the two paints before you begin your project. For example, red and green can create a muddy brown color, which may not be the look you're going for.
Creating an Ombre Effect
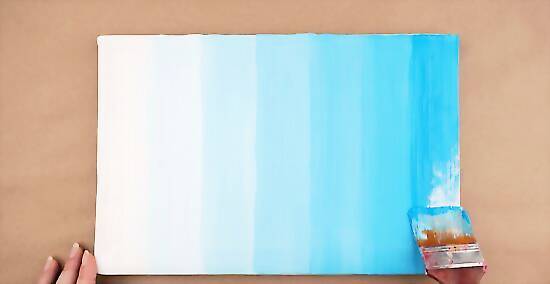
Work the stripes into each other as you paint for a smooth effect. If you want an ultra-smooth gradient, create the ombre effect as you paint. When you add a new stripe, drag your brush back and forth between the new stripe and the previous stripe until they blend together. This will create a seamless transition between each shade.
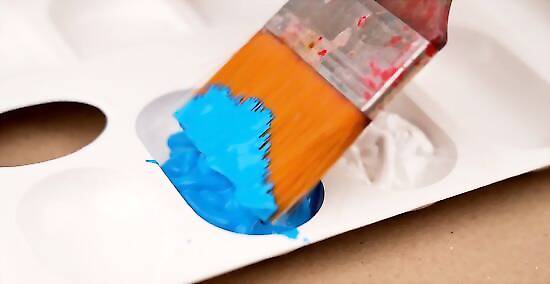
Add a bit of water to your brush for blending if the paint starts to dry out. If you paint your stripes quickly or add retarder, you can wait until you've filled up the canvas to blend. Dip the brush in water before running it over the stripes of paint. Brush up and down in the same direction as your painted brush strokes, blending each stripe into the next. Be careful not to add too much water, since it alters the opacity of the paint.
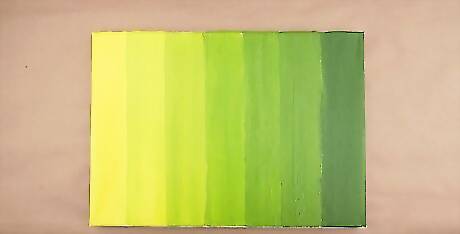
Leave the stripes unblended for a blocky, modern piece of wall art. If you like the look of each defined stripe, you can skip the blending step. For a more abstract-art effect, drag the brush down the canvas until the brush naturally runs out of paint and creates rough edge.
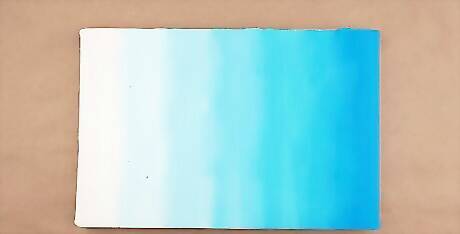
Let the paint dry overnight. Depending on how thick your paint is, your painting may feel dry to the touch within 20-30 minutes. However, there may still be moisture trapped beneath the outer dried layer, which will need more time to dry. Let the painting sit overnight to dry more fully.
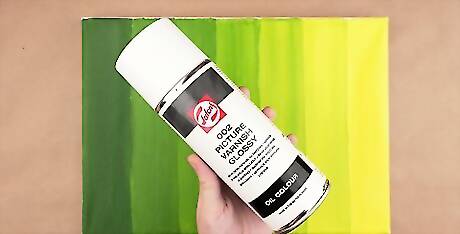
Add 2-3 coats of varnish spray to give the paint a quick, polished finish. Once your paint is dry, spray on 2 or 3 coats of varnish finishing spray. Let the varnish coat dry overnight before hanging or displaying your new piece artwork. You can find varnish spray at craft or art supply stores.





Comments
0 comment