
Preparing to Paint
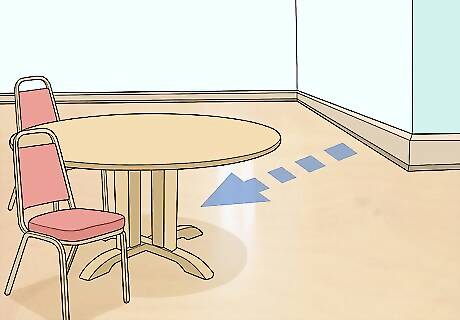
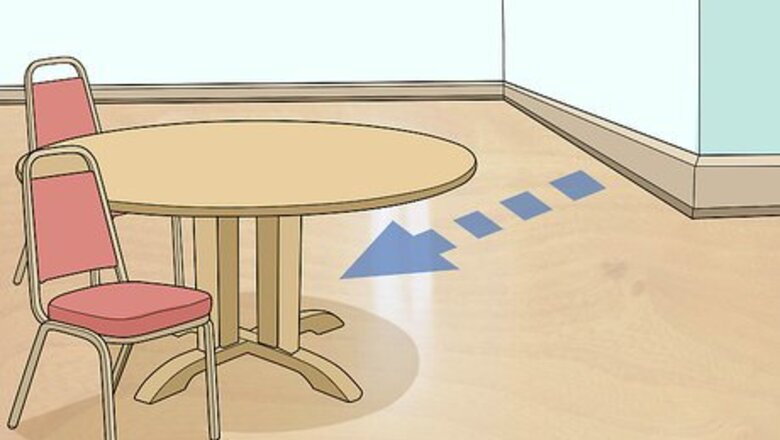
Clear all furniture out of the way. Move all of the furniture in the room to another room, or at least out of the way from the immediate area where you will be painting. It’s not necessary to cover furniture, but just make sure it is at least ⁄3 to 1 m (2.2 to 3.3 ft) away.
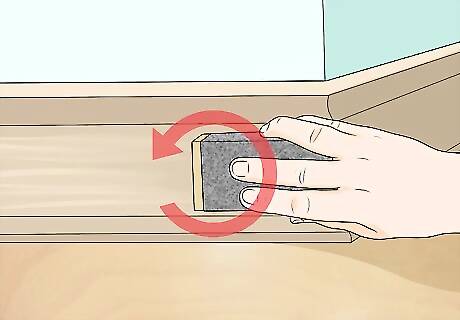
Sand the skirting boards with fine 180-grit sandpaper. This step is especially important if you are working with skirting boards that were previously painted with glossy paint. Rub fine sandpaper (180-grit) wrapped around a wood block in small circles on the skirting boards to create a rougher surface on the skirting boards that the paint will stick to. You don’t have to entirely remove the paint that was there before, but sand enough so that the shine on the board disappears. Turn to 80- to 120-grit sandpaper if you want to get rid of bumps or imperfections (i.e. large globs of old paint). Sandpaper sponges also work great, especially for sanding surfaces (like skirting boards) that aren’t completely flat.
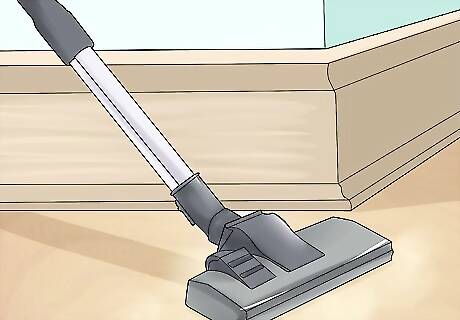
Vacuum up the dust from the skirting boards and your workspace. Sanding generates a lot of dust, so do your best to clear it all out before starting to paint. Vacuum the floor or carpet around where you were sanding. Be particularly mindful of the little crack between the skirting boards and the floor, as this is a notorious dust hiding place. Use a thinner hose or brush attachment for your vacuum if you have one.
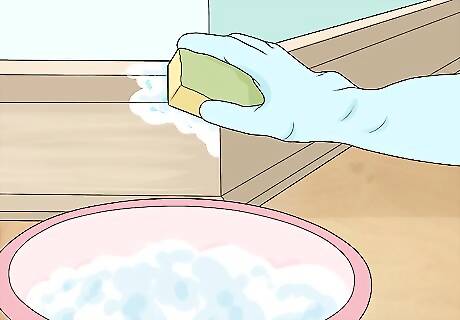
Clean the skirting boards with a damp sponge. Fill a bucket with water and non-soapy detergent (i.e. Dirtex, Spic & Span, or TSP No-Rinse Substitute). Dip your sponge in this mixture and wring the sponge out in the bucket before applying it to the boards. Then, wash the wood with the sponge by starting at the bottom of the skirting board and using up-and-down strokes. Give it at least an hour to dry before moving forward. If you’re short on time, you can use a dry brush to get rid of the dust instead.
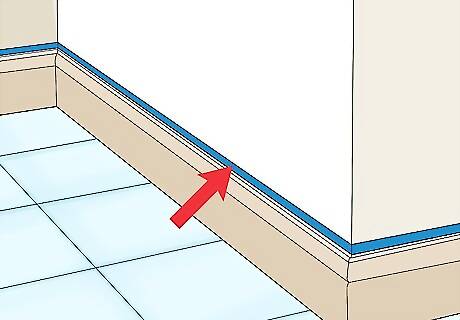
Cover the area where the wall meets the skirting board with masking tape. Gently press 5 cm (2.0 in) masking tape (also called blue or painter’s tape) on the wall just above the skirting board. That way, if your brush accidentally veers off the skirting board, your wall will be protected.
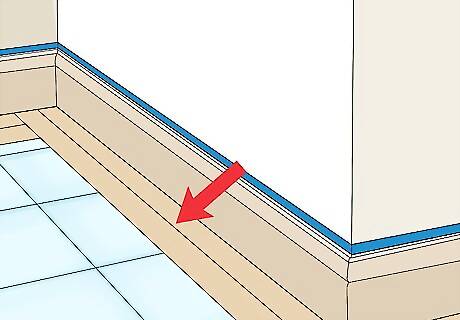
Protect the floor with masking tape. Accidentally getting paint on the floor is probably the last thing you want. If your room has hardwood floors, place strips of masking tape on the floor where the skirting board meets the floor. Do this for the whole room. With carpet, the process is a little more involved. If you’re working with a shorter kind of carpet, insert a putty knife in the space between the carpet and the skirting board at an angle to push the carpet away from the wall. Then, place the masking tape along where the skirting board meets the floor, leaving a slight lip (about ⁄2 cm (0.20 in)) that is pressed onto the skirting board itself. Then, take your putty knife and press it down in the space between the skirting board and the carpet, pushing the tape down and leaving the skirting board fully exposed. However, with longer shag carpet (sometimes known as saxony or frieze), you’re out of luck. The best way to protect the carpet is to pull it up and away from the skirting boards before painting.
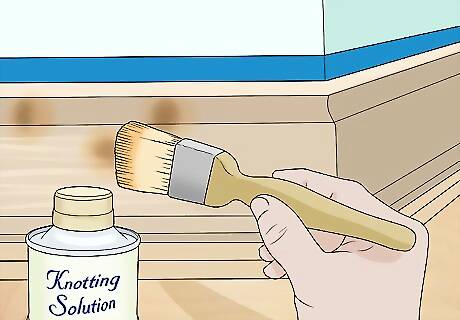
Treat any exposed wood with a knotting solution. If your skirting boards haven’t been painted before, use a small brush to gently brush 1-2 coats of a knotting solution over any knots (dark spots) in the wood. Let it dry for 24 hours. This prevents any yellow knot marks in the wood from showing through and discoloring your paint.
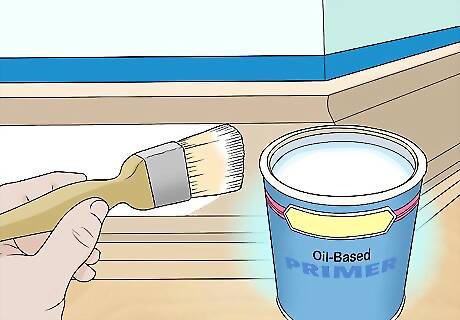
Prime the skirting board with an oil-based primer. Using your angled 5 cm (2.0 in) brush, brush a layer of primer over the skirting boards. Use an oil-based primer for maximum durability, and let it dry for 24 hours. This will help the paint stick to the skirting boards. Some primers have shorter dry times — read the label on the can of your primer for more information.
Painting

Choose an oil-based, semi-gloss paint. Oil-based paint is recommended for skirting boards because, even though it has a longer dry time, its thick consistency ensures that it will fill cracks and divots in skirting board detailing and hold up against wear for a long time. Avoid using flat emulsion to paint, as this will result in skirting boards that can easily be marked up. In terms of gloss, go with semi-gloss paint (also sometimes called satin). Skirting boards are meant to be decorative, and semi-gloss paint will result in smoother, more reflective, and more attractive skirting boards.
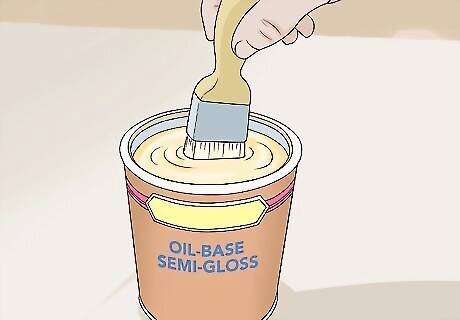
Dip your brush about a third of the way into the paint. Use your angled 5 cm (2.0 in) brush. You don’t want it to be overloaded with paint, so brush it against the inside rim of the paint can to remove any excess.
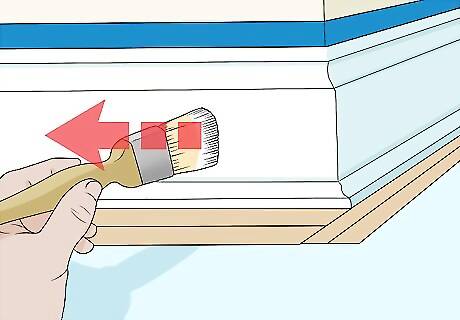
Start painting from a corner of the room. If you are right-handed, paint right to left. If you are left-handed, paint left to right. This will eliminate the need to awkwardly position your body, and it’ll also minimize your chances of dropping paint on the floor.
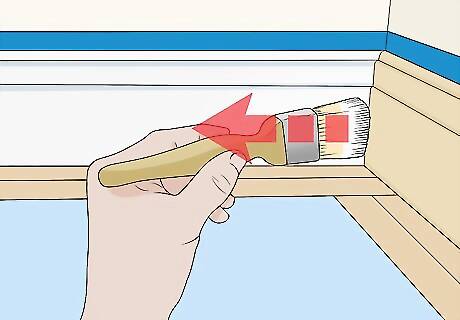
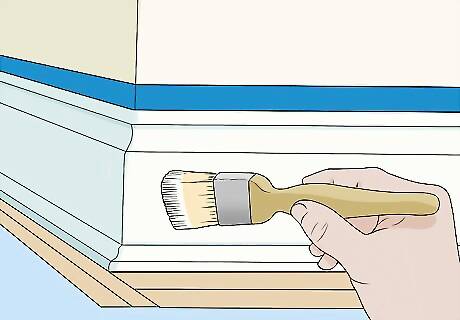
Cut in the edges of the skirting board. Start painting on the rounded top edge of the skirting board using a stroke called cutting. Hold your brush so that the wide face of the bristles are facing the floor, and drag the narrow part along the top of the skirting board. Then, repeat this process for the bottom of the board.
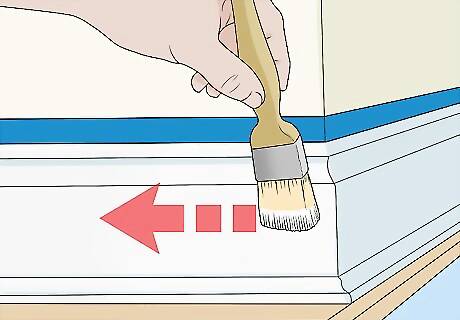
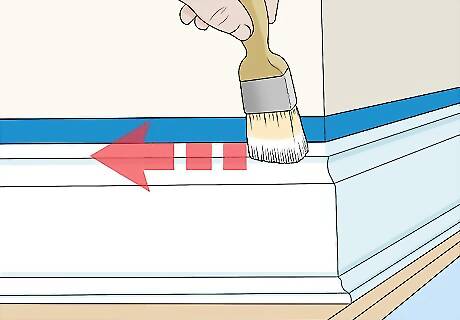
Apply strokes in the same direction on the middle of the skirting board. Hold your brush at about at 45-degree angle and apply the paint in one stroke in one direction on the widest part of the skirting board. Just take it slow. If any paint drips where it’s not supposed to on the board, blend it in before it dries and forms a bump. Avoid starting a brush stroke on paint that’s already been smoothed. This will leave a pretty obvious brush mark. Try to start strokes in an unpainted area and brush toward finished areas. Use lighter strokes as you get closer to smoothed sections.
Feather the areas between strokes. Each stroke will require dipping your brush back in the paint. For the areas in between strokes, however, raise the brush slightly and lightly feather the paint together to avoid lap marks (marks that show where one stroke ended and another began). Feathering means gently using the tip of the brush to create a smooth transition between separate strokes. You will not need a lot of paint on your brush to do this. A common mistake is trying to blend the paint too long after it’s been applied. This results in unsightly brushstrokes. Paint starts to dry as soon as you put it on, so work the paint while it’s wet and then move on to another section.
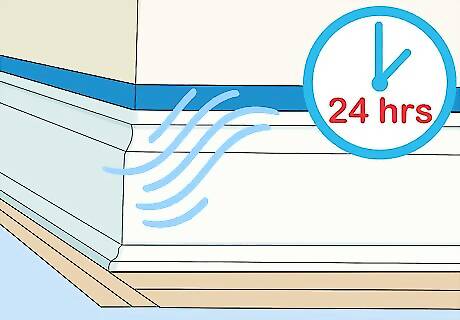
Let the paint dry for 24 hours. You’ll need to paint at least 2 coats, especially if you’re painting a lighter color over a darker one. Give the first one at least 24 hours to dry, or follow the drying time as according to the instructions on the paint can.
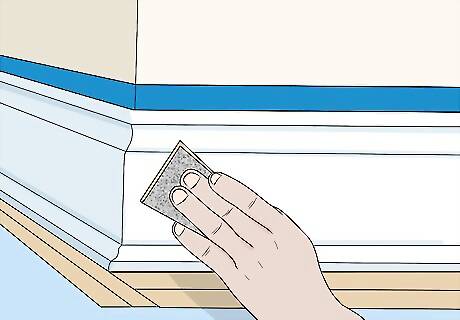
Sand down any imperfections in the paint using extra fine sandpaper. Before putting down your second coat, sand down any bubbles or areas in the paint that aren’t smooth. Otherwise, they will just get worse when you put the second coat on. Use extra fine sandpaper (240, 320, or 400-grit). Remember to remove any dust with a dry brush before beginning to paint again.
Paint on your second coat. You may need to paint on more than 2 coats, especially if you are painting a lighter color over a much darker one. White is the most popular color for skirting boards, so you may find yourself in this situation. Don’t forget to sand between coats.
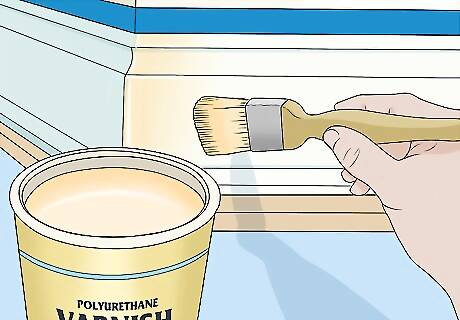
Brush on polyurethane varnish. This step is optional, but polyurethane varnish helps skirting boards hold up longer against scratches and scuff marks. This is recommended if you are painting the skirting boards in a house that will have small children or pets. Repeat the same process that you used for priming when applying varnish. Check the packaging of your varnish for specific dry times, and wait until it’s completely dried before moving furniture back up against the skirting boards.


Comments
0 comment